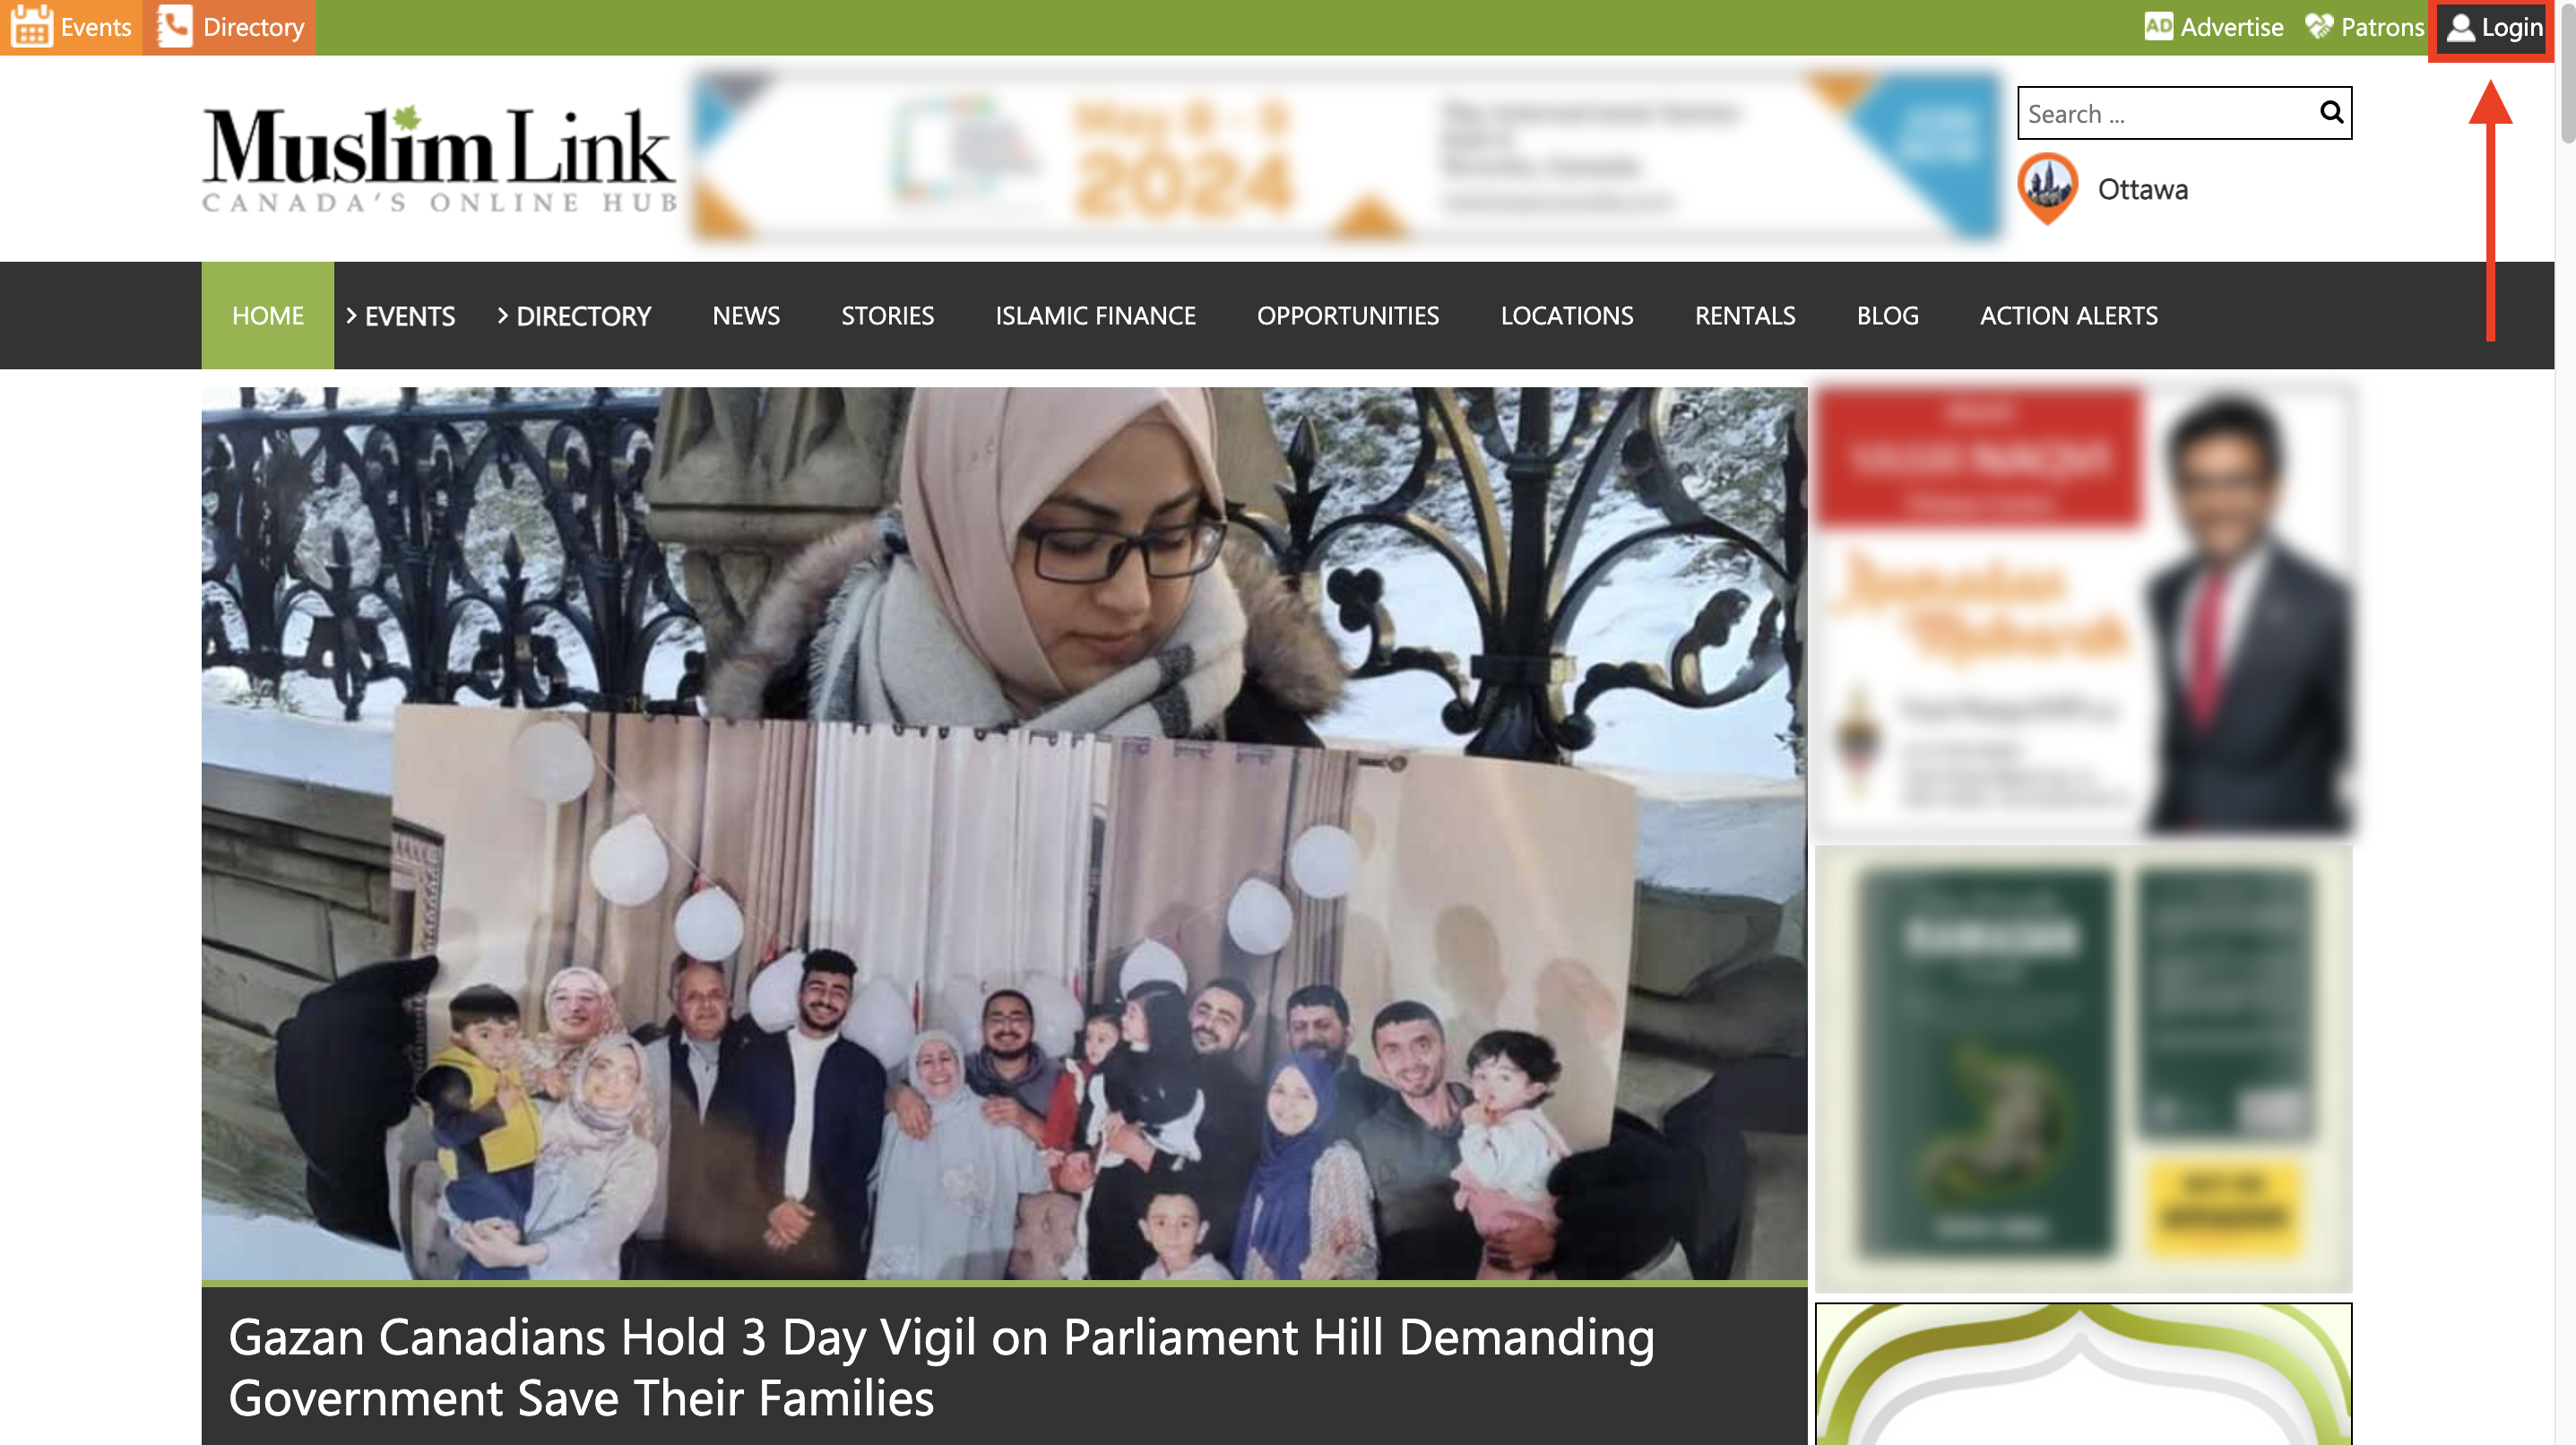
1. To create a user account, click on "Login" in the top right corner.
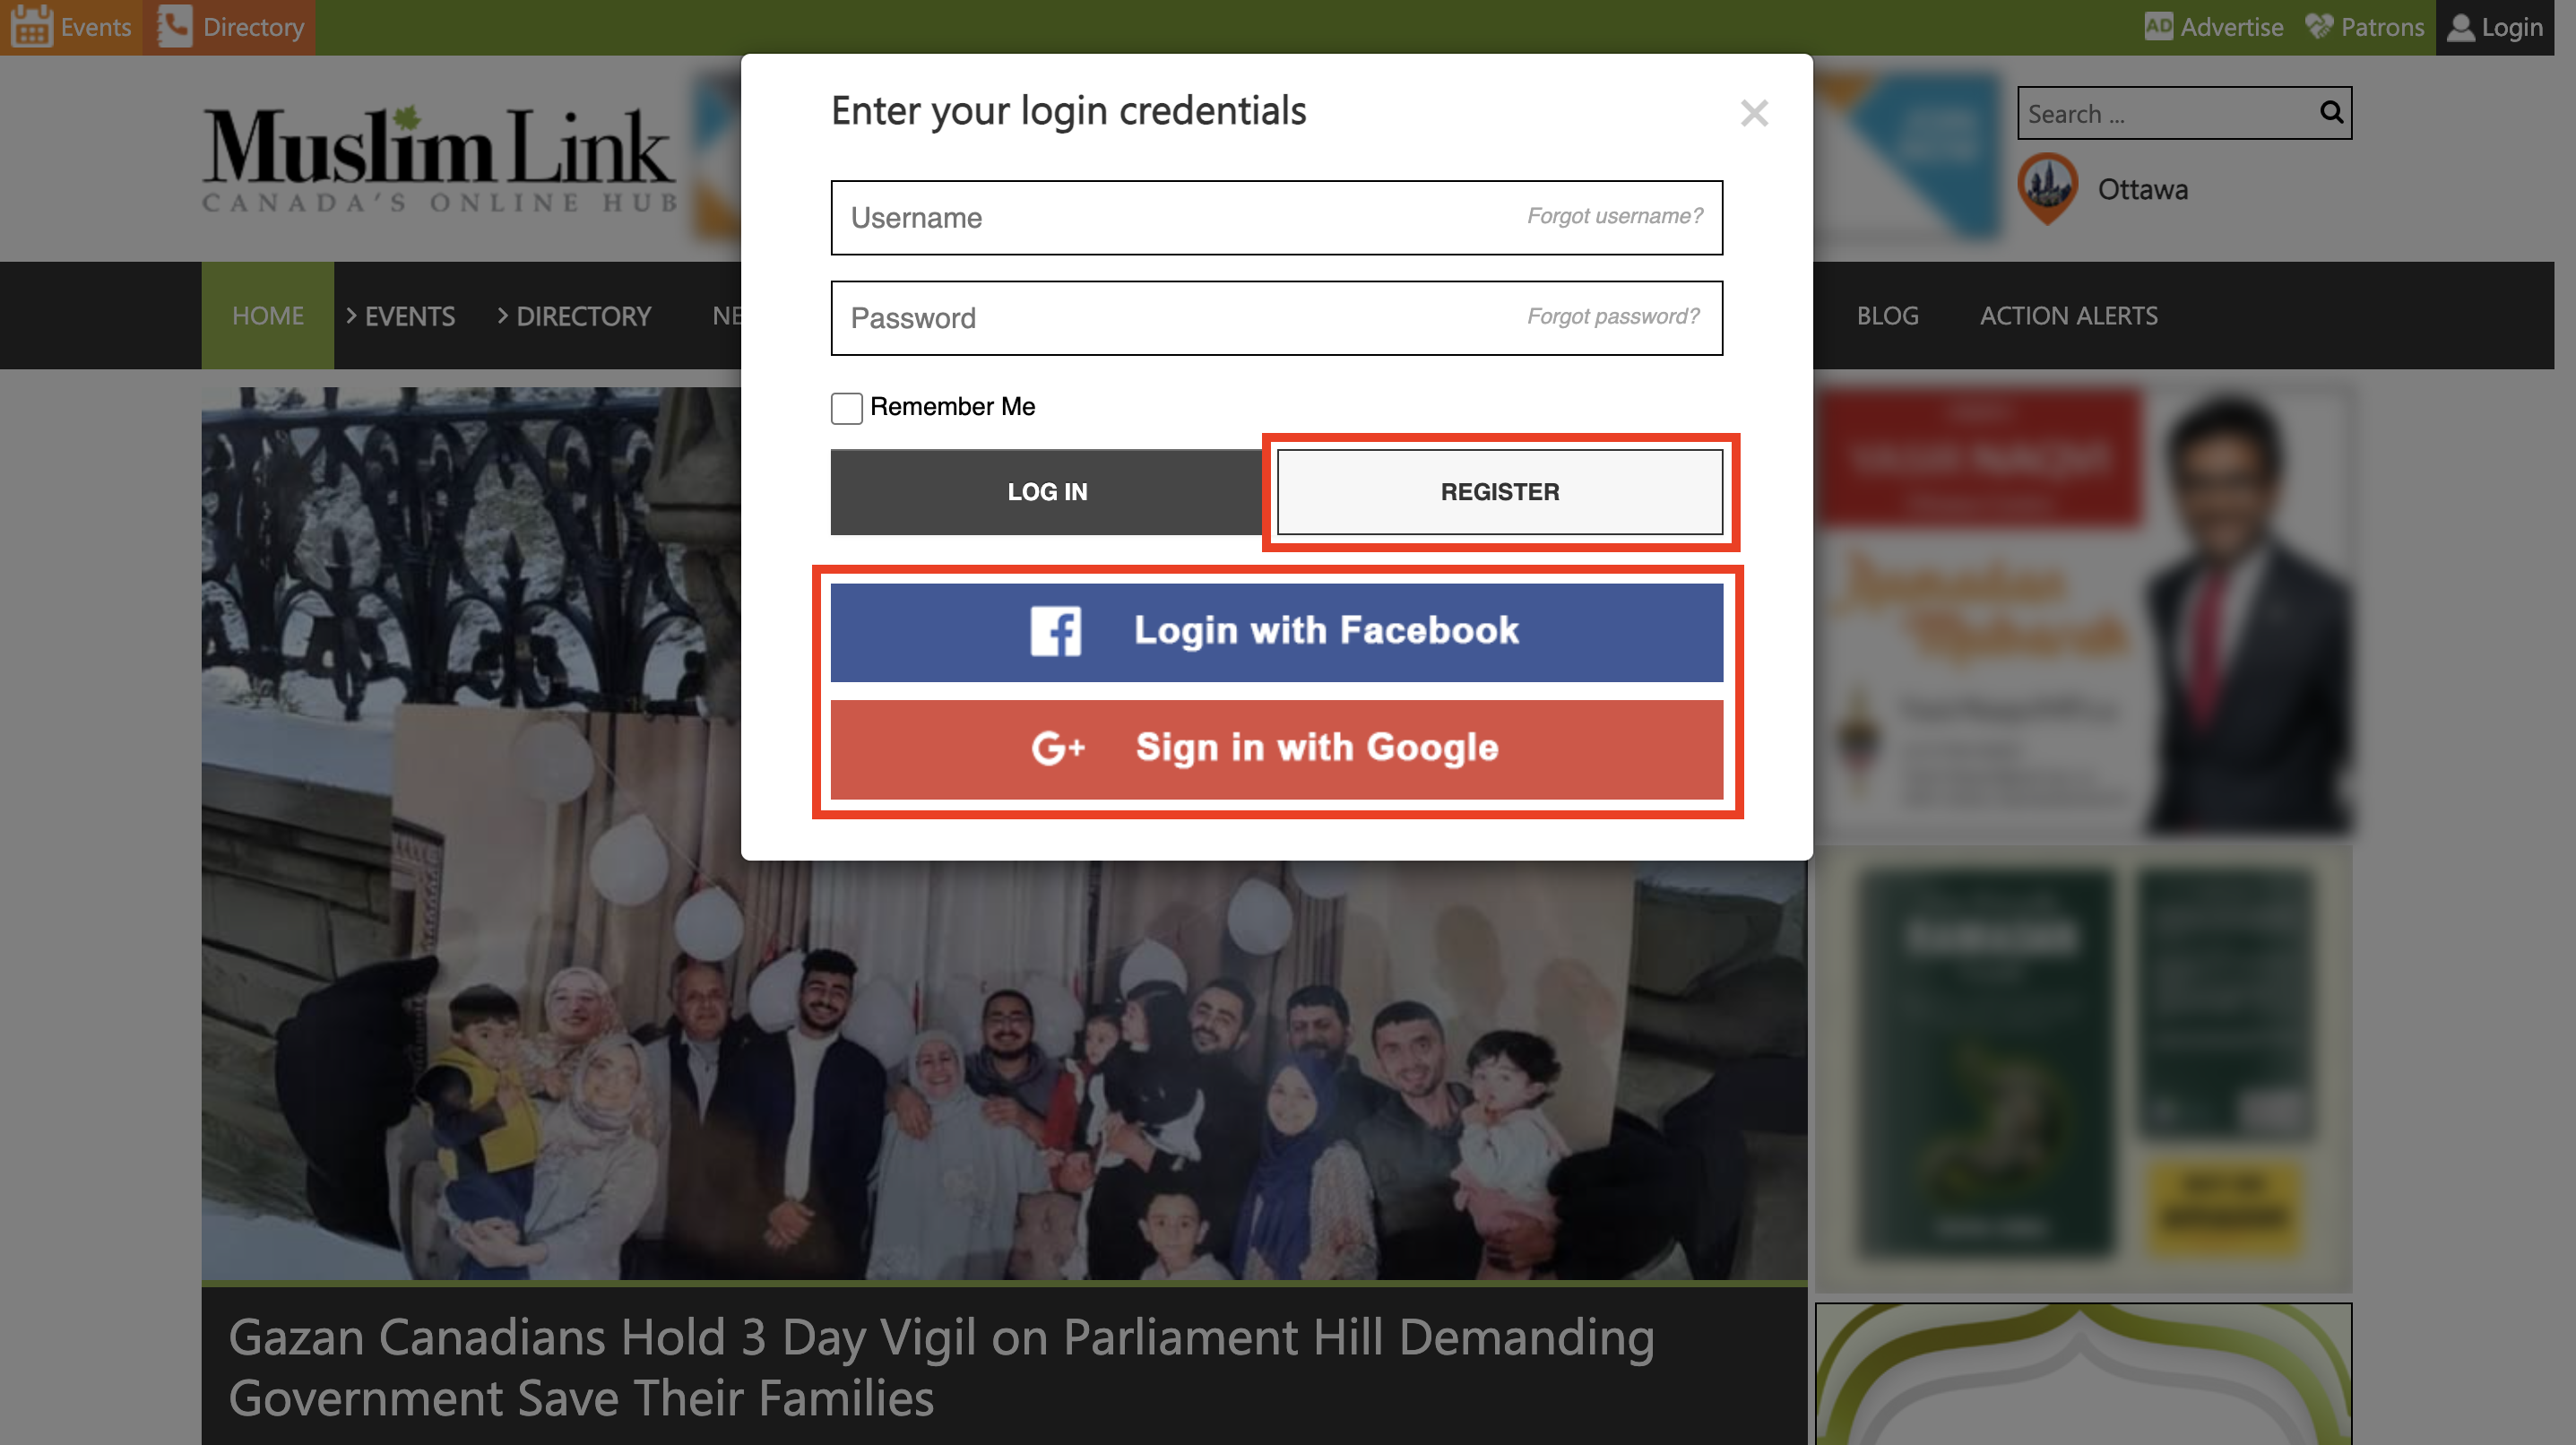
2. Click on “Register” to create a user account. You can also sign up using your Facebook or Google accounts for faster registration. If you already have a user account, login and skip to step 4.
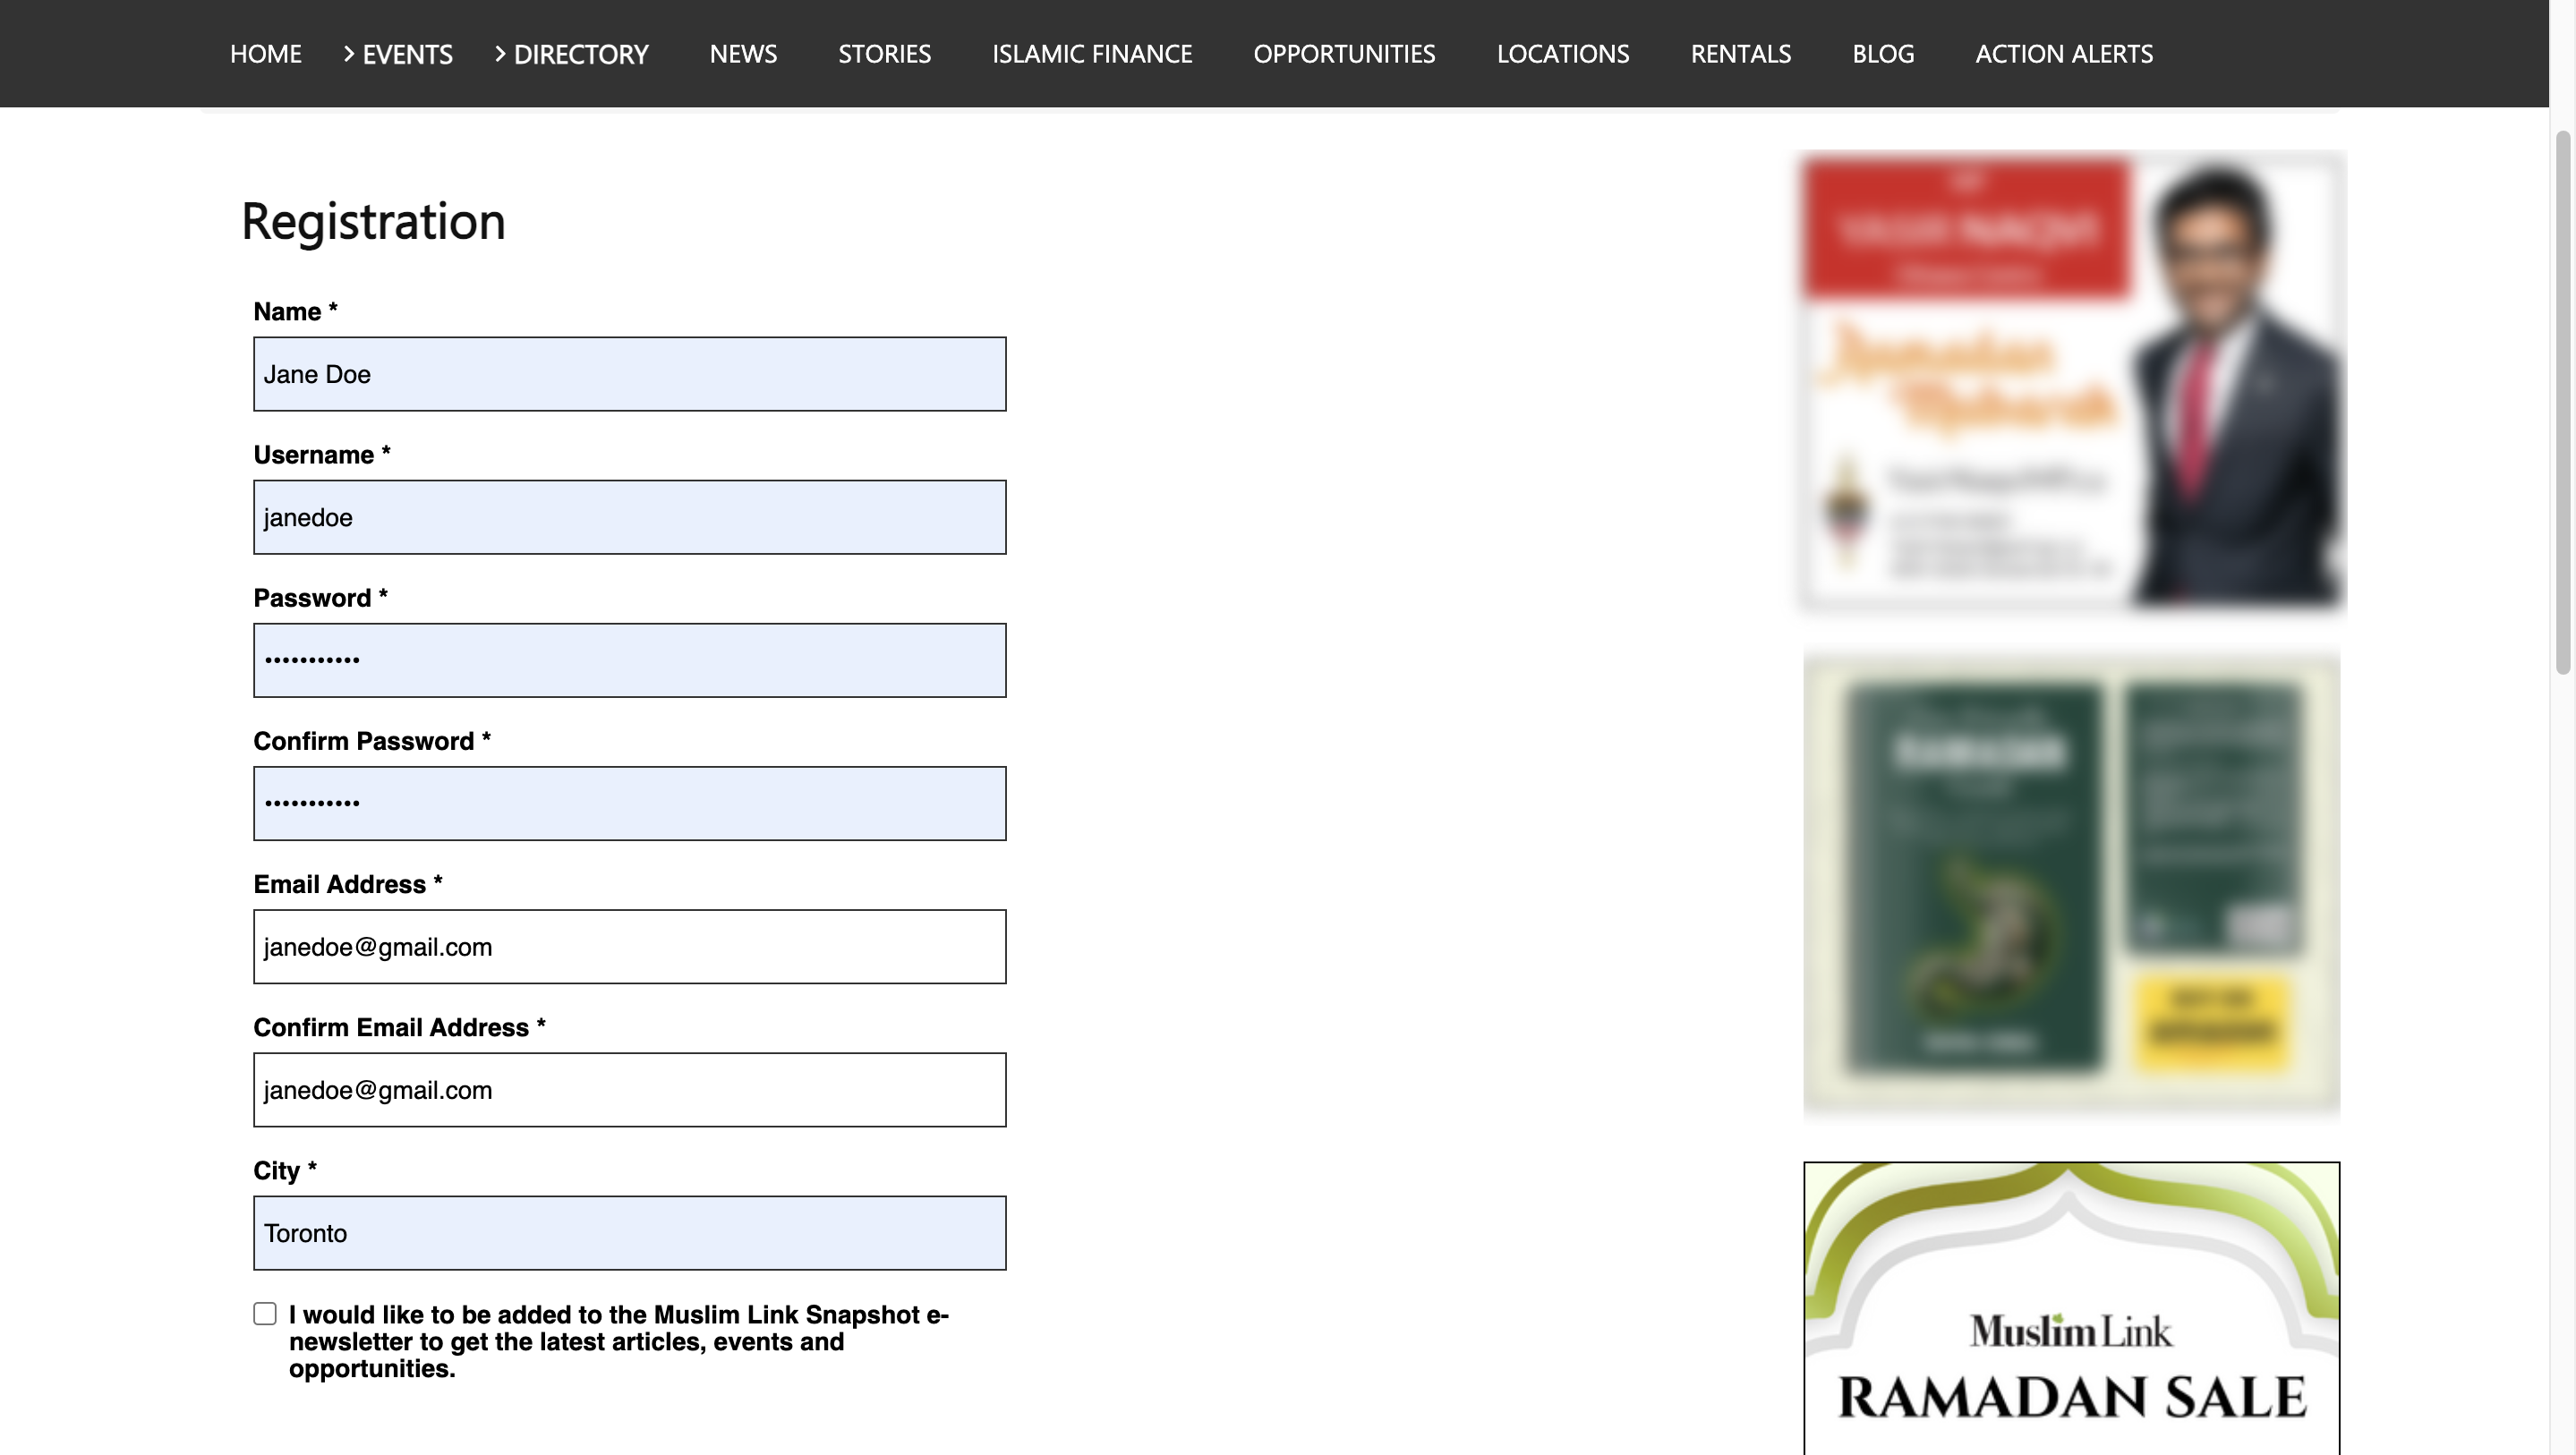
3. Fill in details to create your user account.
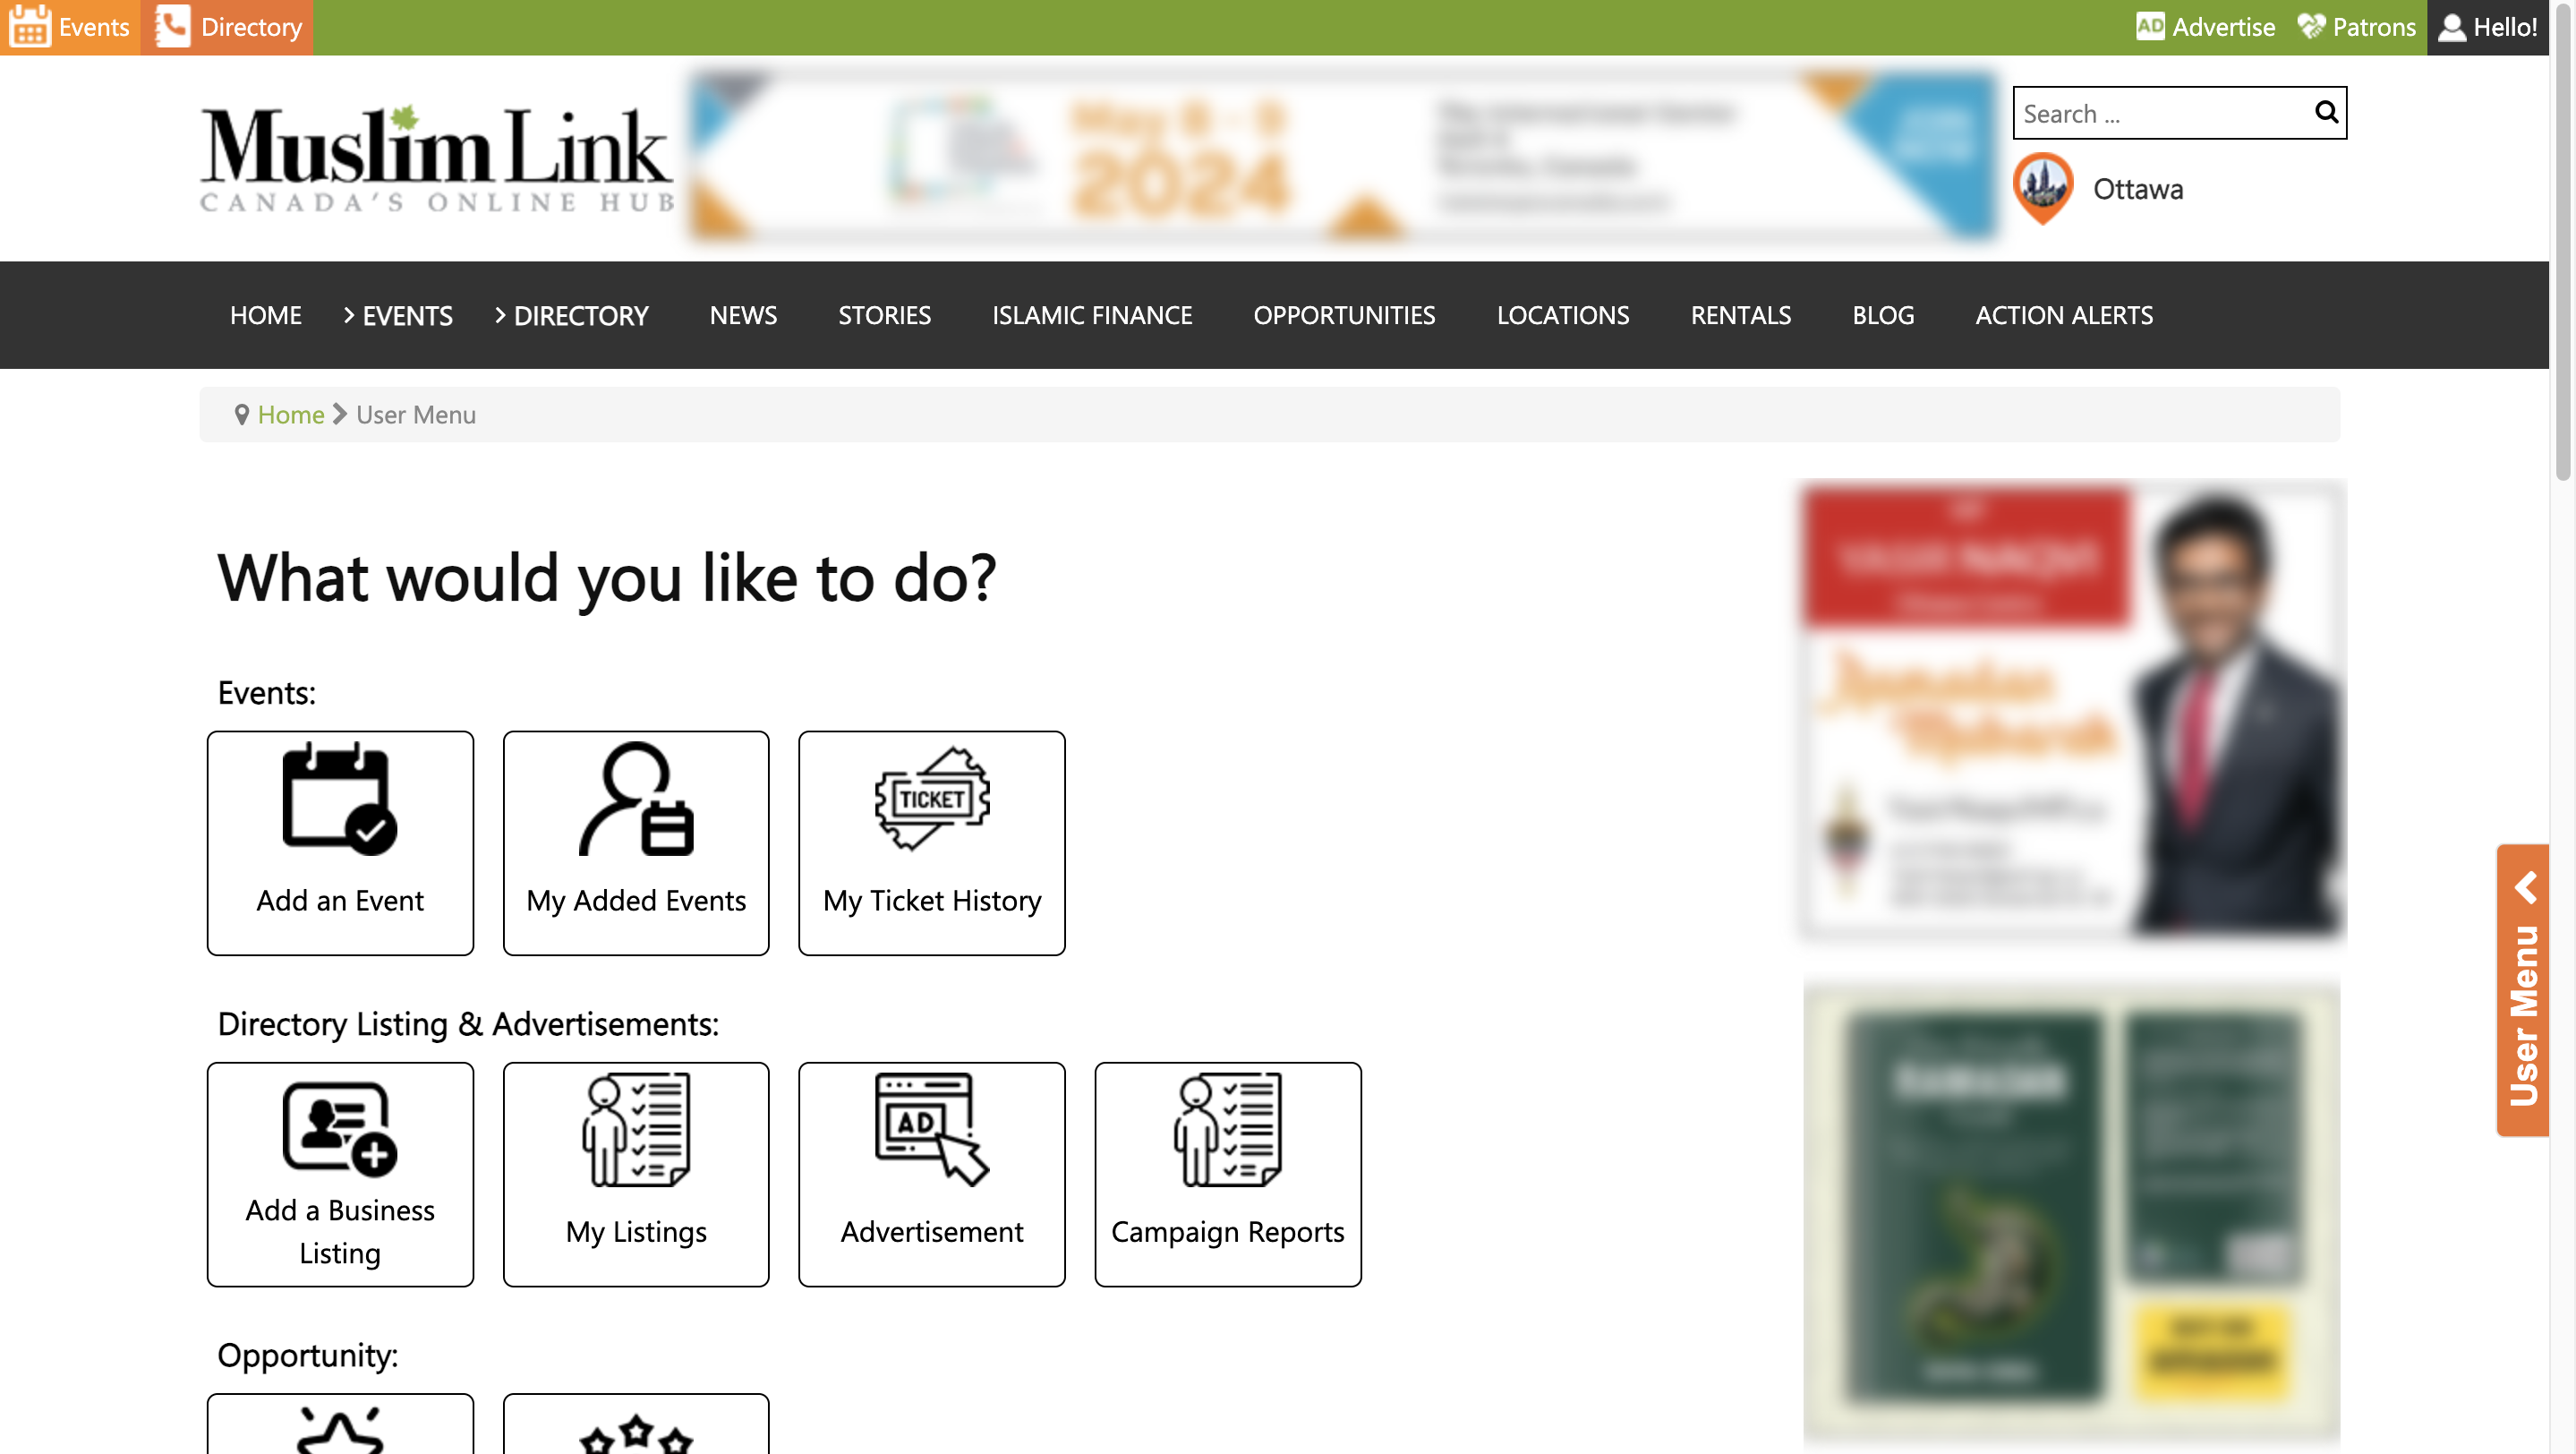
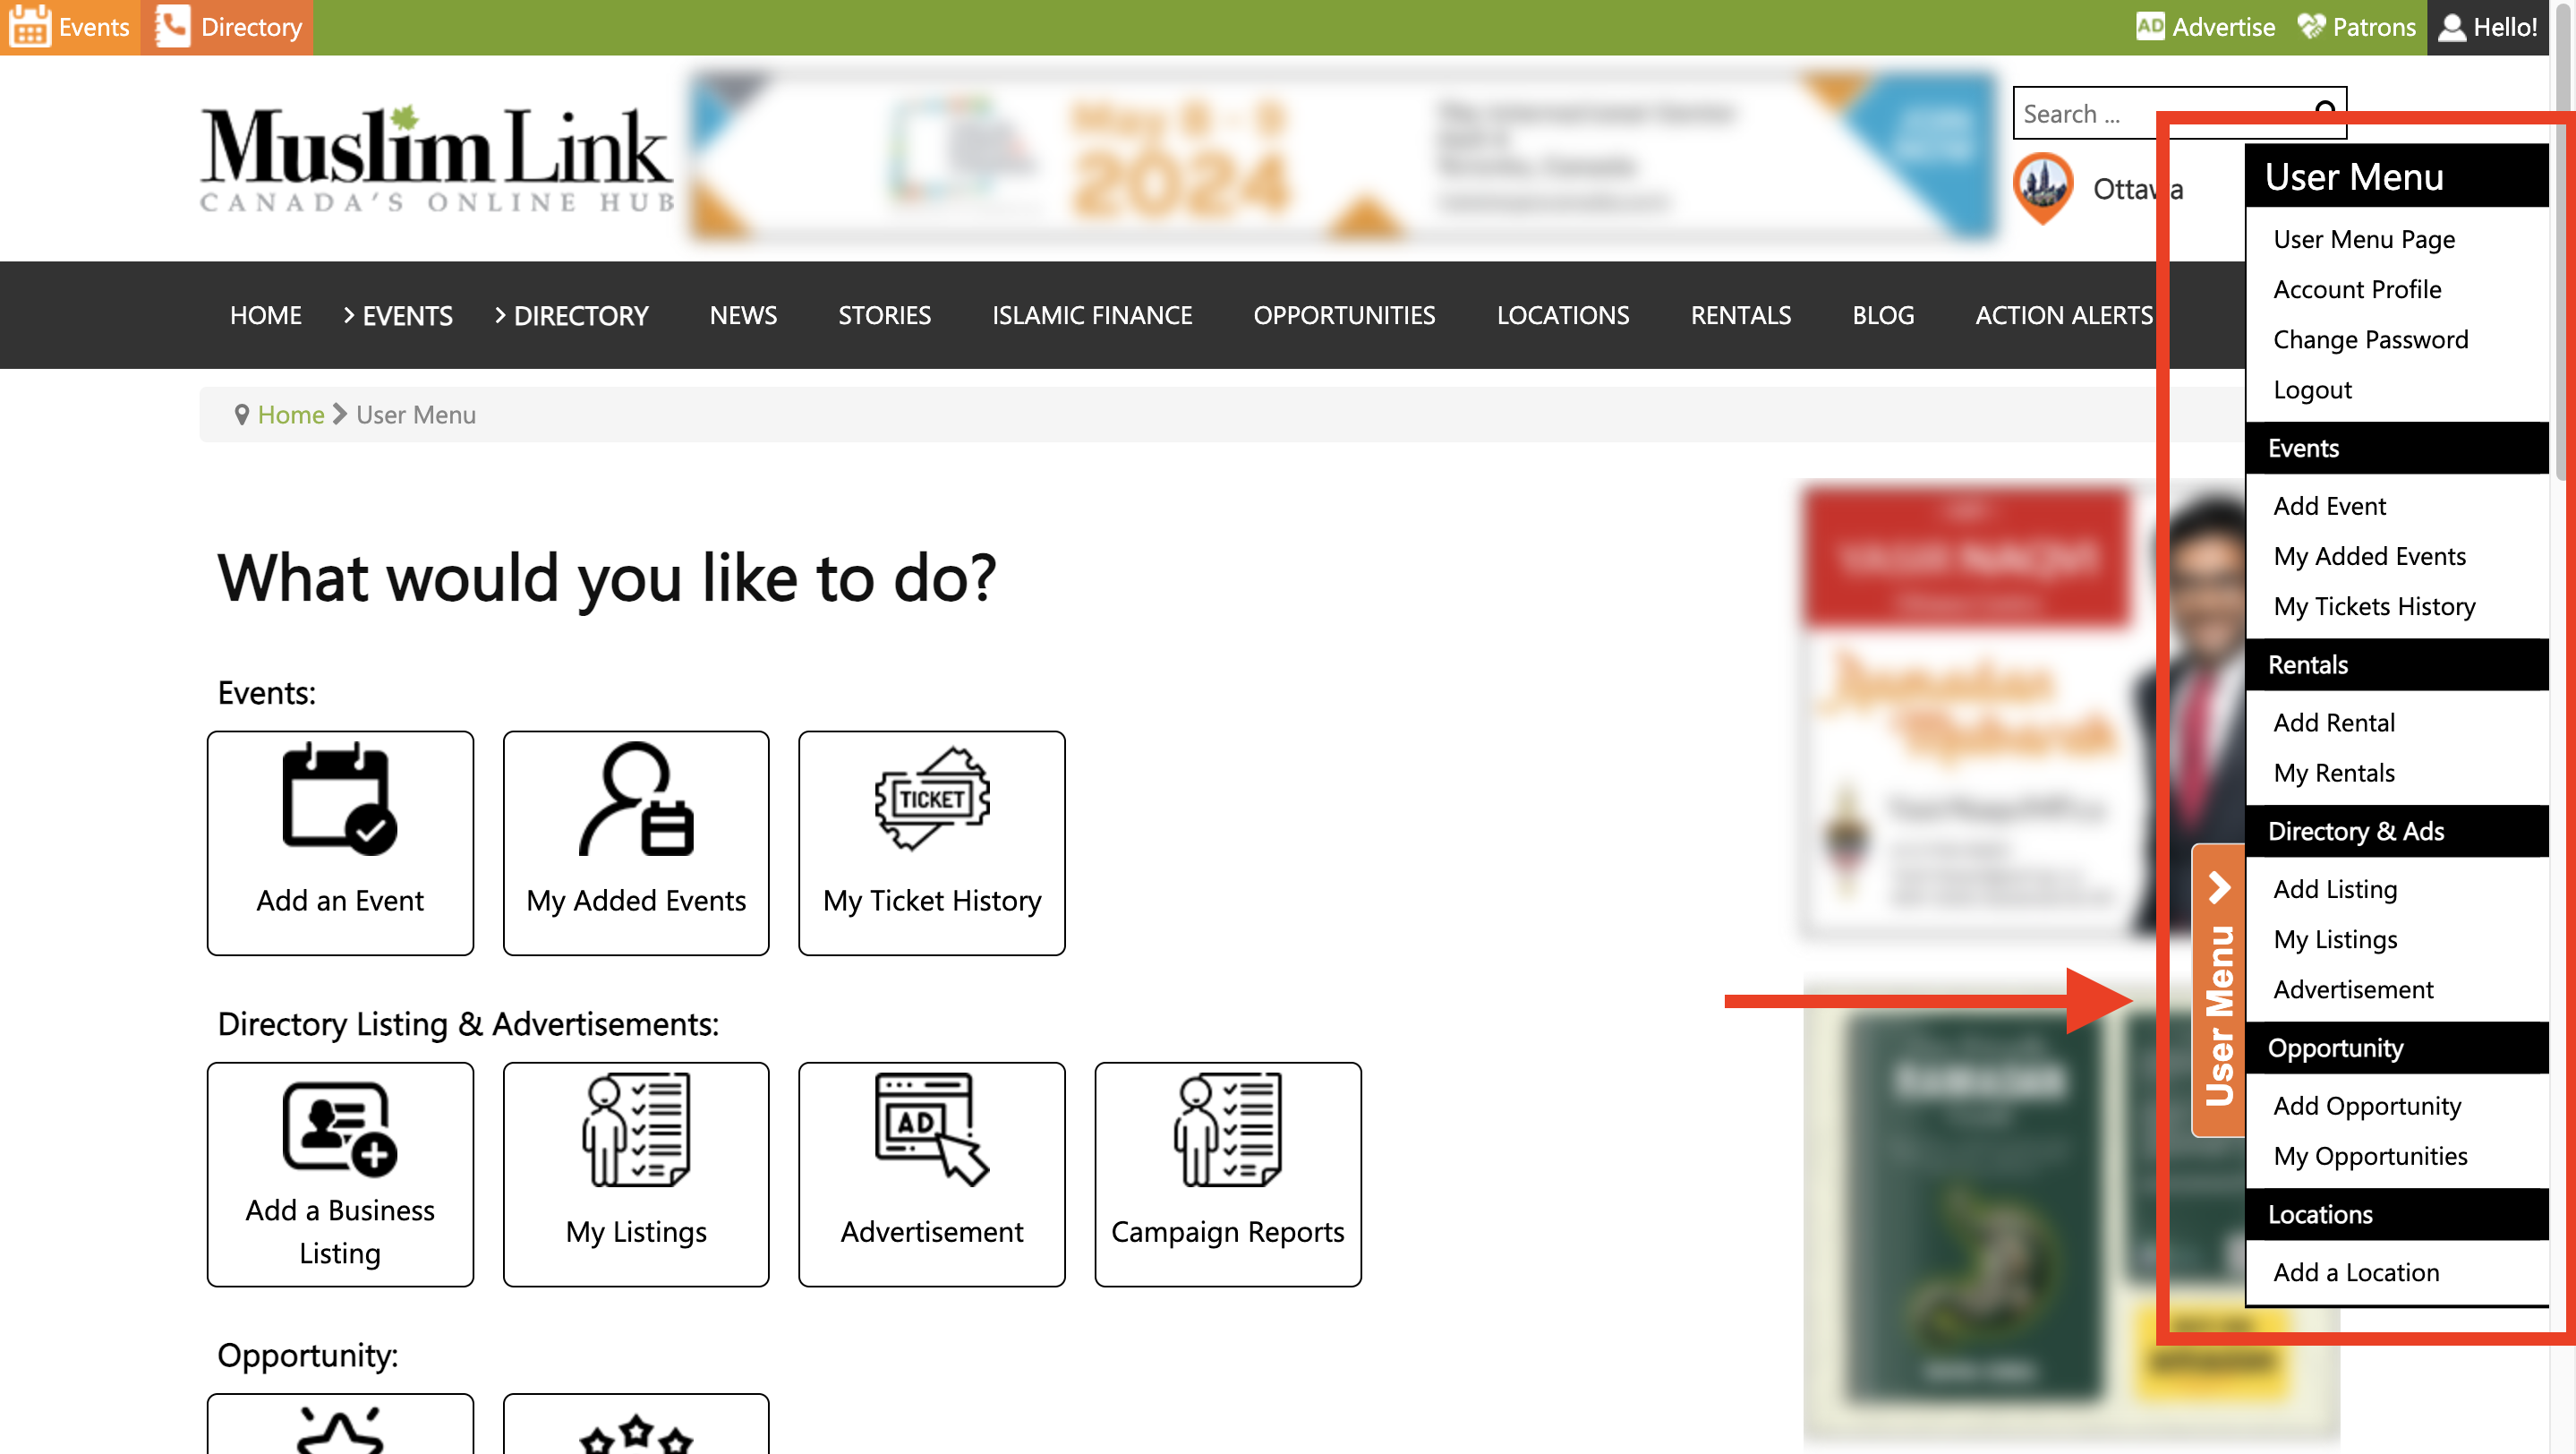
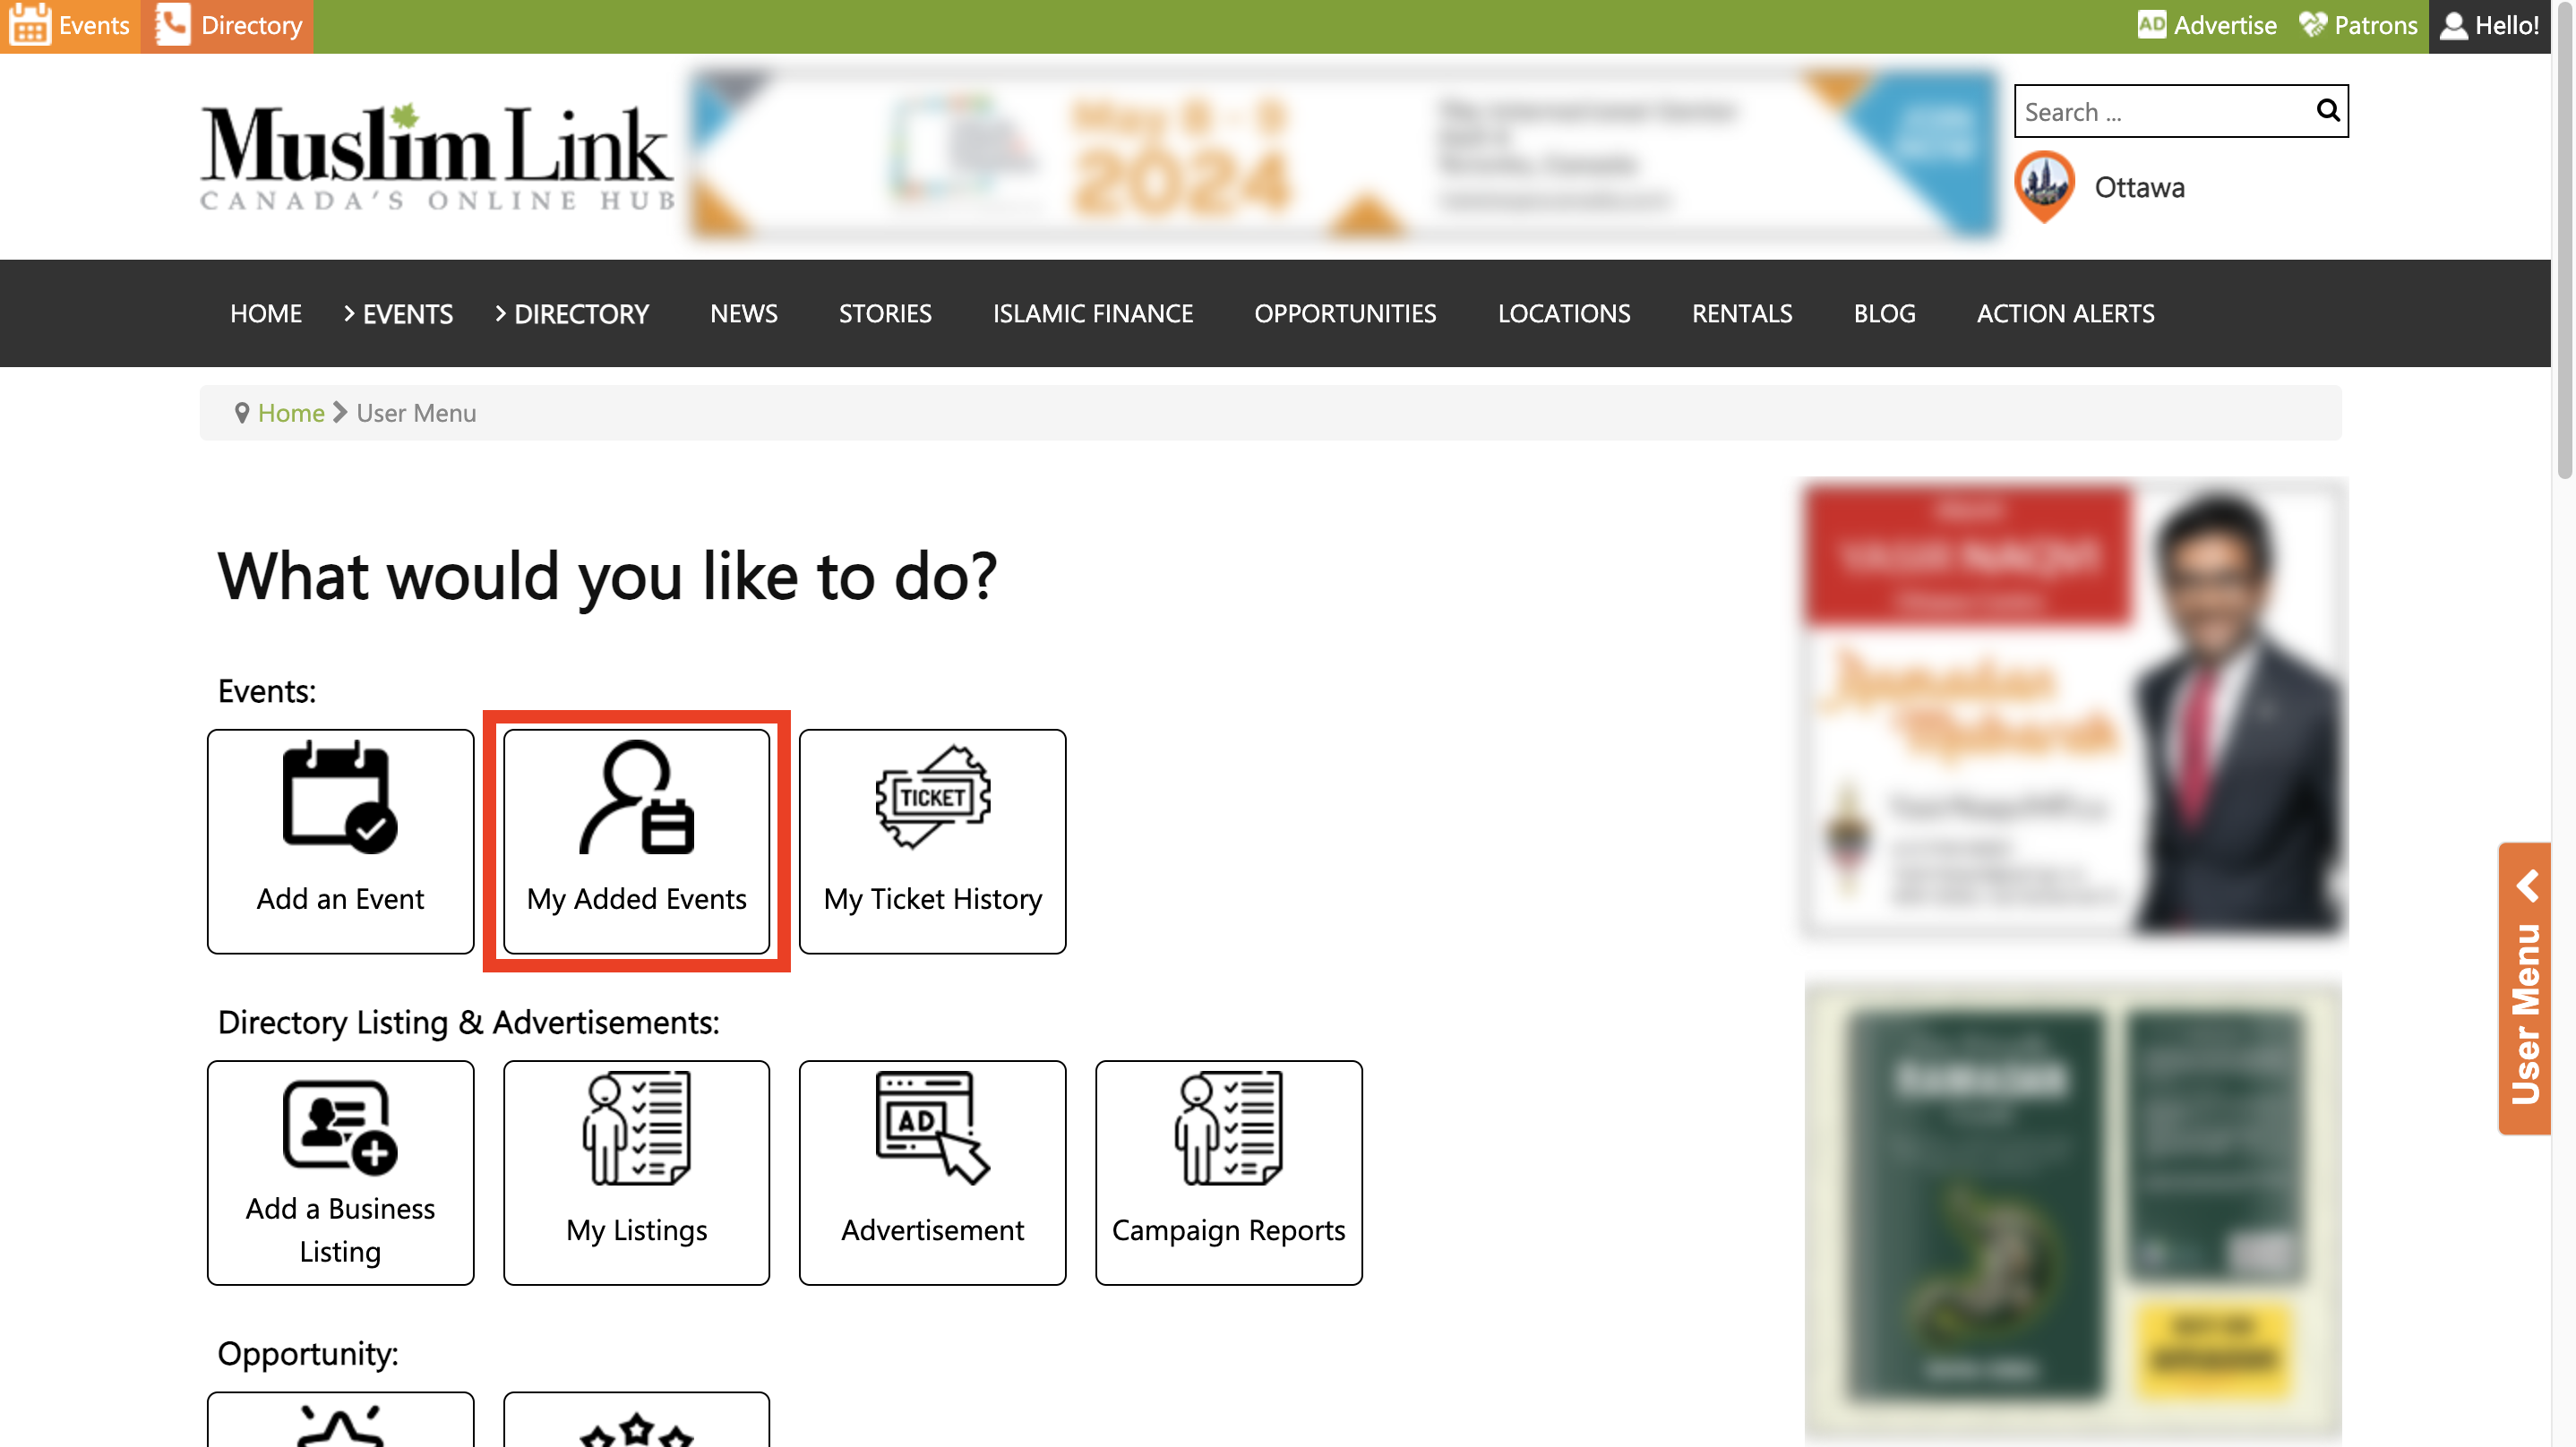
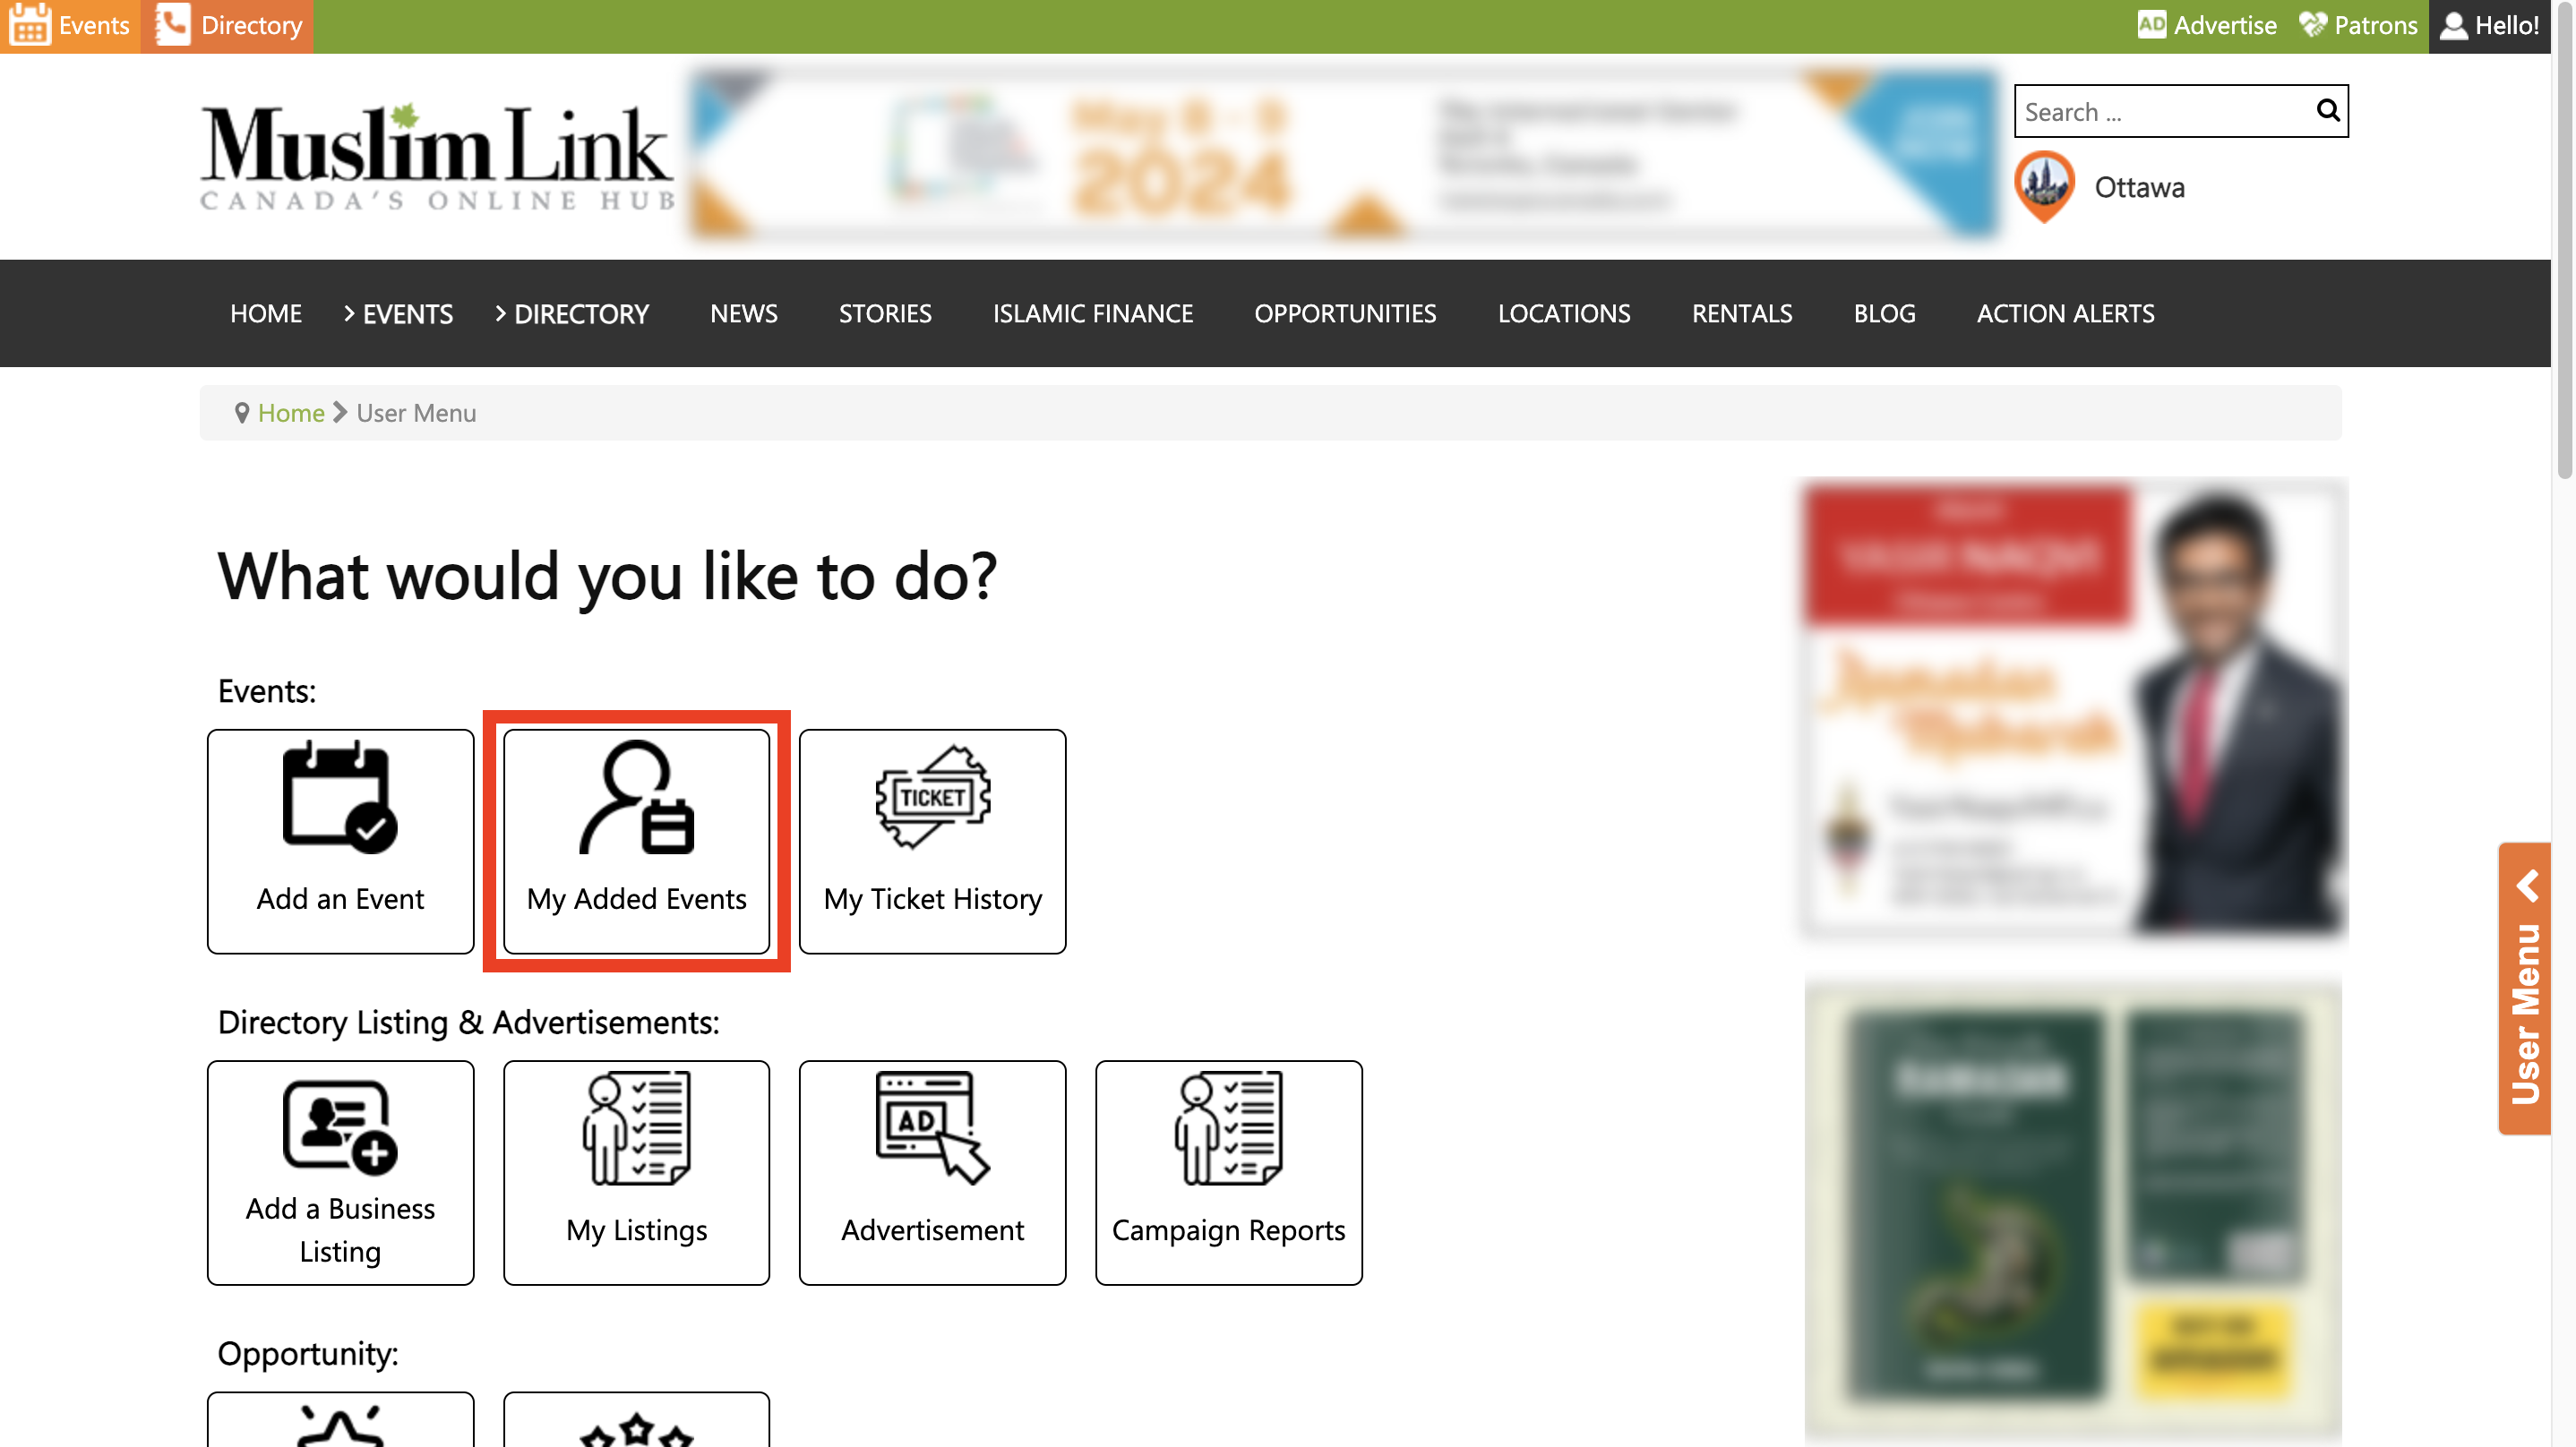
4. Once logged in, you'll be automatically directed to the “User Menu”.
5. You can also access the "User Menu" by clicking on "Hello!" in the upper right corner, or from the right side menu.
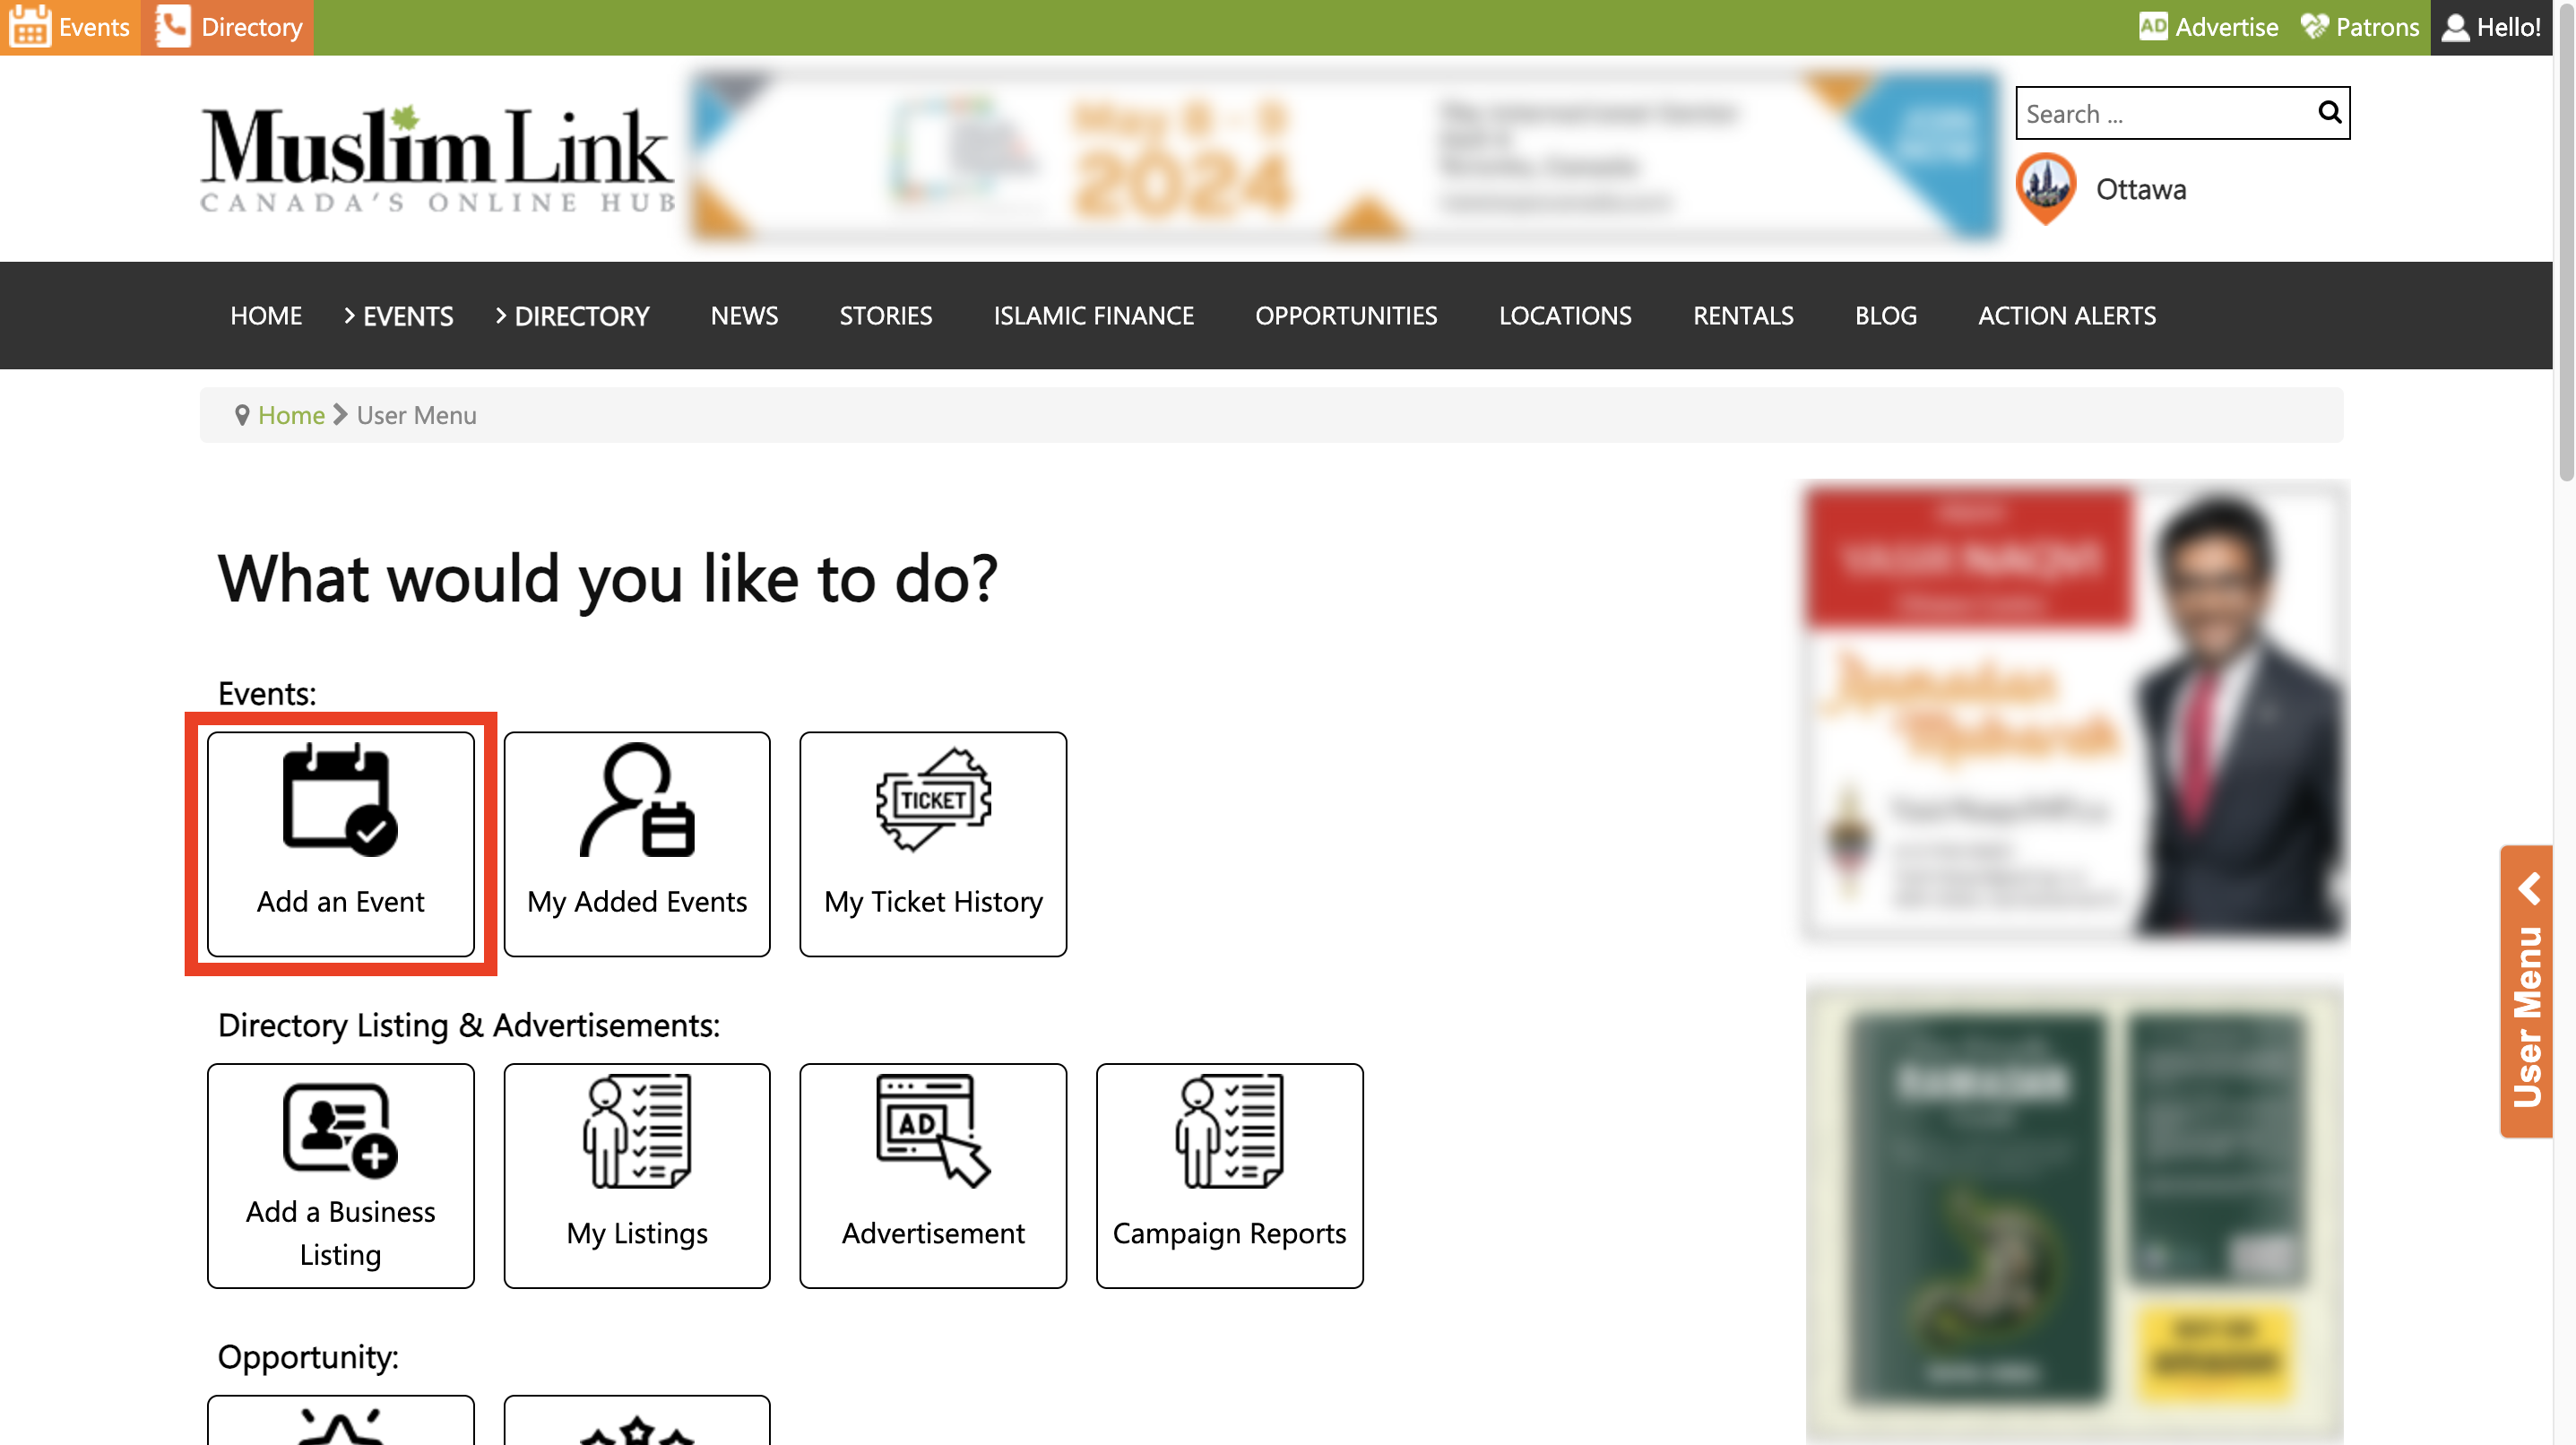
6. To add an event, click “Add an Event”.
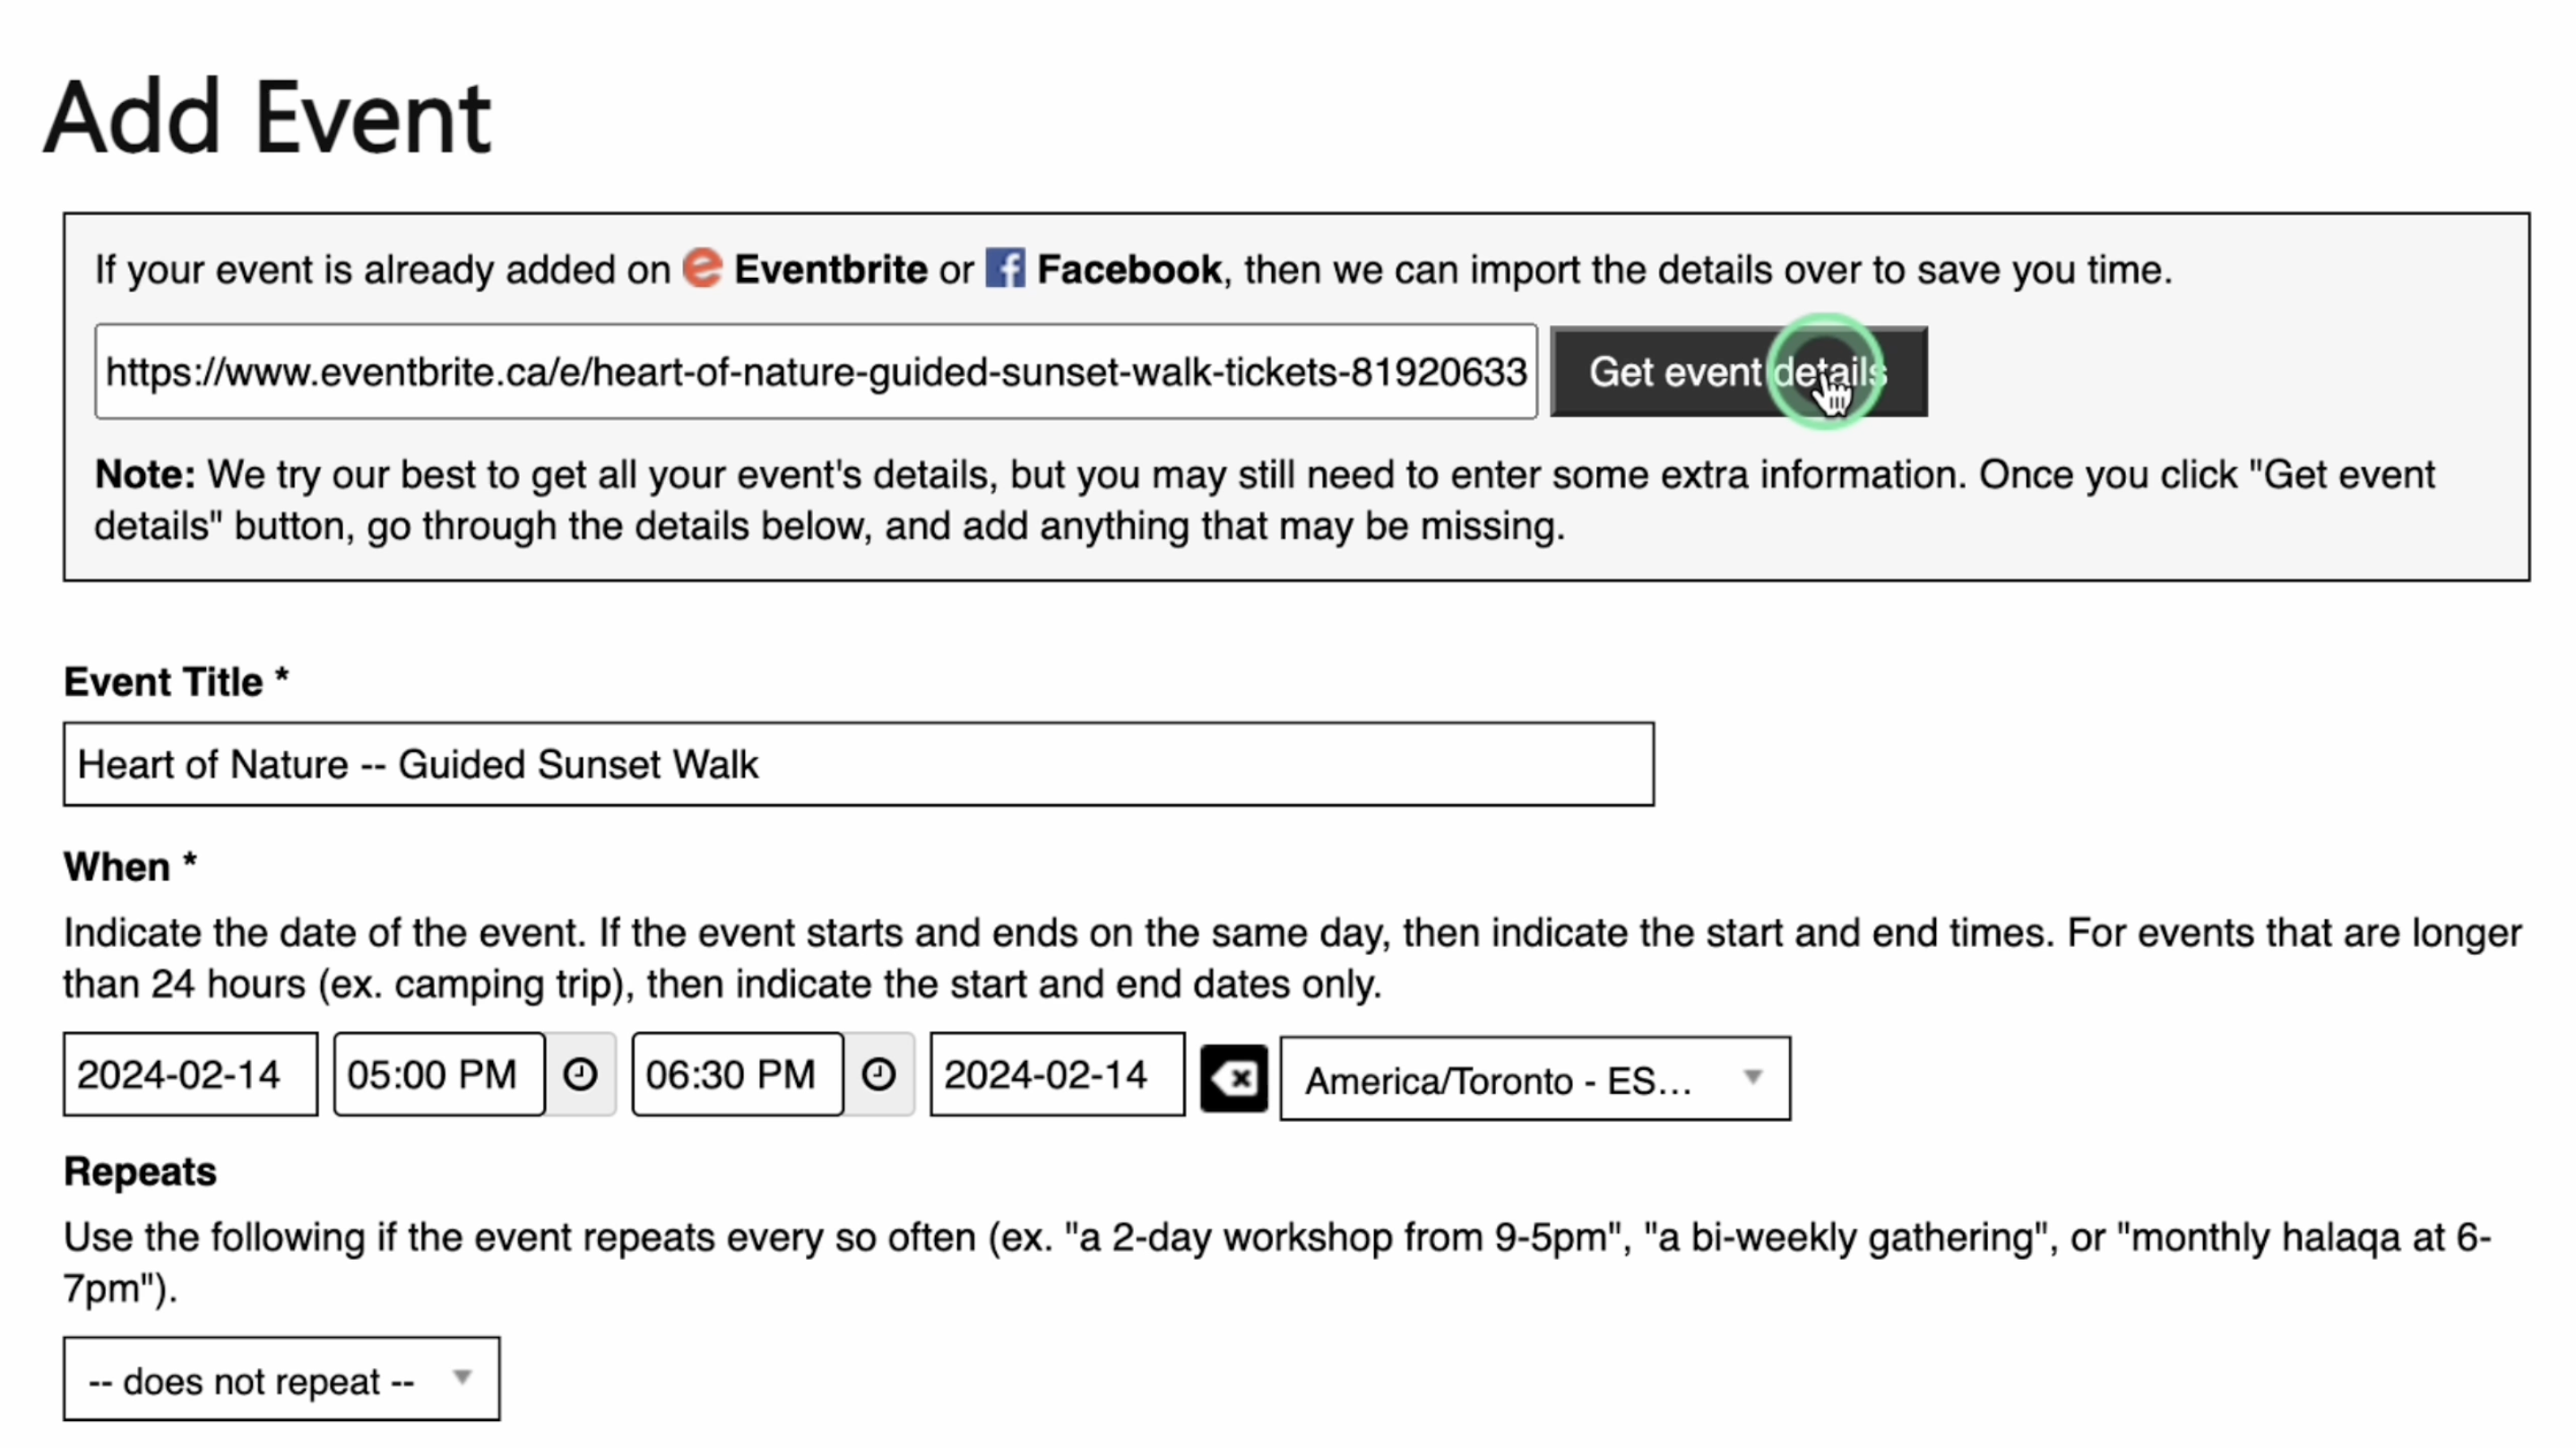
7. If your event is already added on Eventbrite or Facebook, then you can import the details by entering the URL here. This will save you time.
8. To import an event, simply paste the URL here and click “Get Event Details.” It may take some time to load.
9. Once loaded, you’ll notice some details are automatically filled. Please review the event details to ensure the information is accurate. You can complete any remaining fields like categories, showing remaining tickets, adding a "Get Tickets" button from Muslim Link, and featuring the event.
10. Event Title: If you are going to manually add an event, enter the Event Title first.
11. When: Specify the date of the event. If the event takes place on a single day, provide both the start and end times. However, for events that are longer than 24 hours consecutively such as camping trips specify only the start and end dates. Make sure you select the right time zone.
12. Repeats: If the event repeats every so often indicate it here. You can choose if it repeats daily, weekly, or monthly.
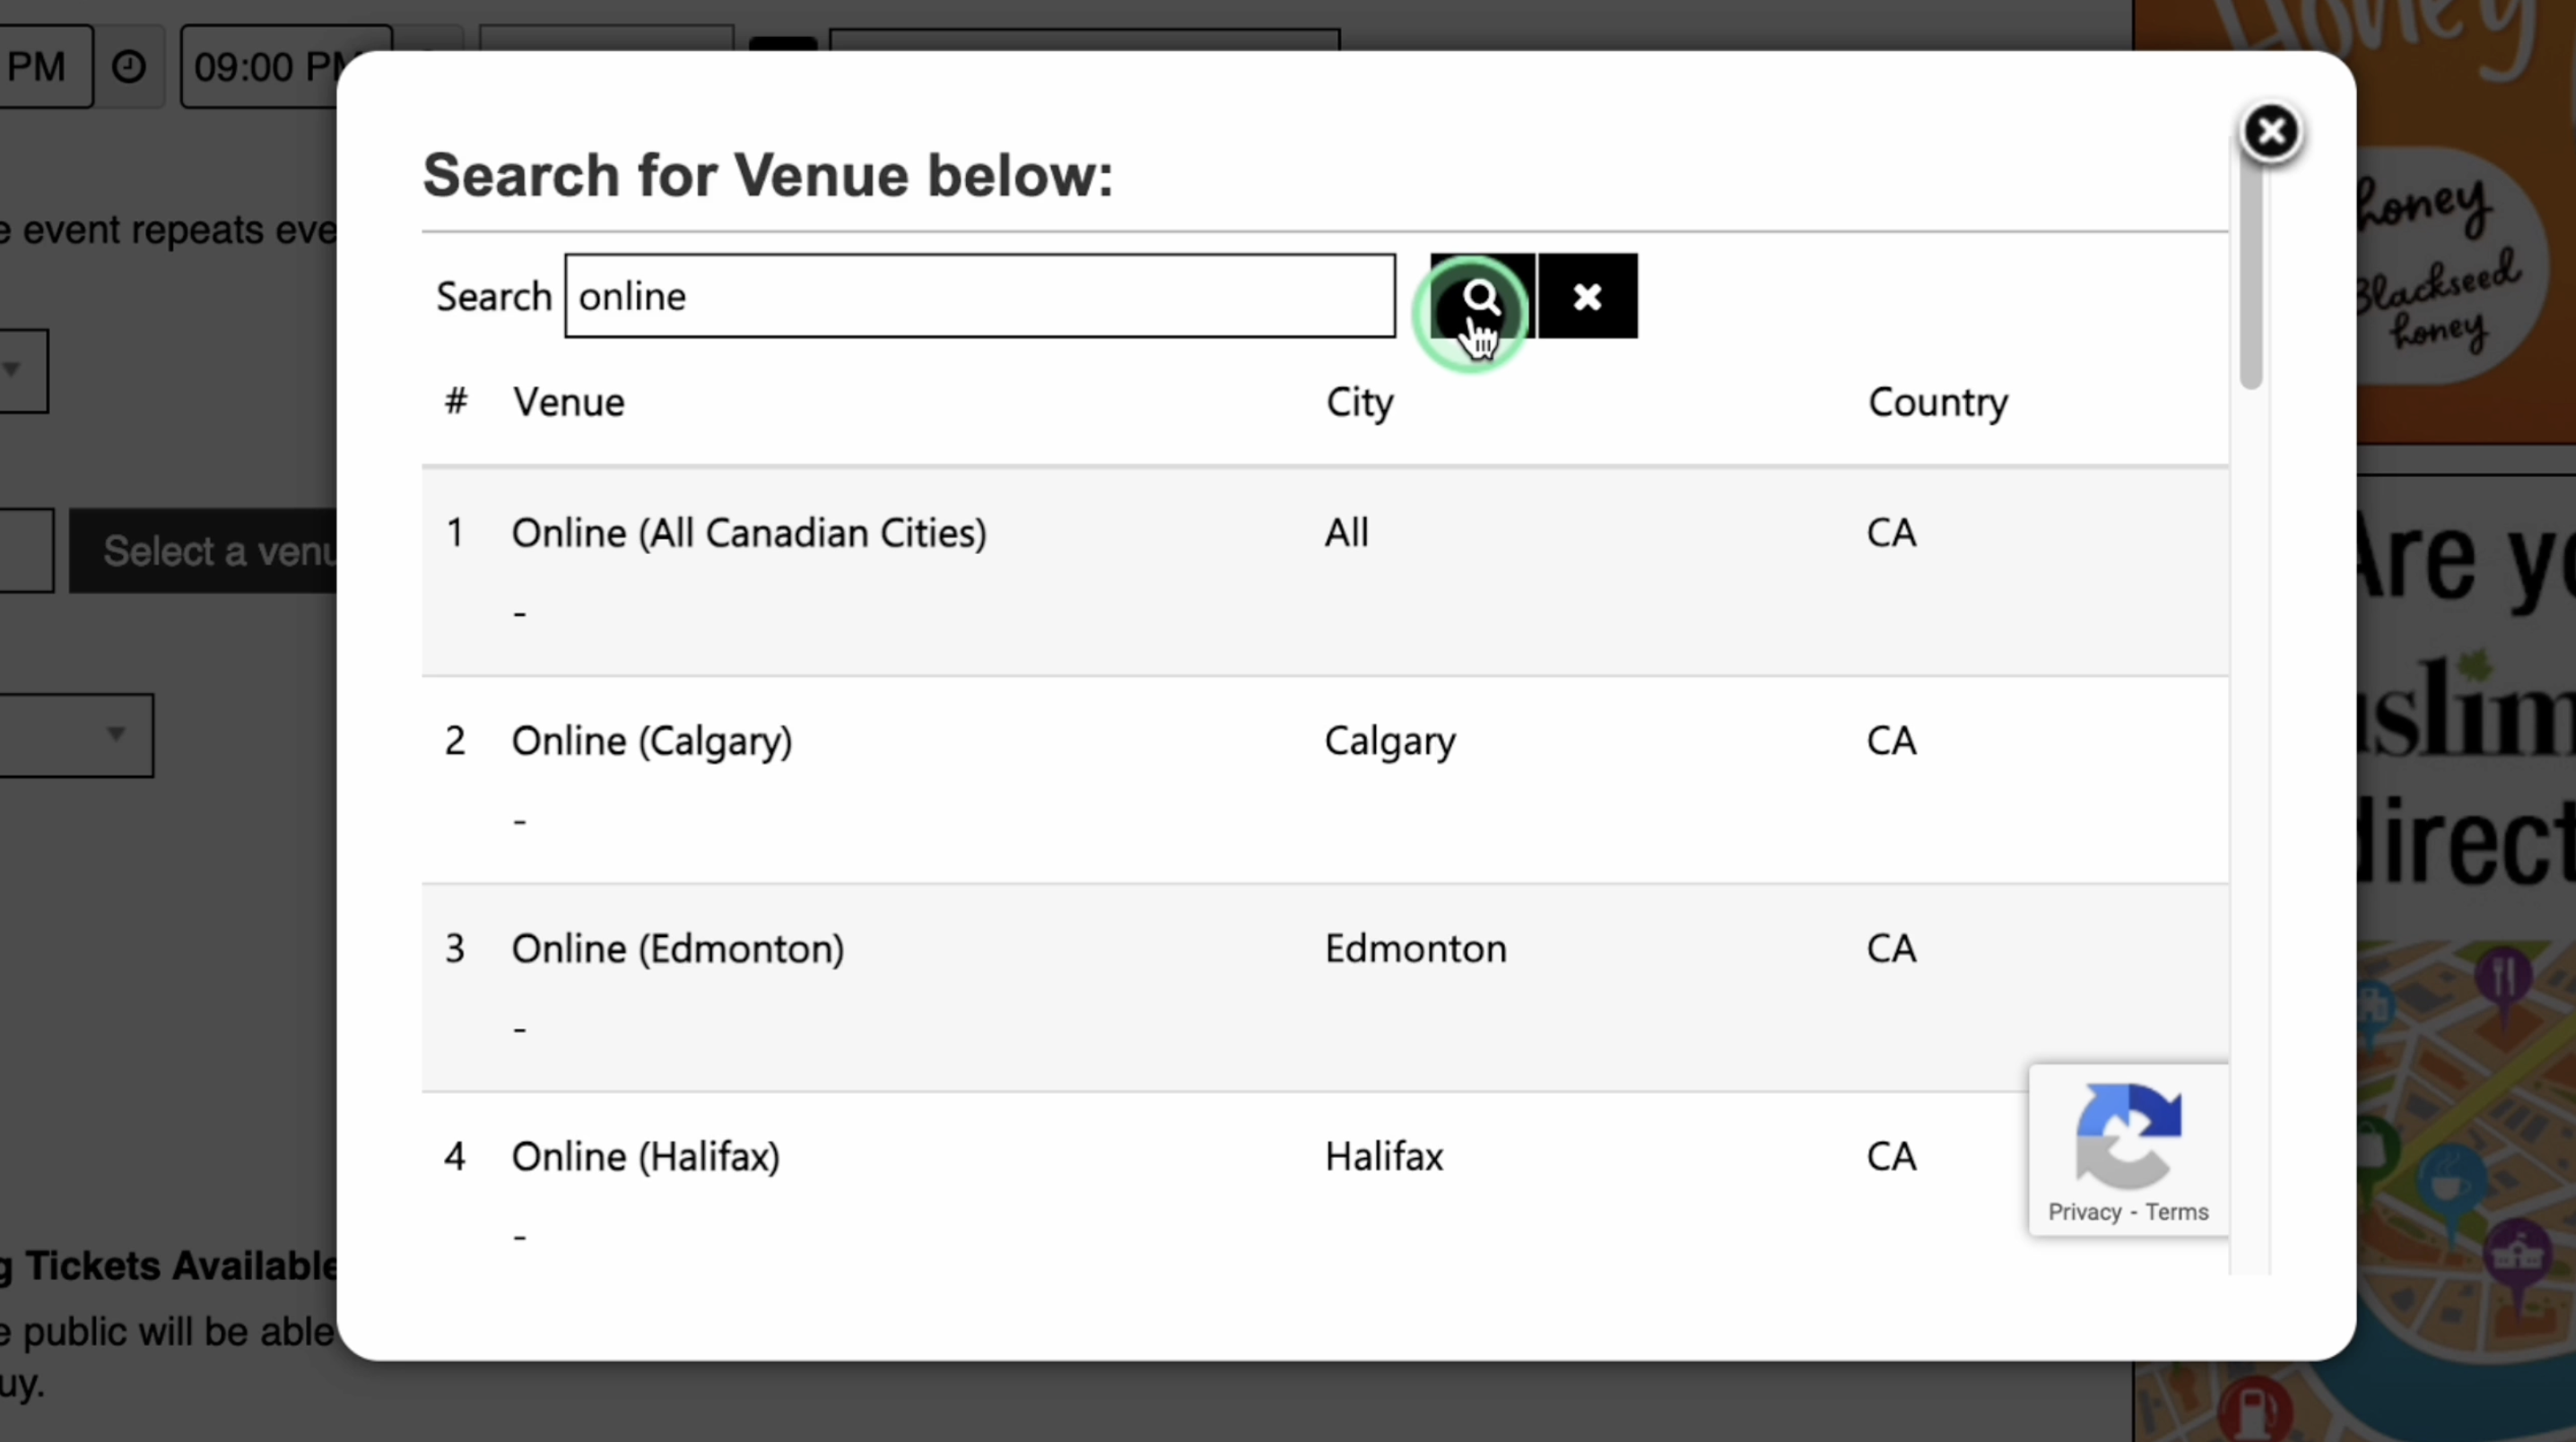
13. Where: Enter the venue of the event by clicking “Select a Venue”. If the event is online, search for the term "online" here. Select the event's city from the available options. If you select “All Canadian Cities”, the event will be displayed for all cities.
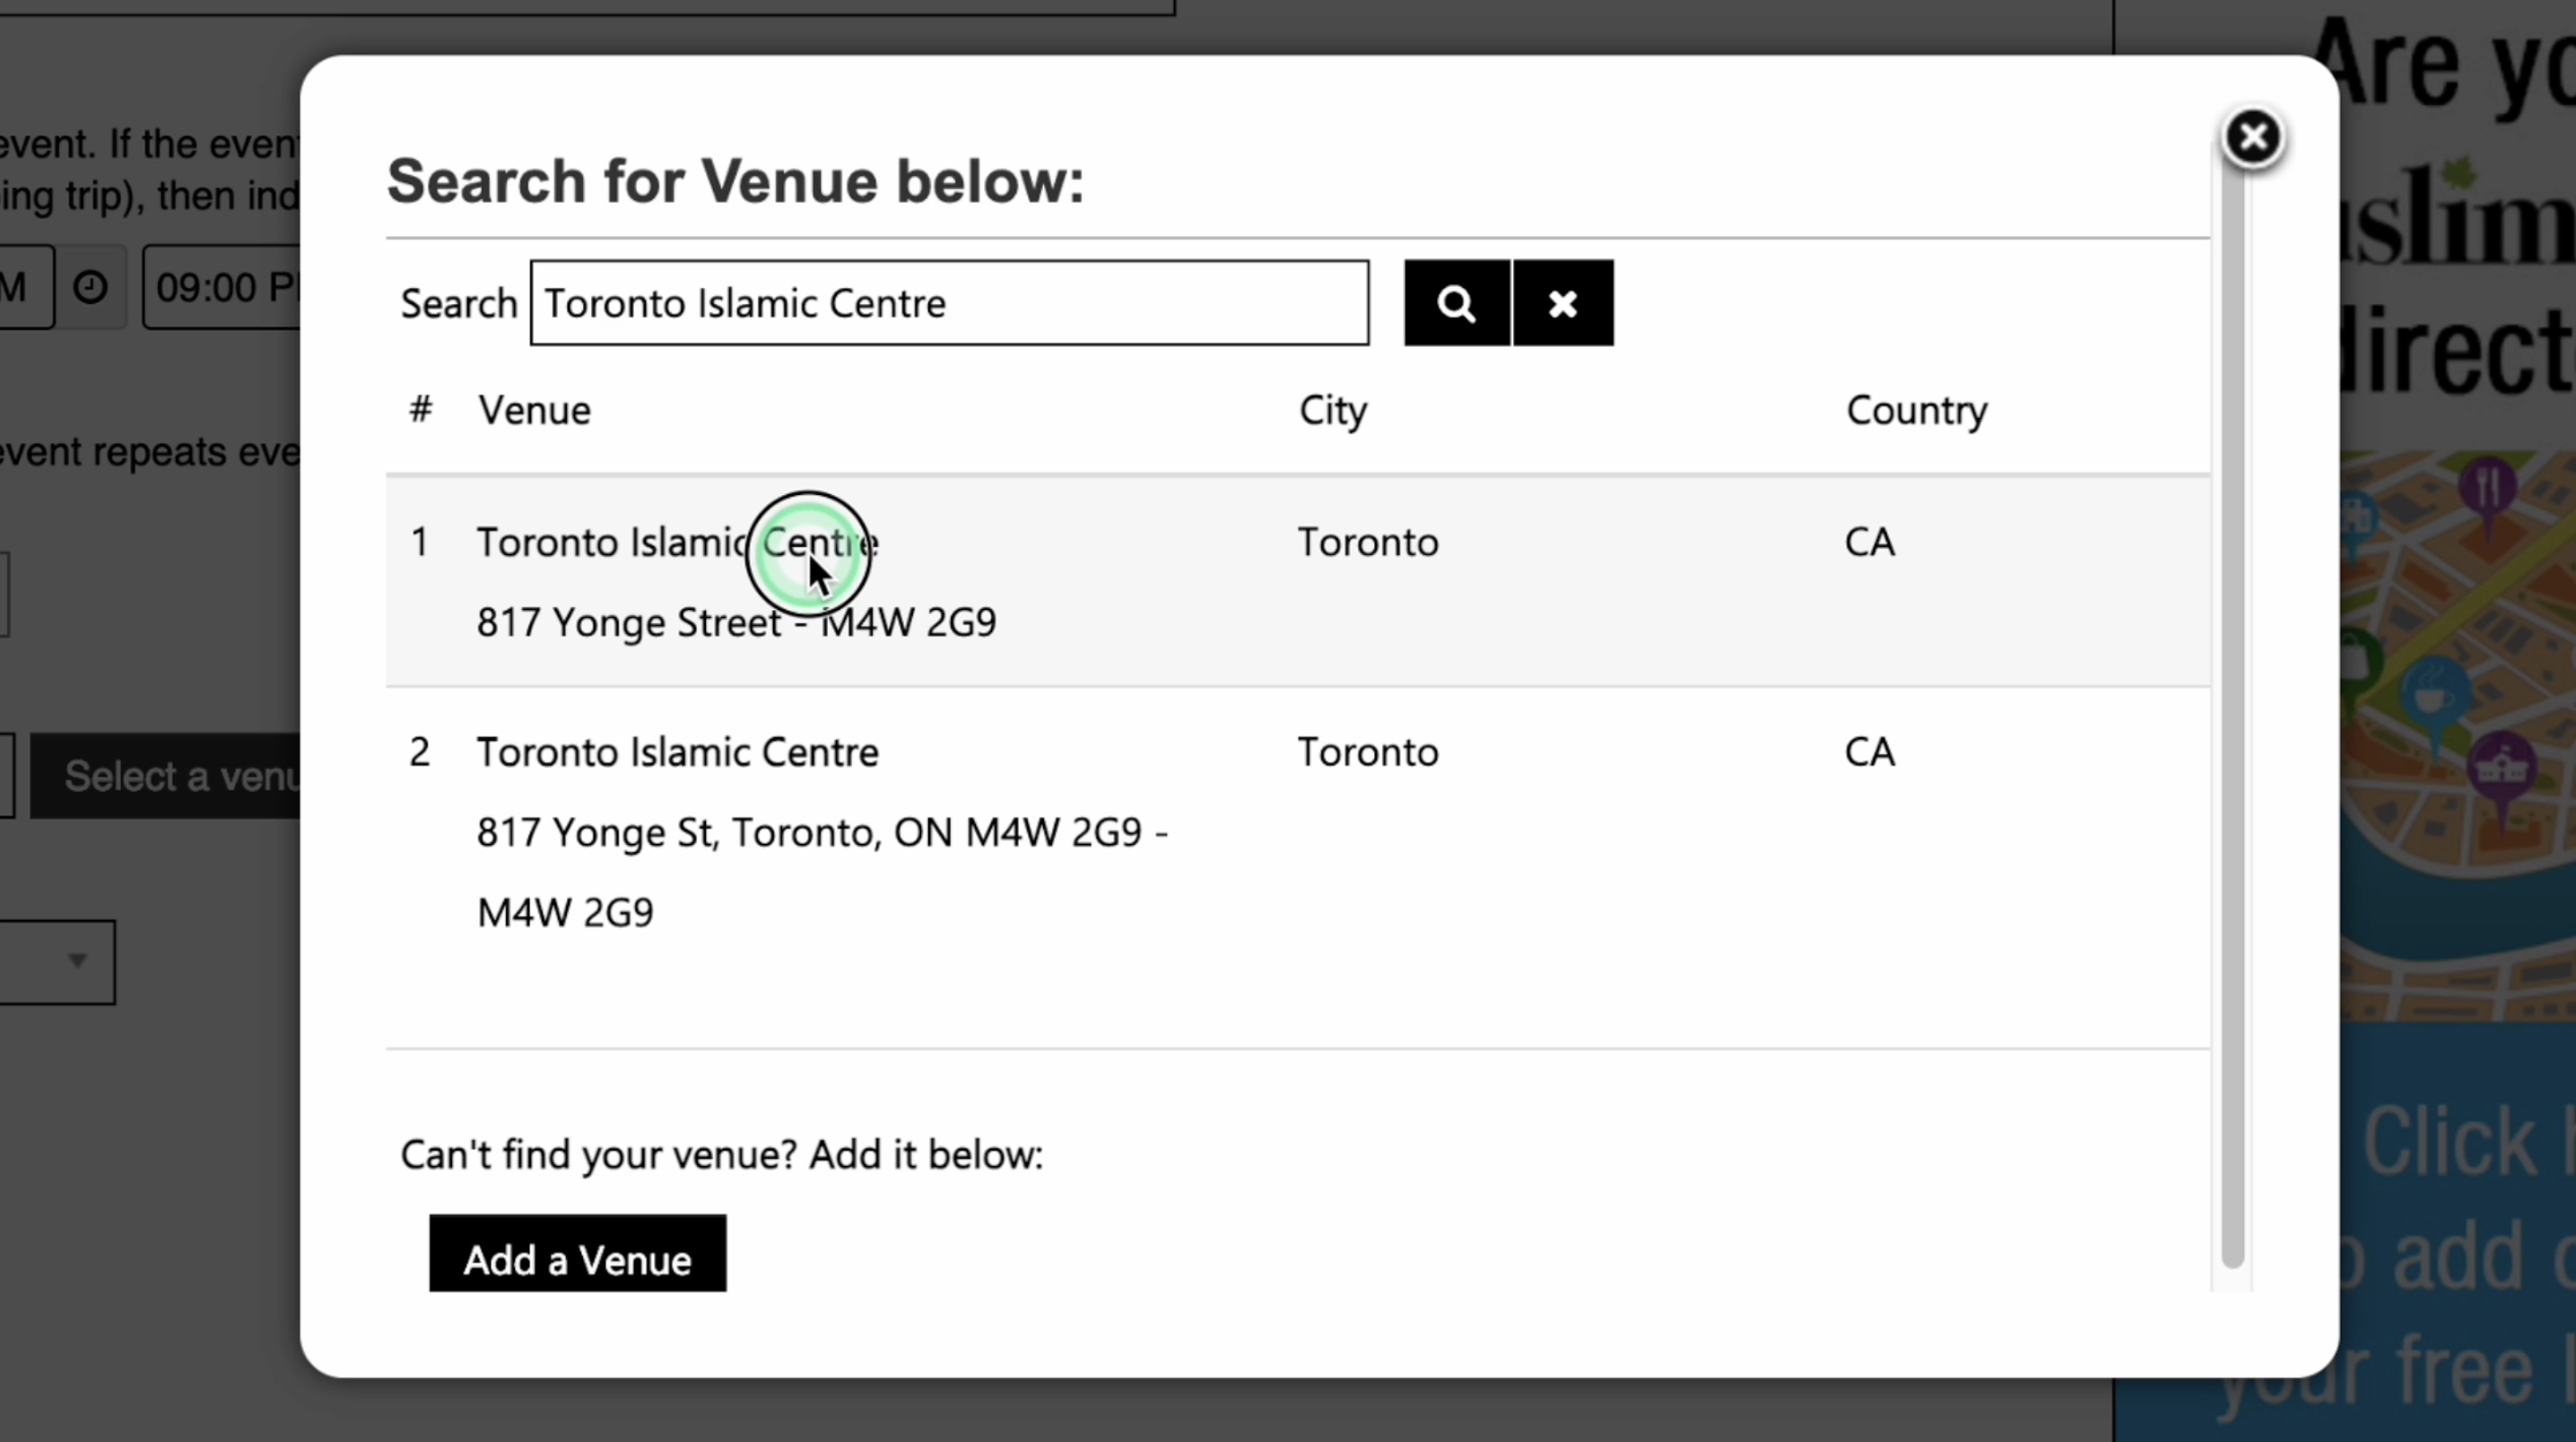
14. If the event has a physical venue, search for its venue name. Once the venue is shown, double click it to add it as the venue of your event.
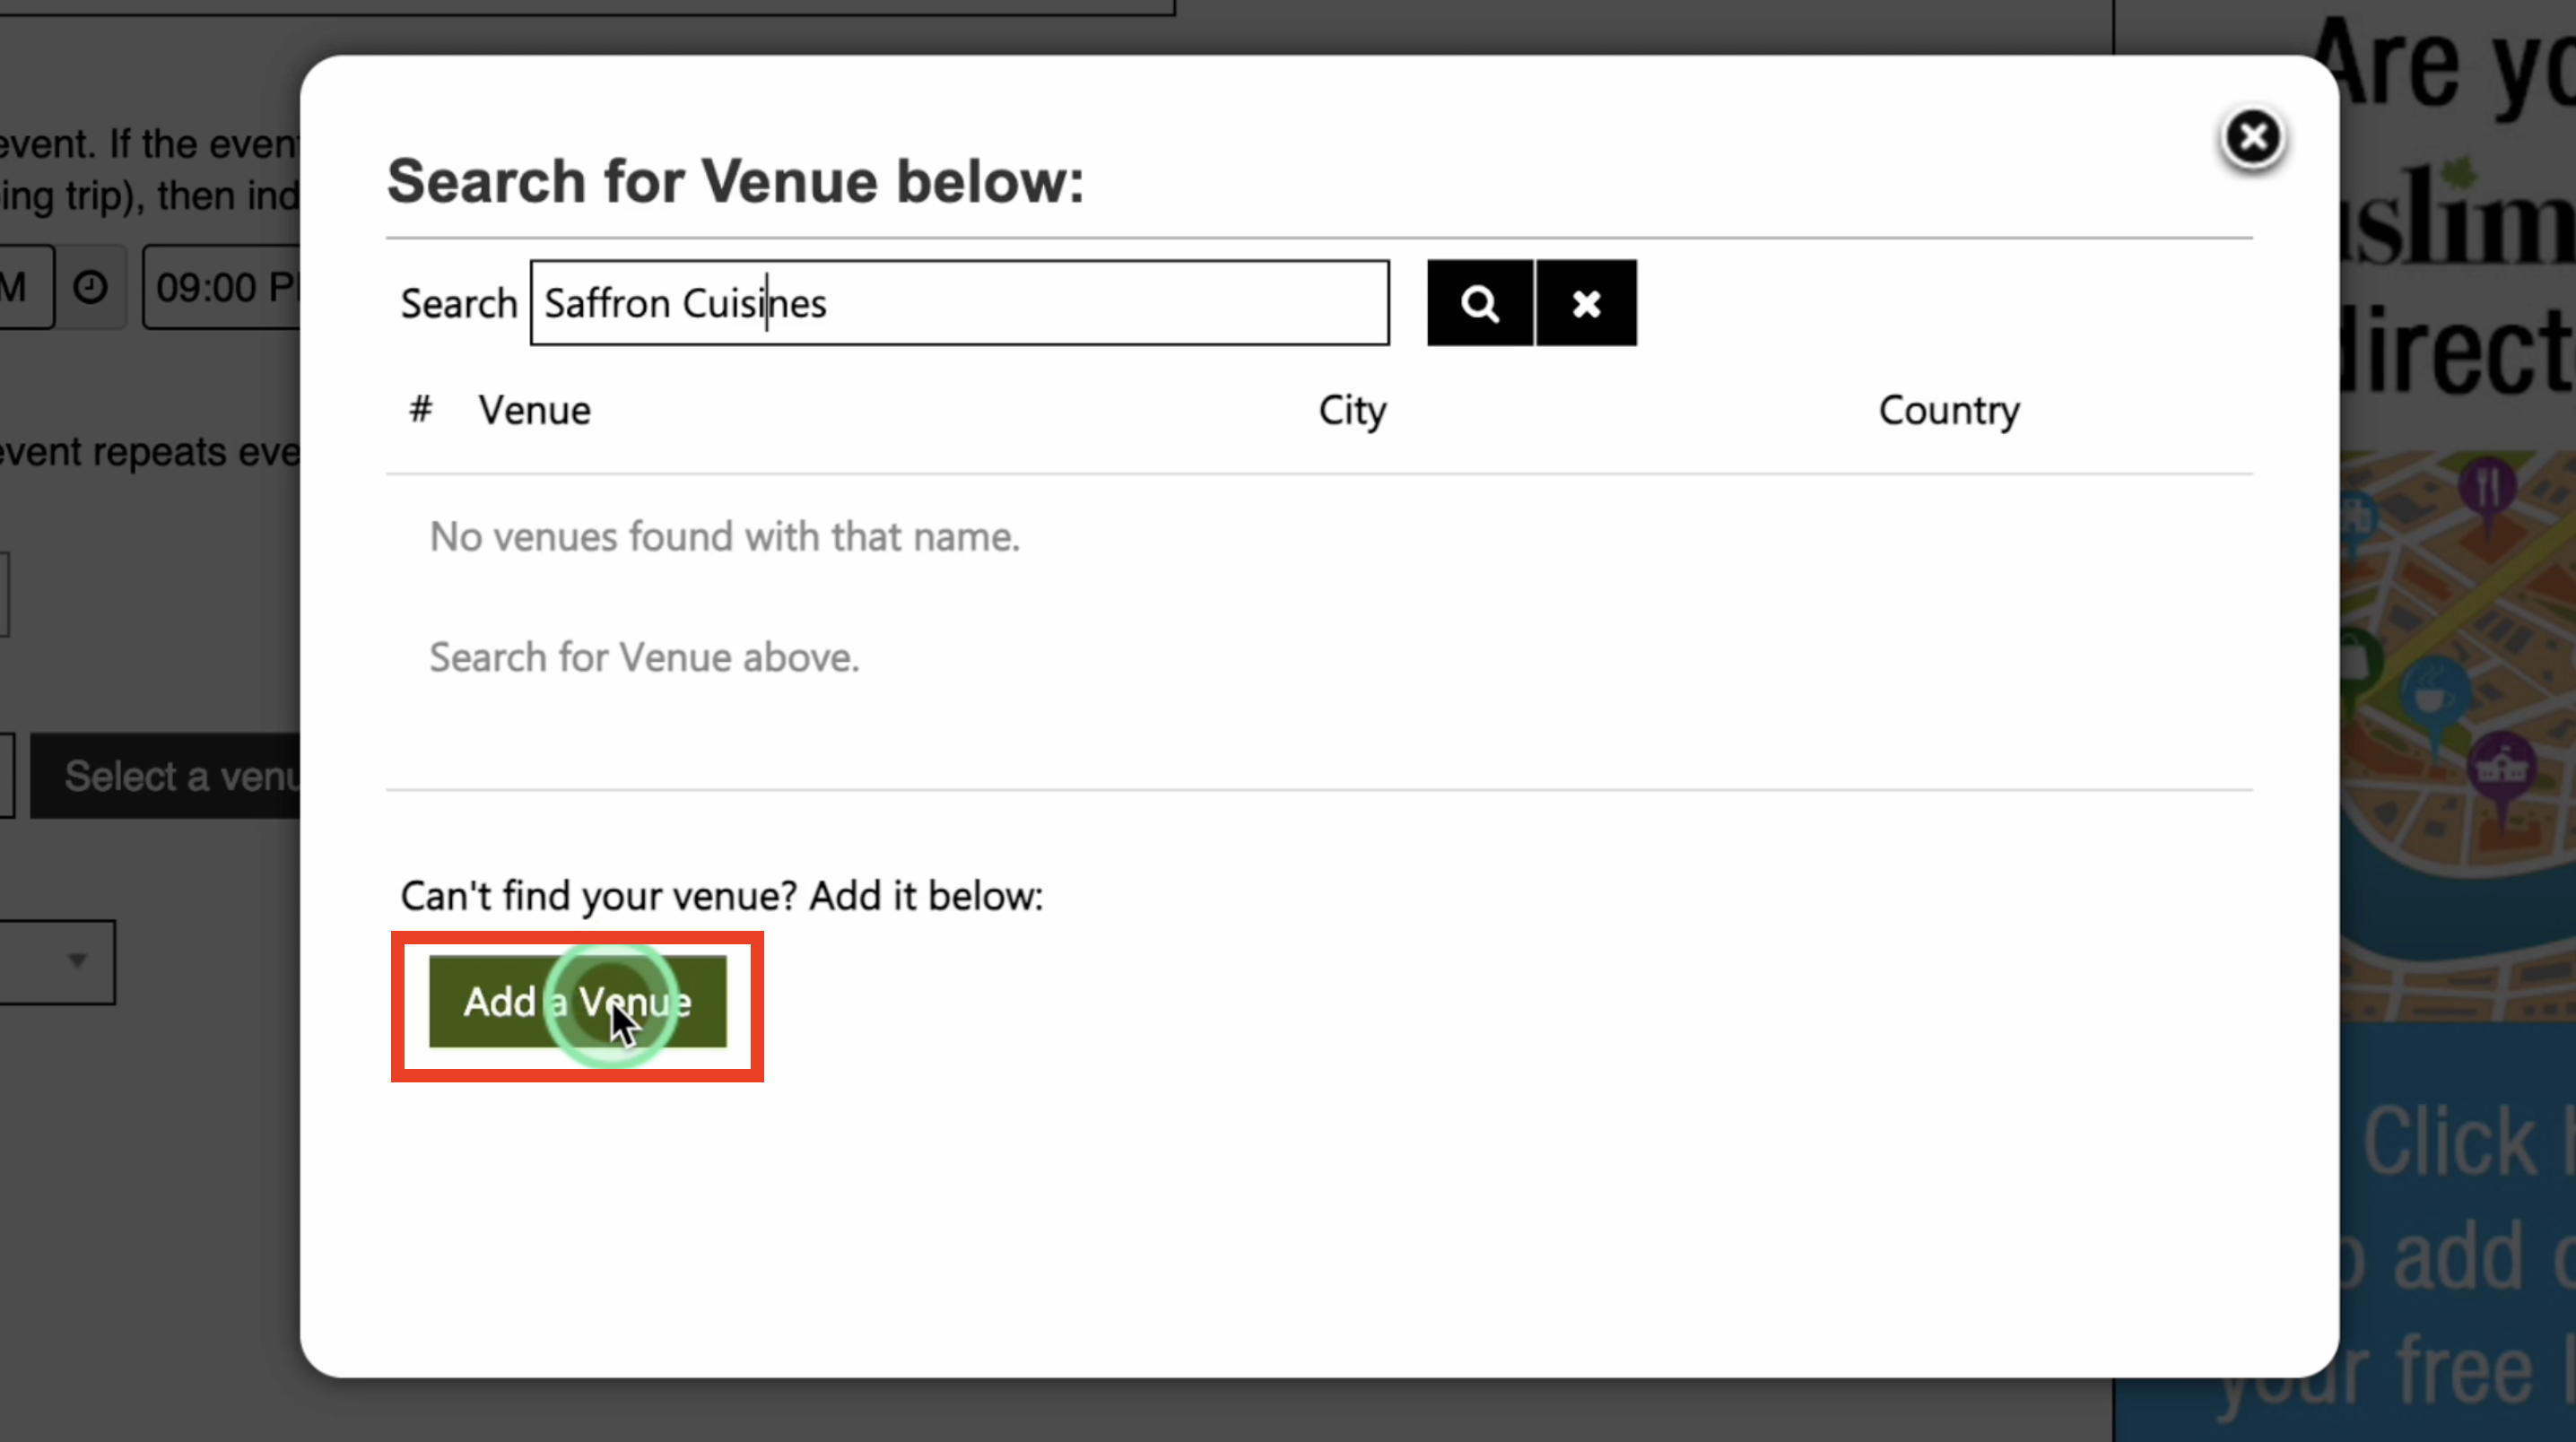
15. However, ff your venue doesn't appear in the search results, manually enter the details by clicking "Add a Venue" button below.
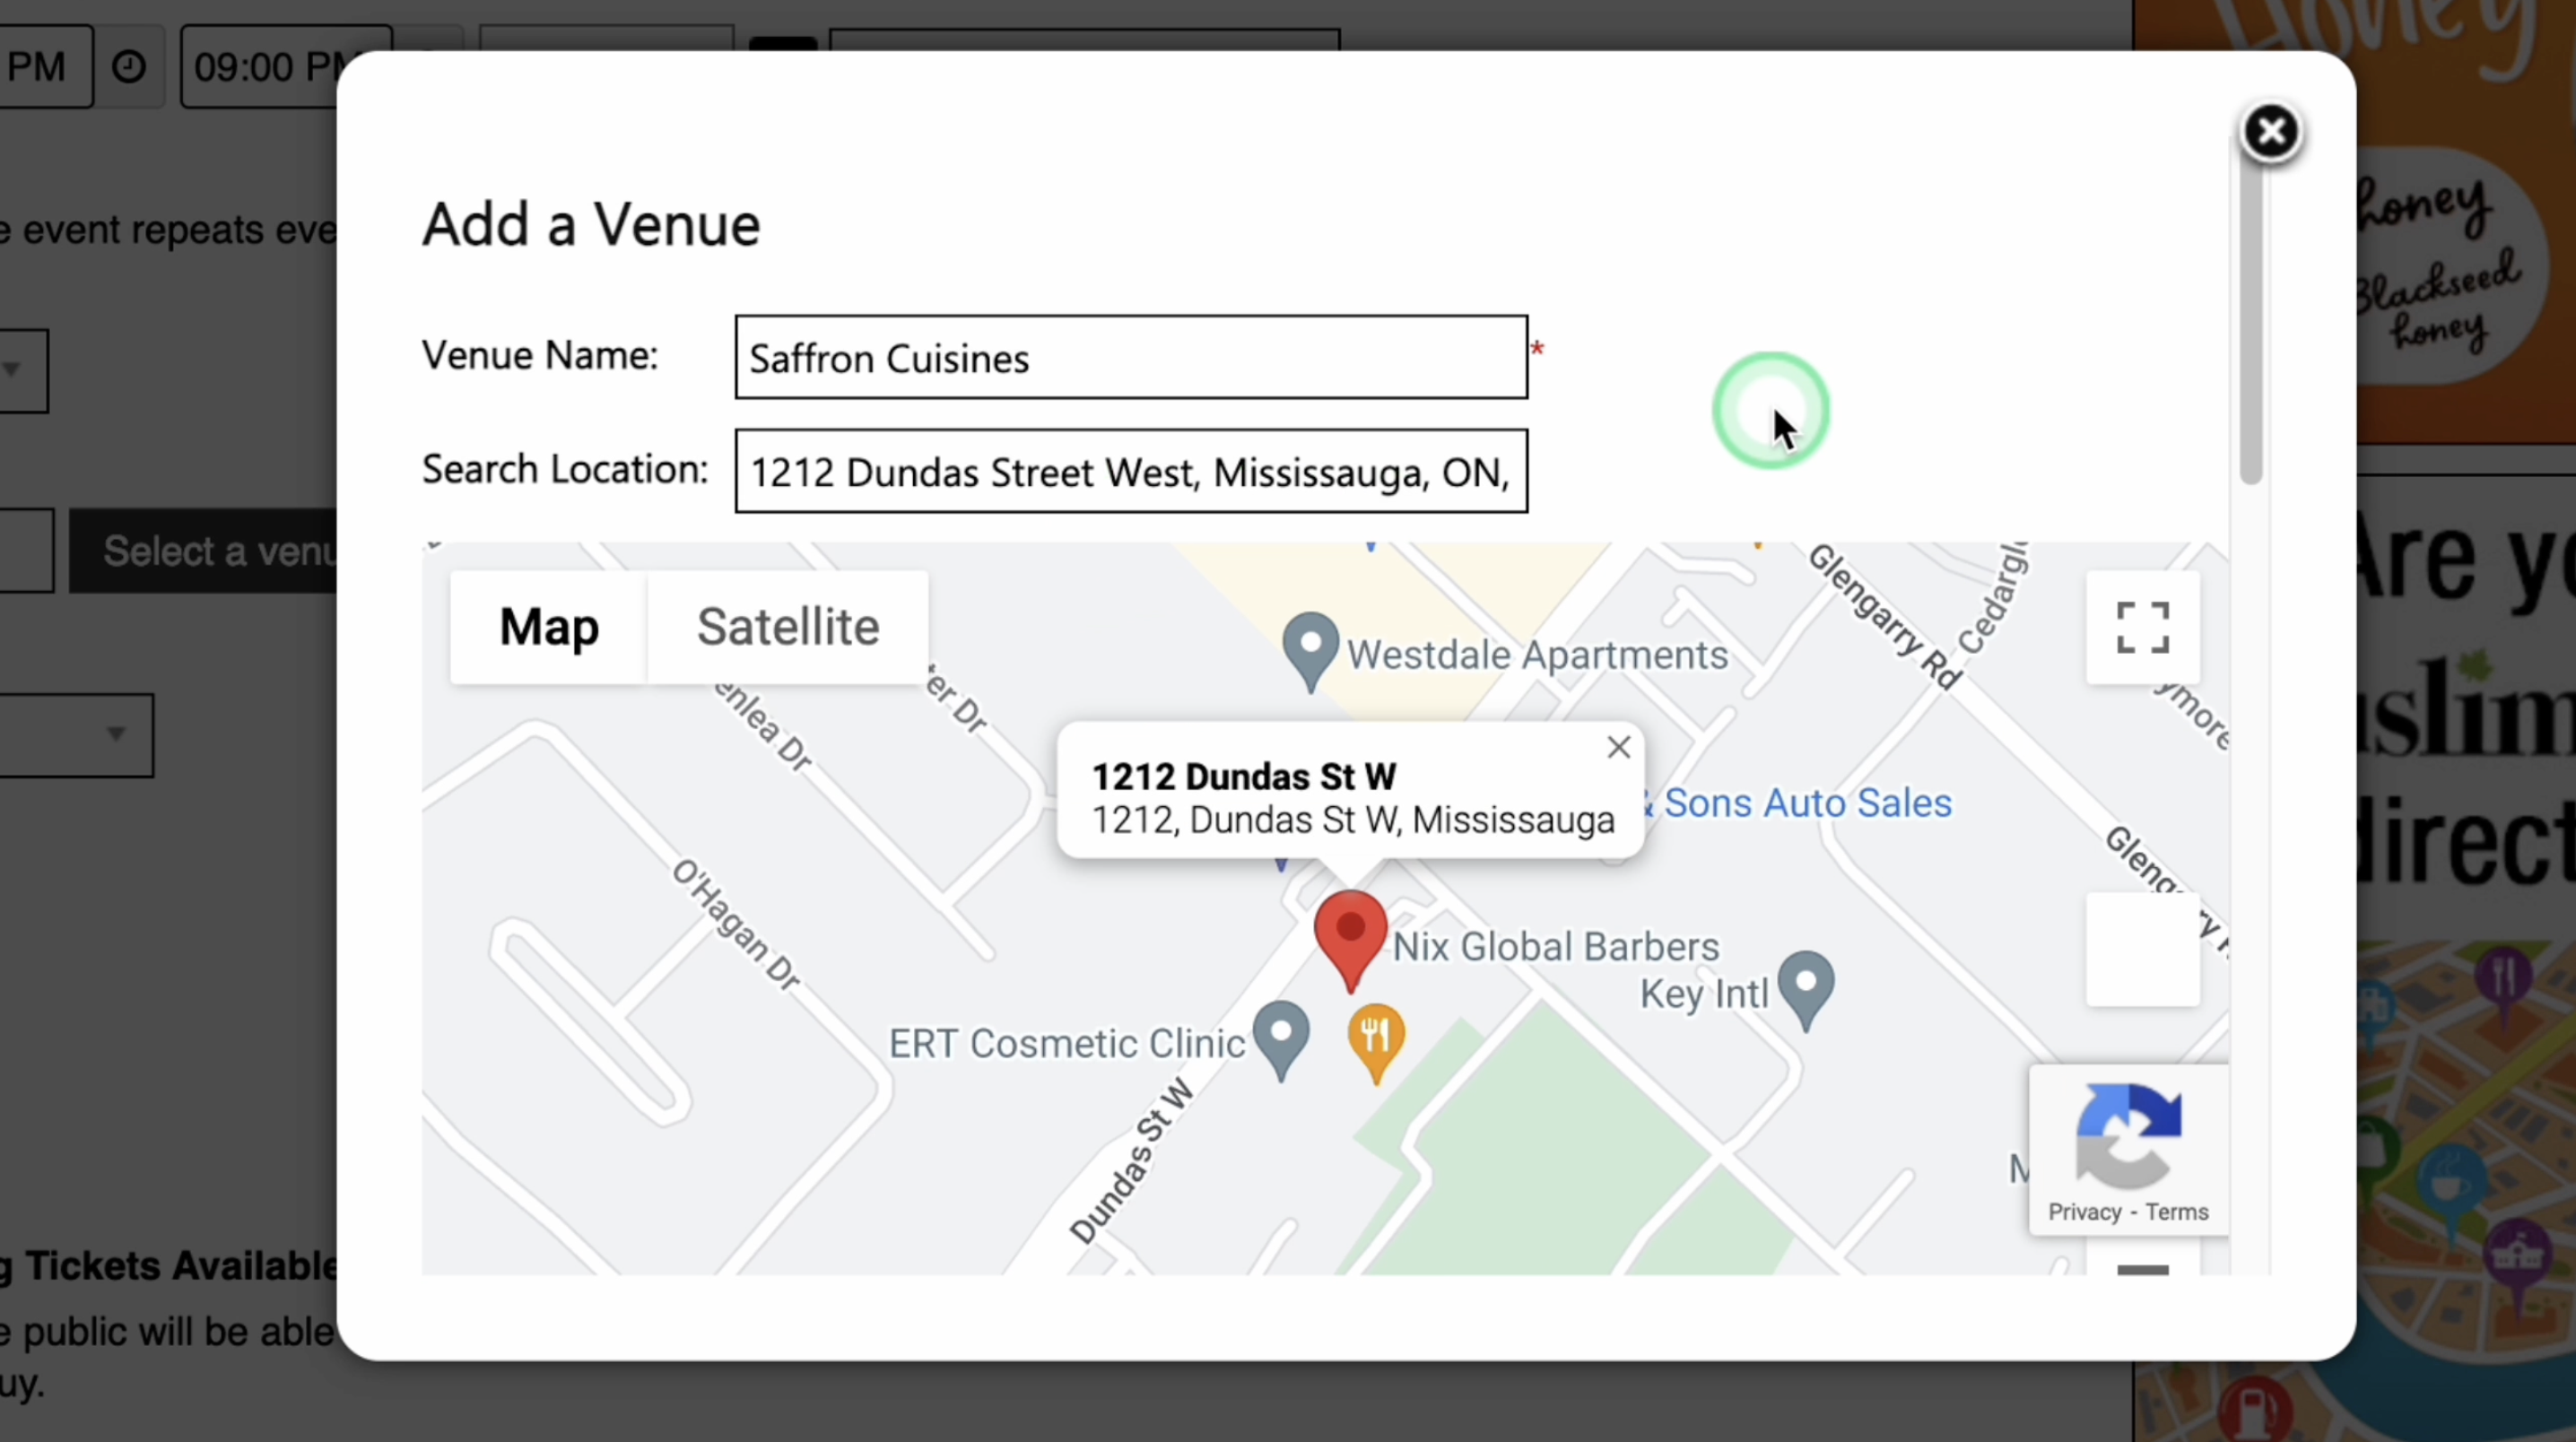
16. Enter the name and the location needed for the venue. Then click “Save”.
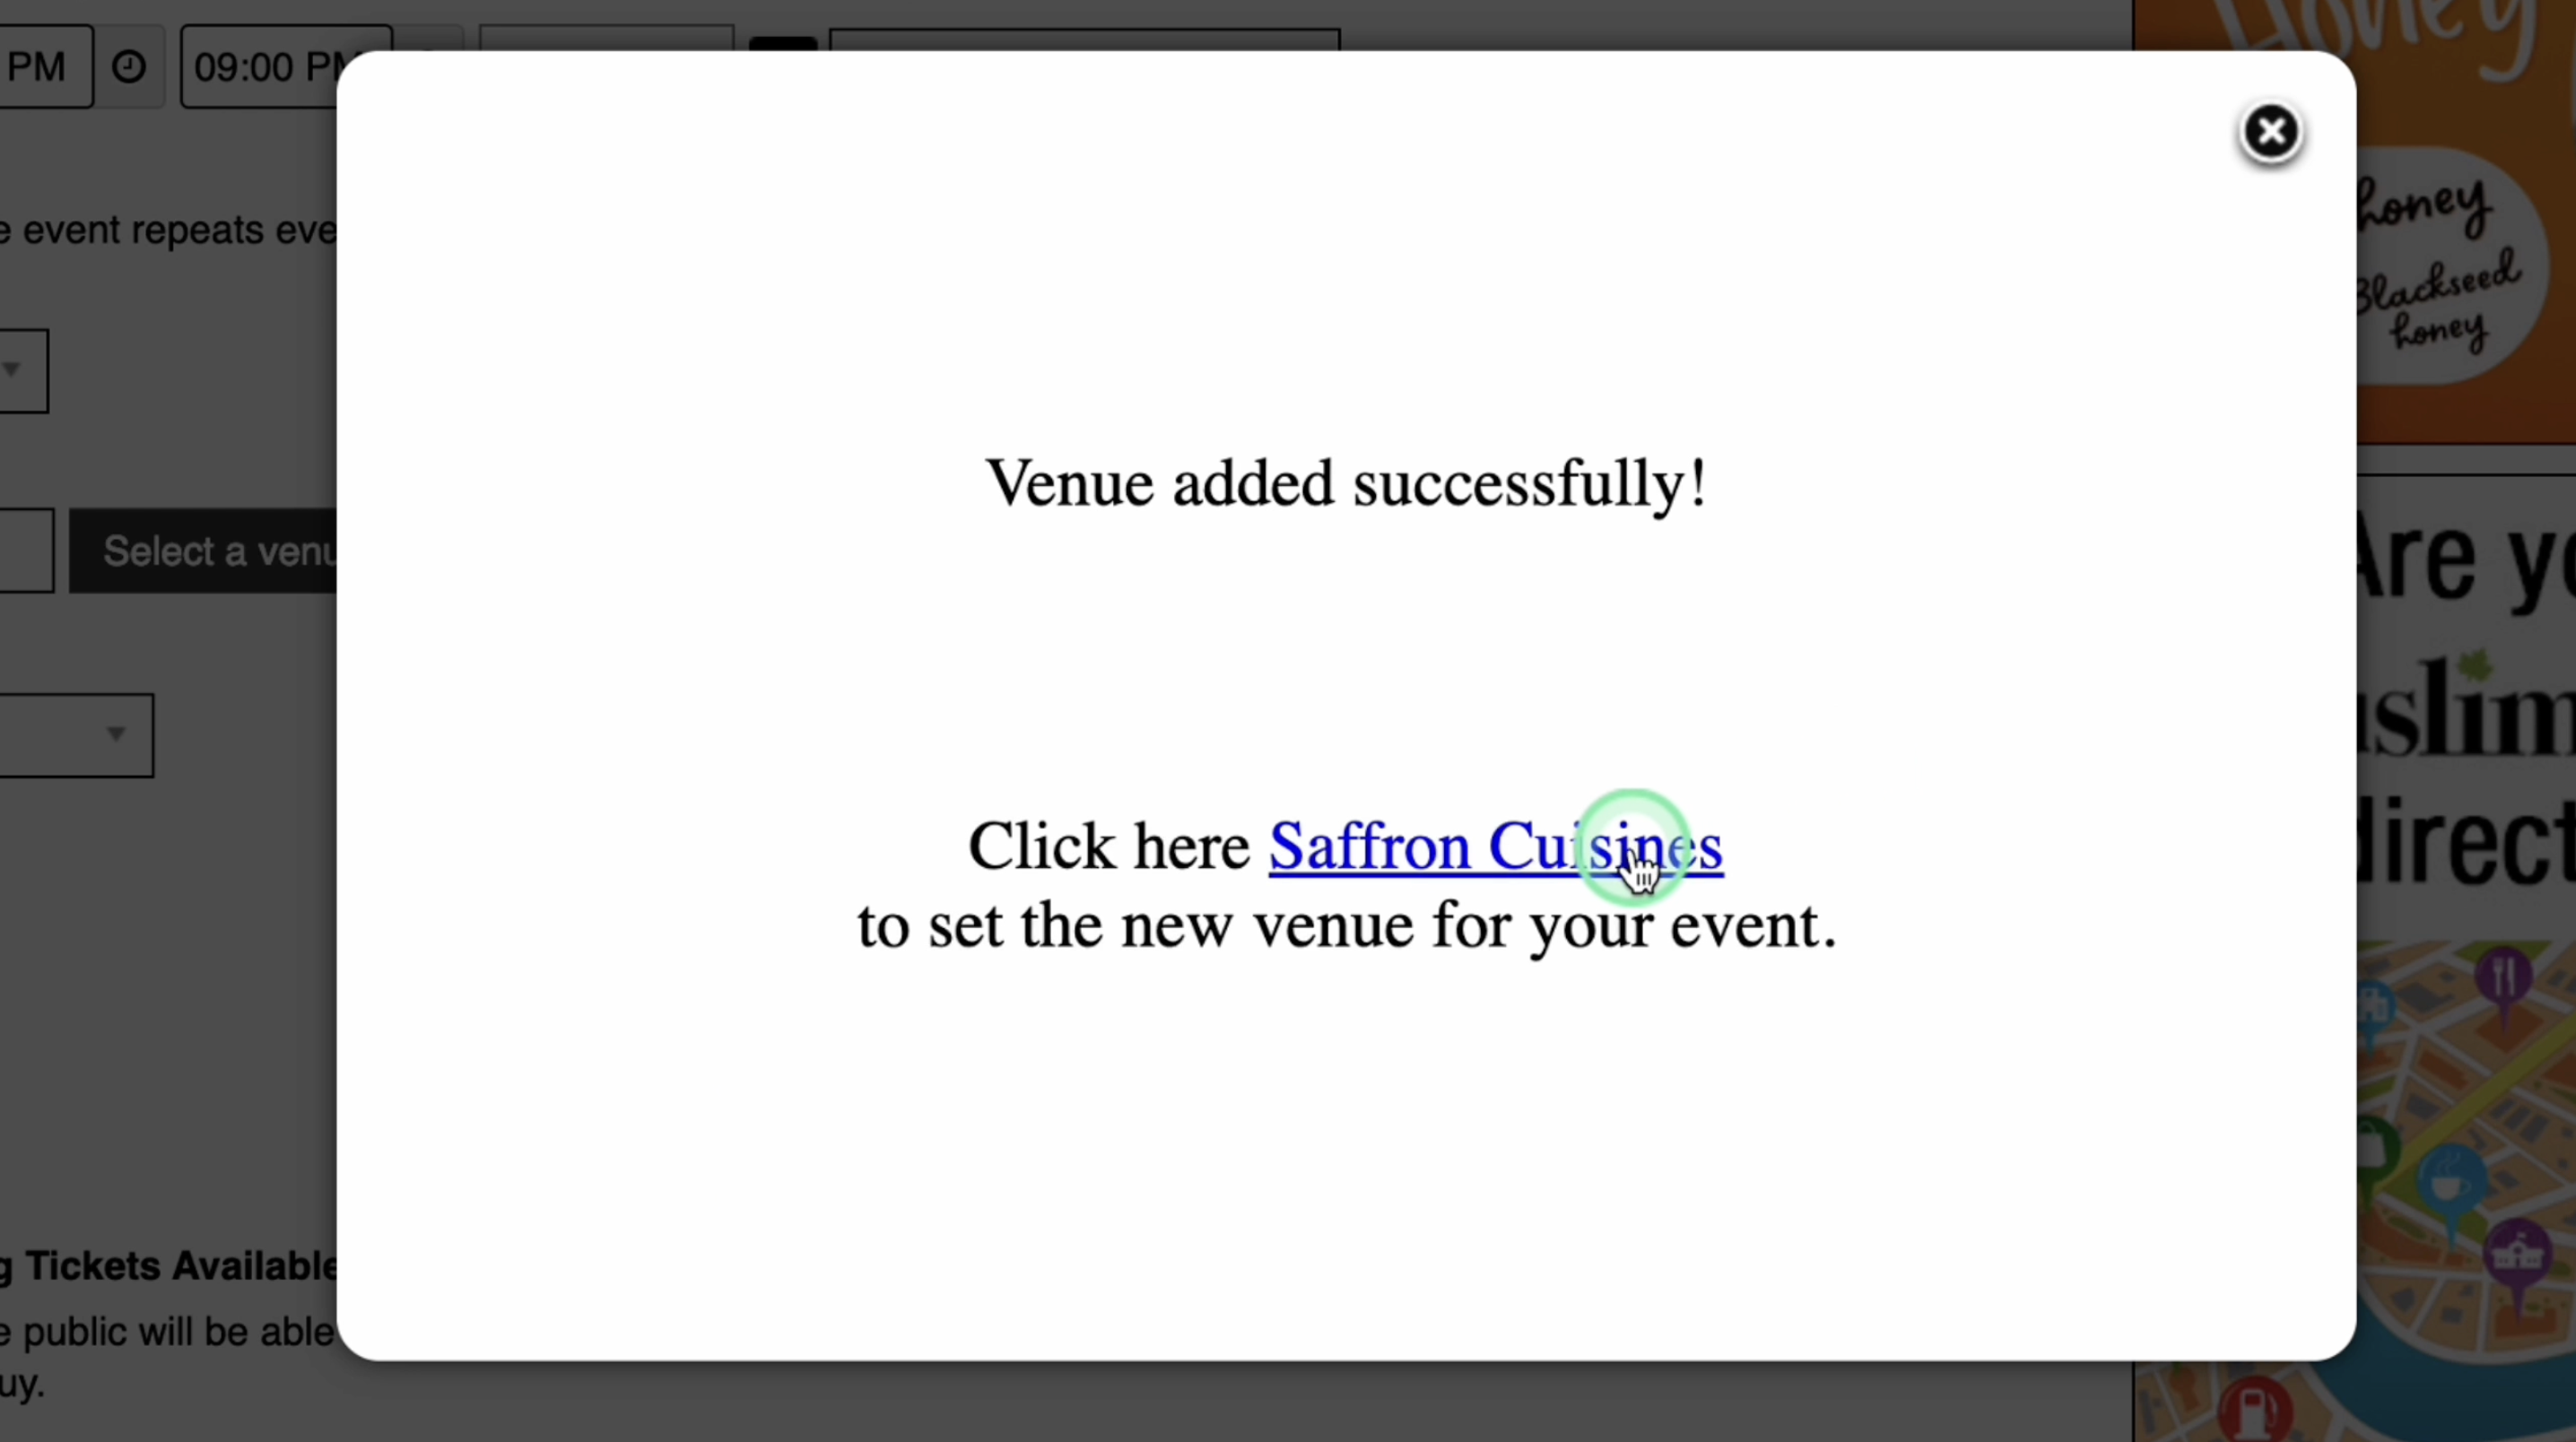
17. You can now use the venue you added.
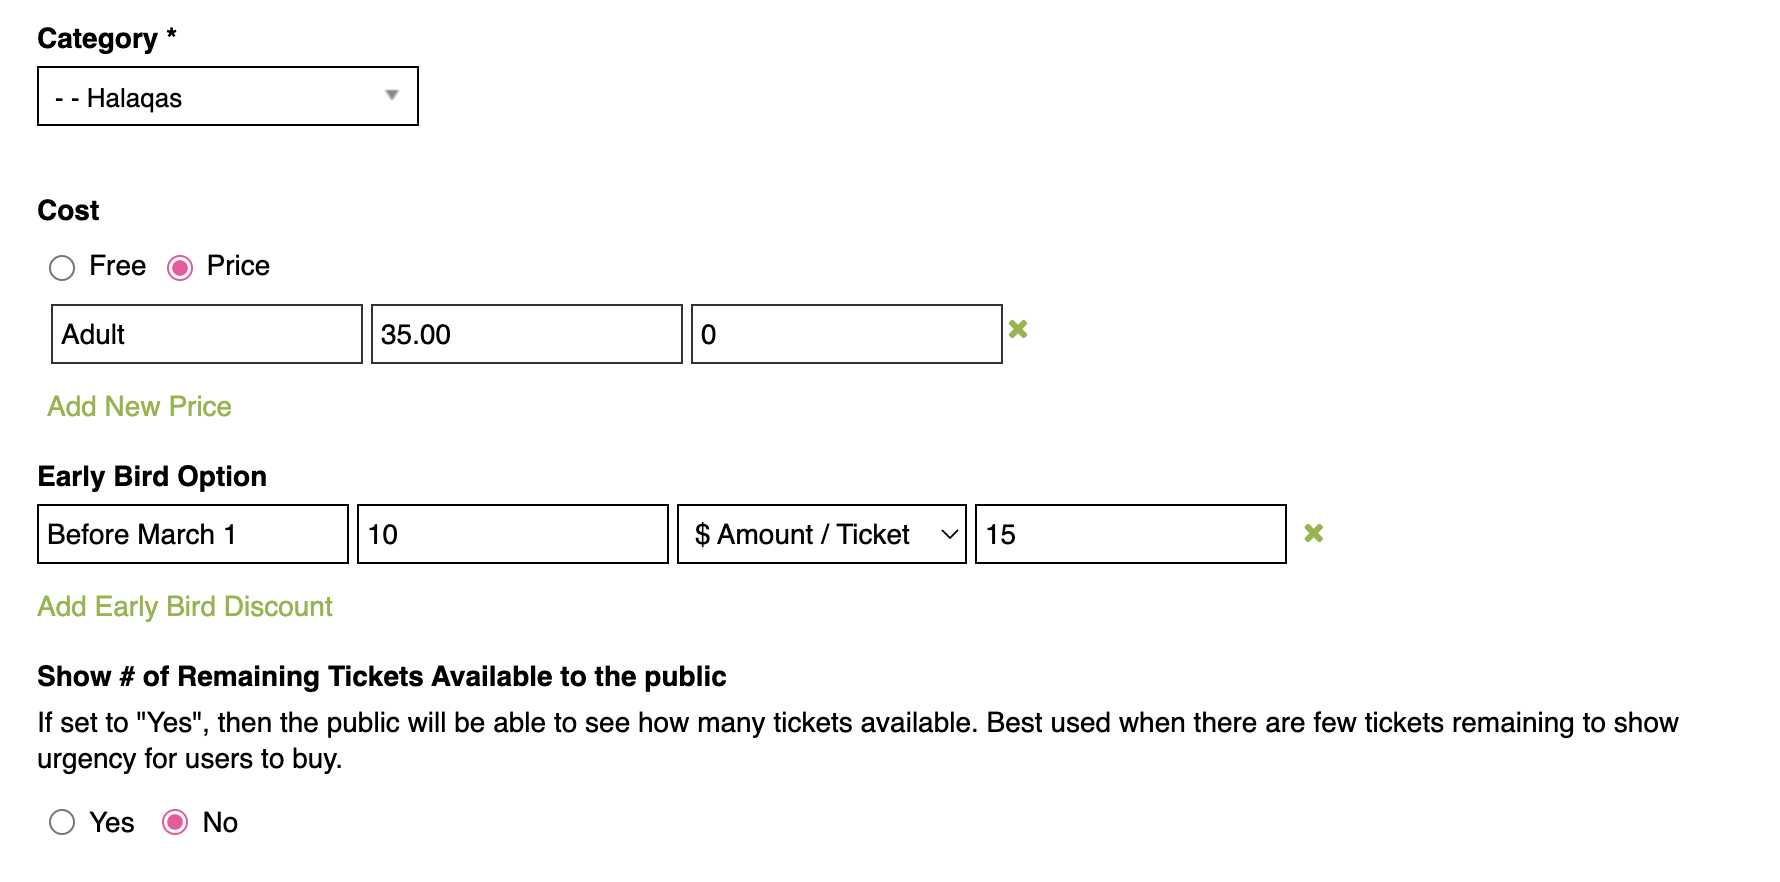
18. Category: Select the category of the event.
19. Cost: Choose the event cost, which can be free or priced. If there's a fee, input the ticket name (such as Adult Ticket), ticket price, and capacity. For events with multiple prices, you can click “Add New Price”. Leaving the capacity field empty indicates that there are no specified limits.
20. Early Bird Option: There's an early bird option available. Enter the ticket name, specify the discount, and indicate the number of days before the event here. When applying a discount, you have the option to use a percentage, like a 10% discount. Or you can specify a fixed amount, such as a $10 discount. You can add multiple early bird option by clicking “Add Early Bird Discount”.
21. Show # of Remaining Tickets Available to the public: You have the option to show the number of "Remaining Tickets Available" to show urgency for users to buy.
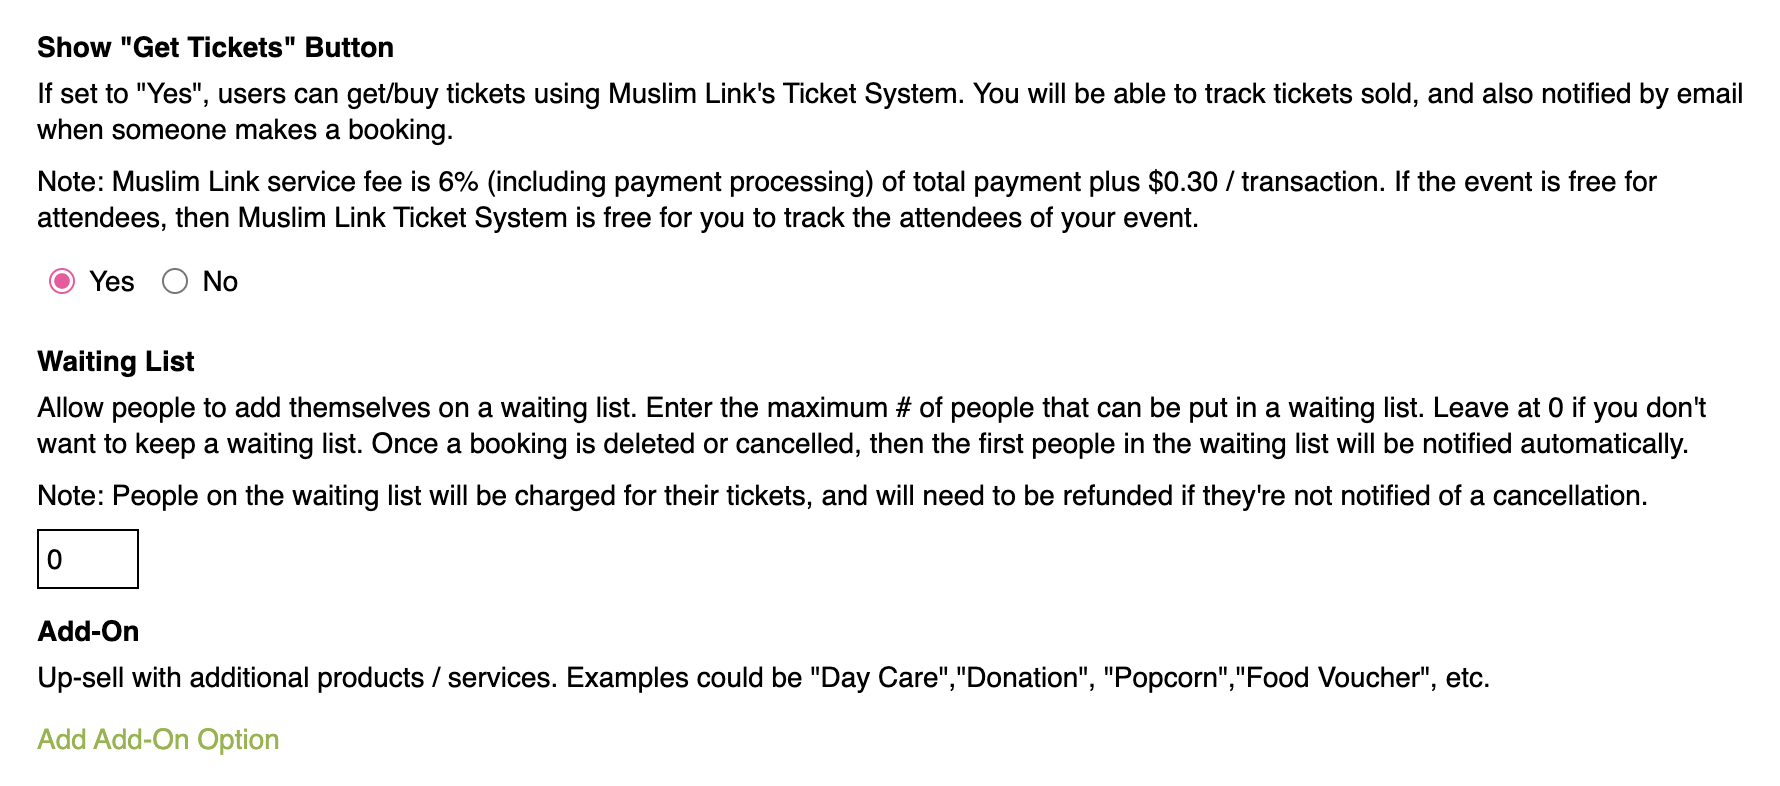
22. Show "Get Tickets" Button: You also have the option to have a “Get Tickets” button. Users can buy tickets via Muslim Link's Ticket System, and you'll receive email notifications for each booking. Note that Muslim Link charges a 6% service fee and $0.30 per transaction. However, if the event is free for attendees, using Muslim Link Ticket System to track them is also free for you.
23. Waiting List: When the Muslim Link's Ticket System is used, you can enable a waiting list with a maximum number of slots. When a booking is canceled, those on the waiting list are automatically notified. Waiting list individuals will be charged but refunded if not notified of a cancellation. Set to 0 if you do not wish to use a Waiting list.
24. Add-On: You can offer additional products or services for an extra charge here. Type the Add-on name then input its price. You can add multiple add-ons by clicking “Add Add-On Option”.
25. However, if you are not using the Muslim Link Ticket system, select “No” on the Show "Get Tickets”. Then enter the registration link here.
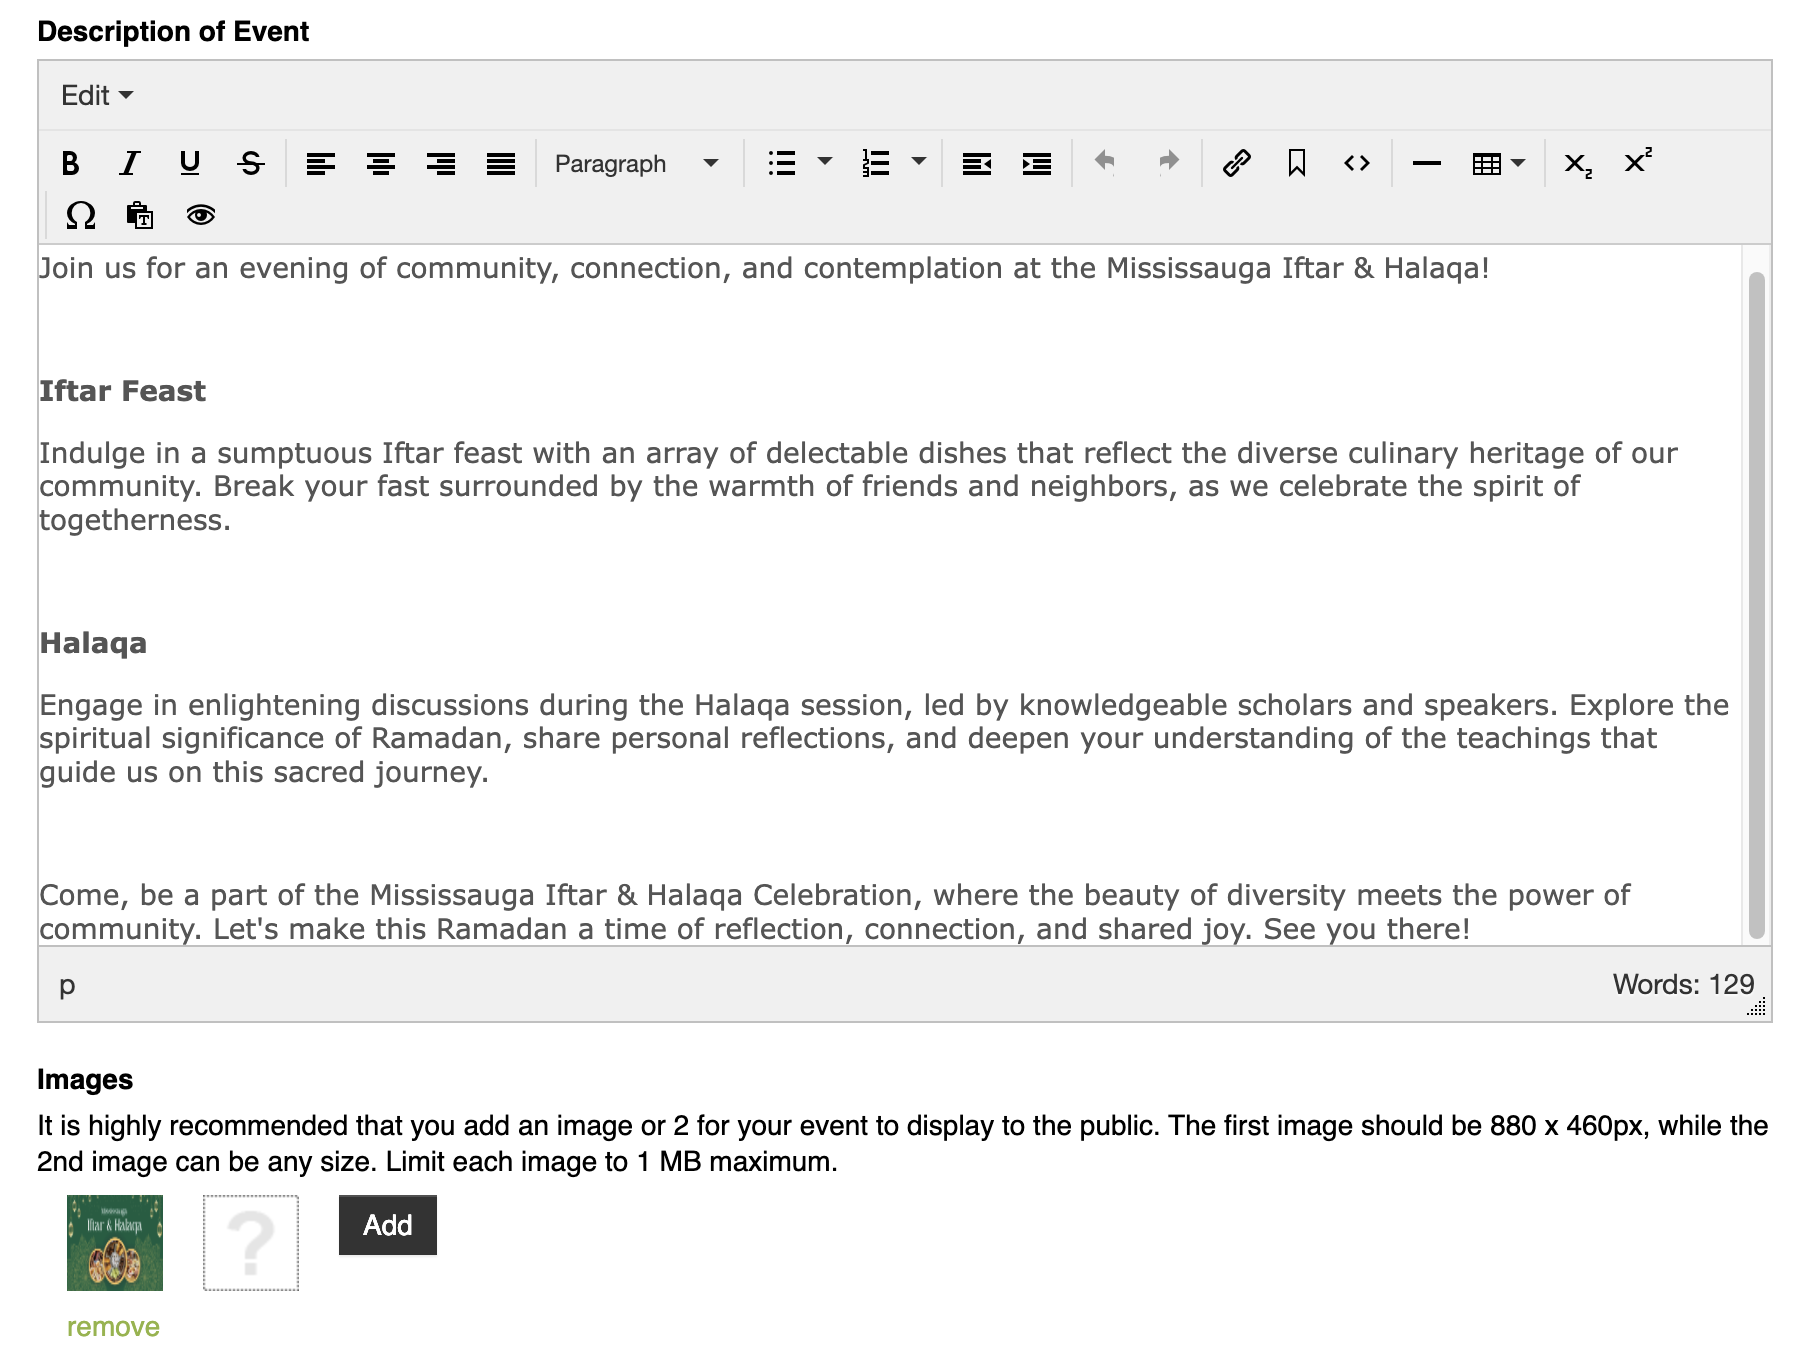
26. Description of Event: Provide the event description in this space.
27. Images: Upload the event images here. The first image displays on the events modules across the site. Best image size to upload for the first image is 880 x 460 px.
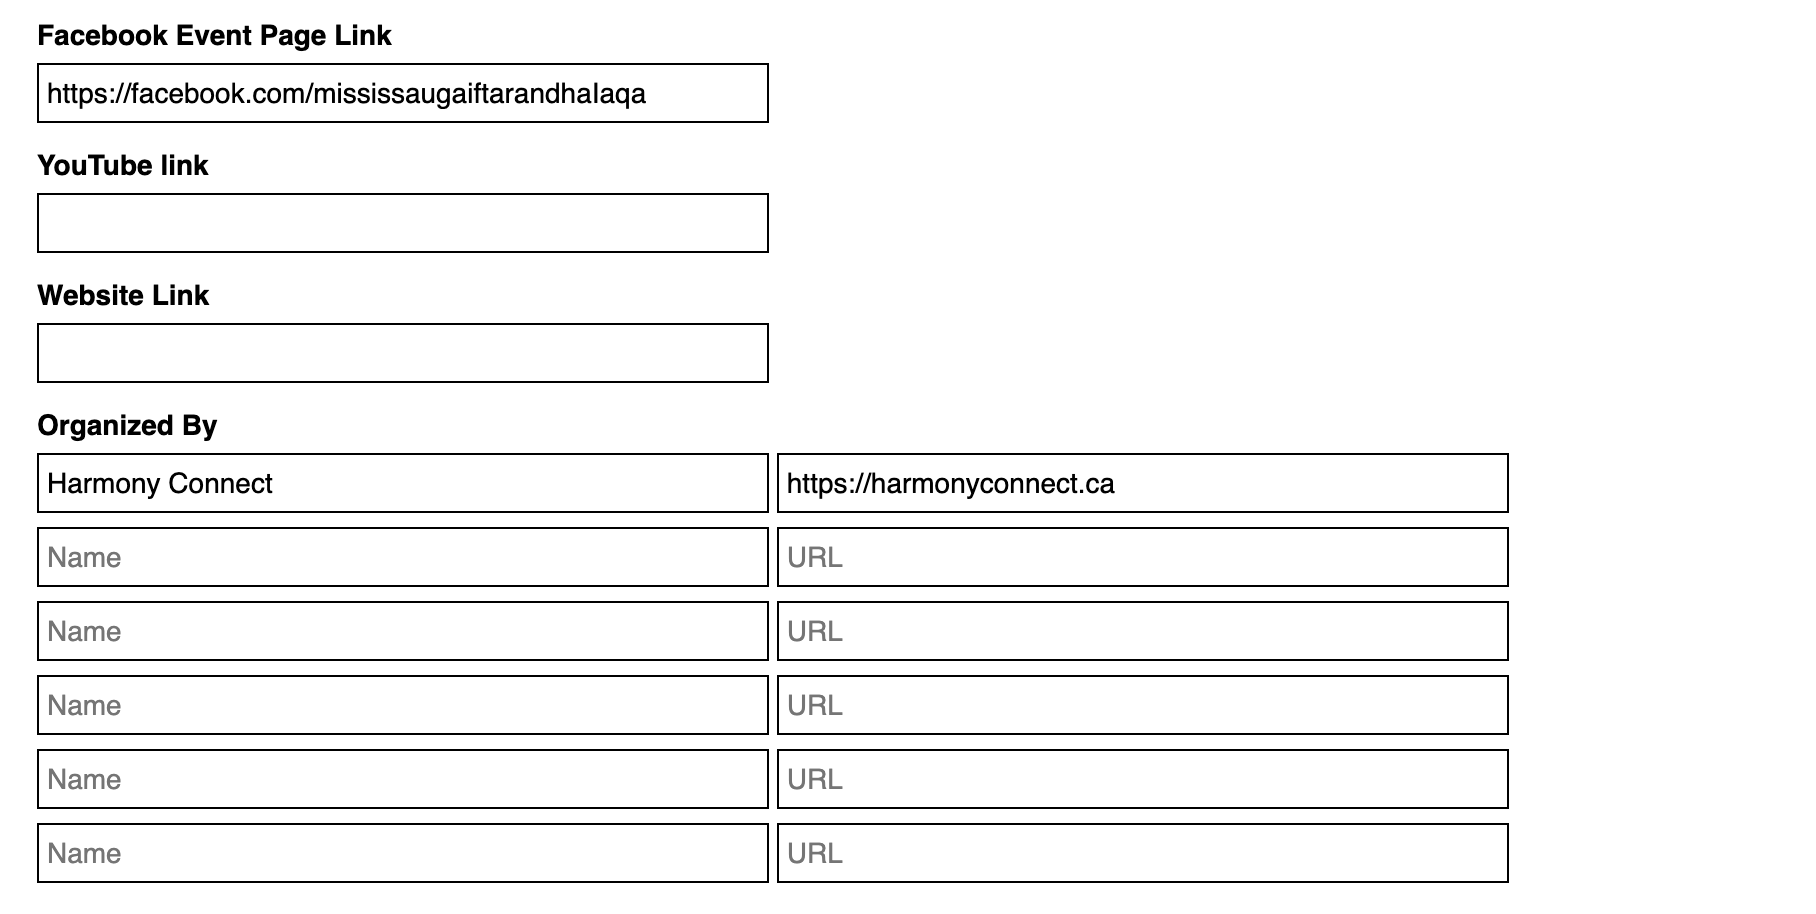
28. You can include any social media links for your event.
29. Organized By: You can also enter the organizer’s name and their URL.
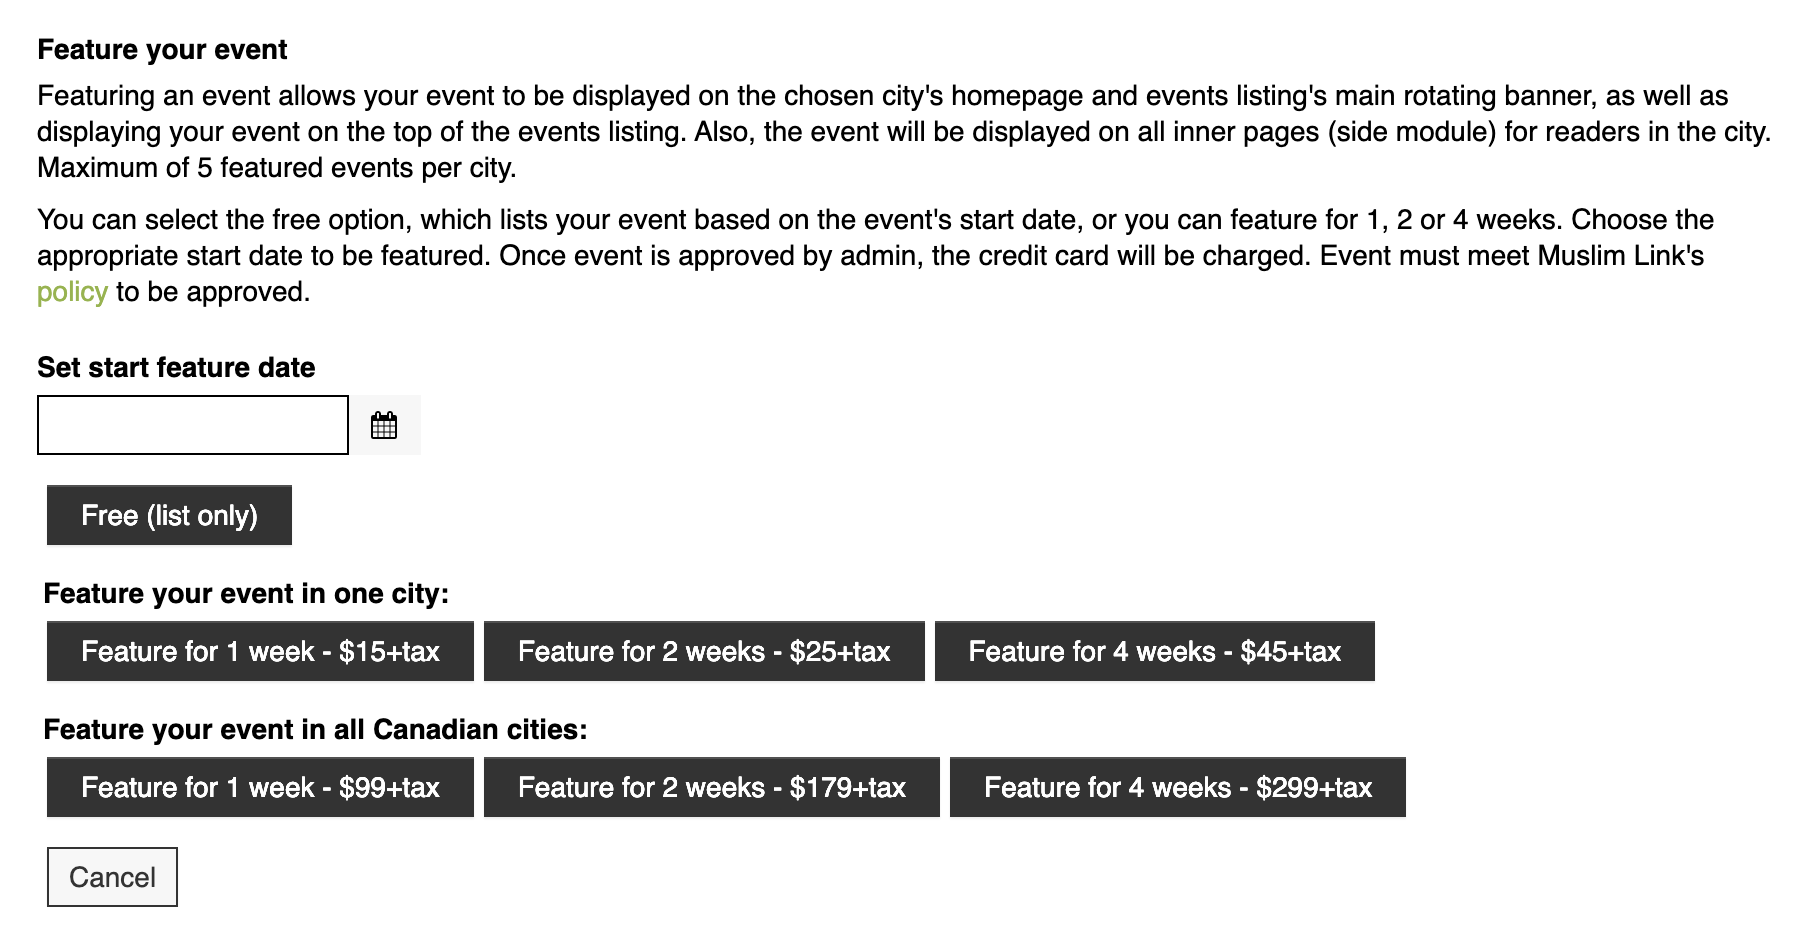
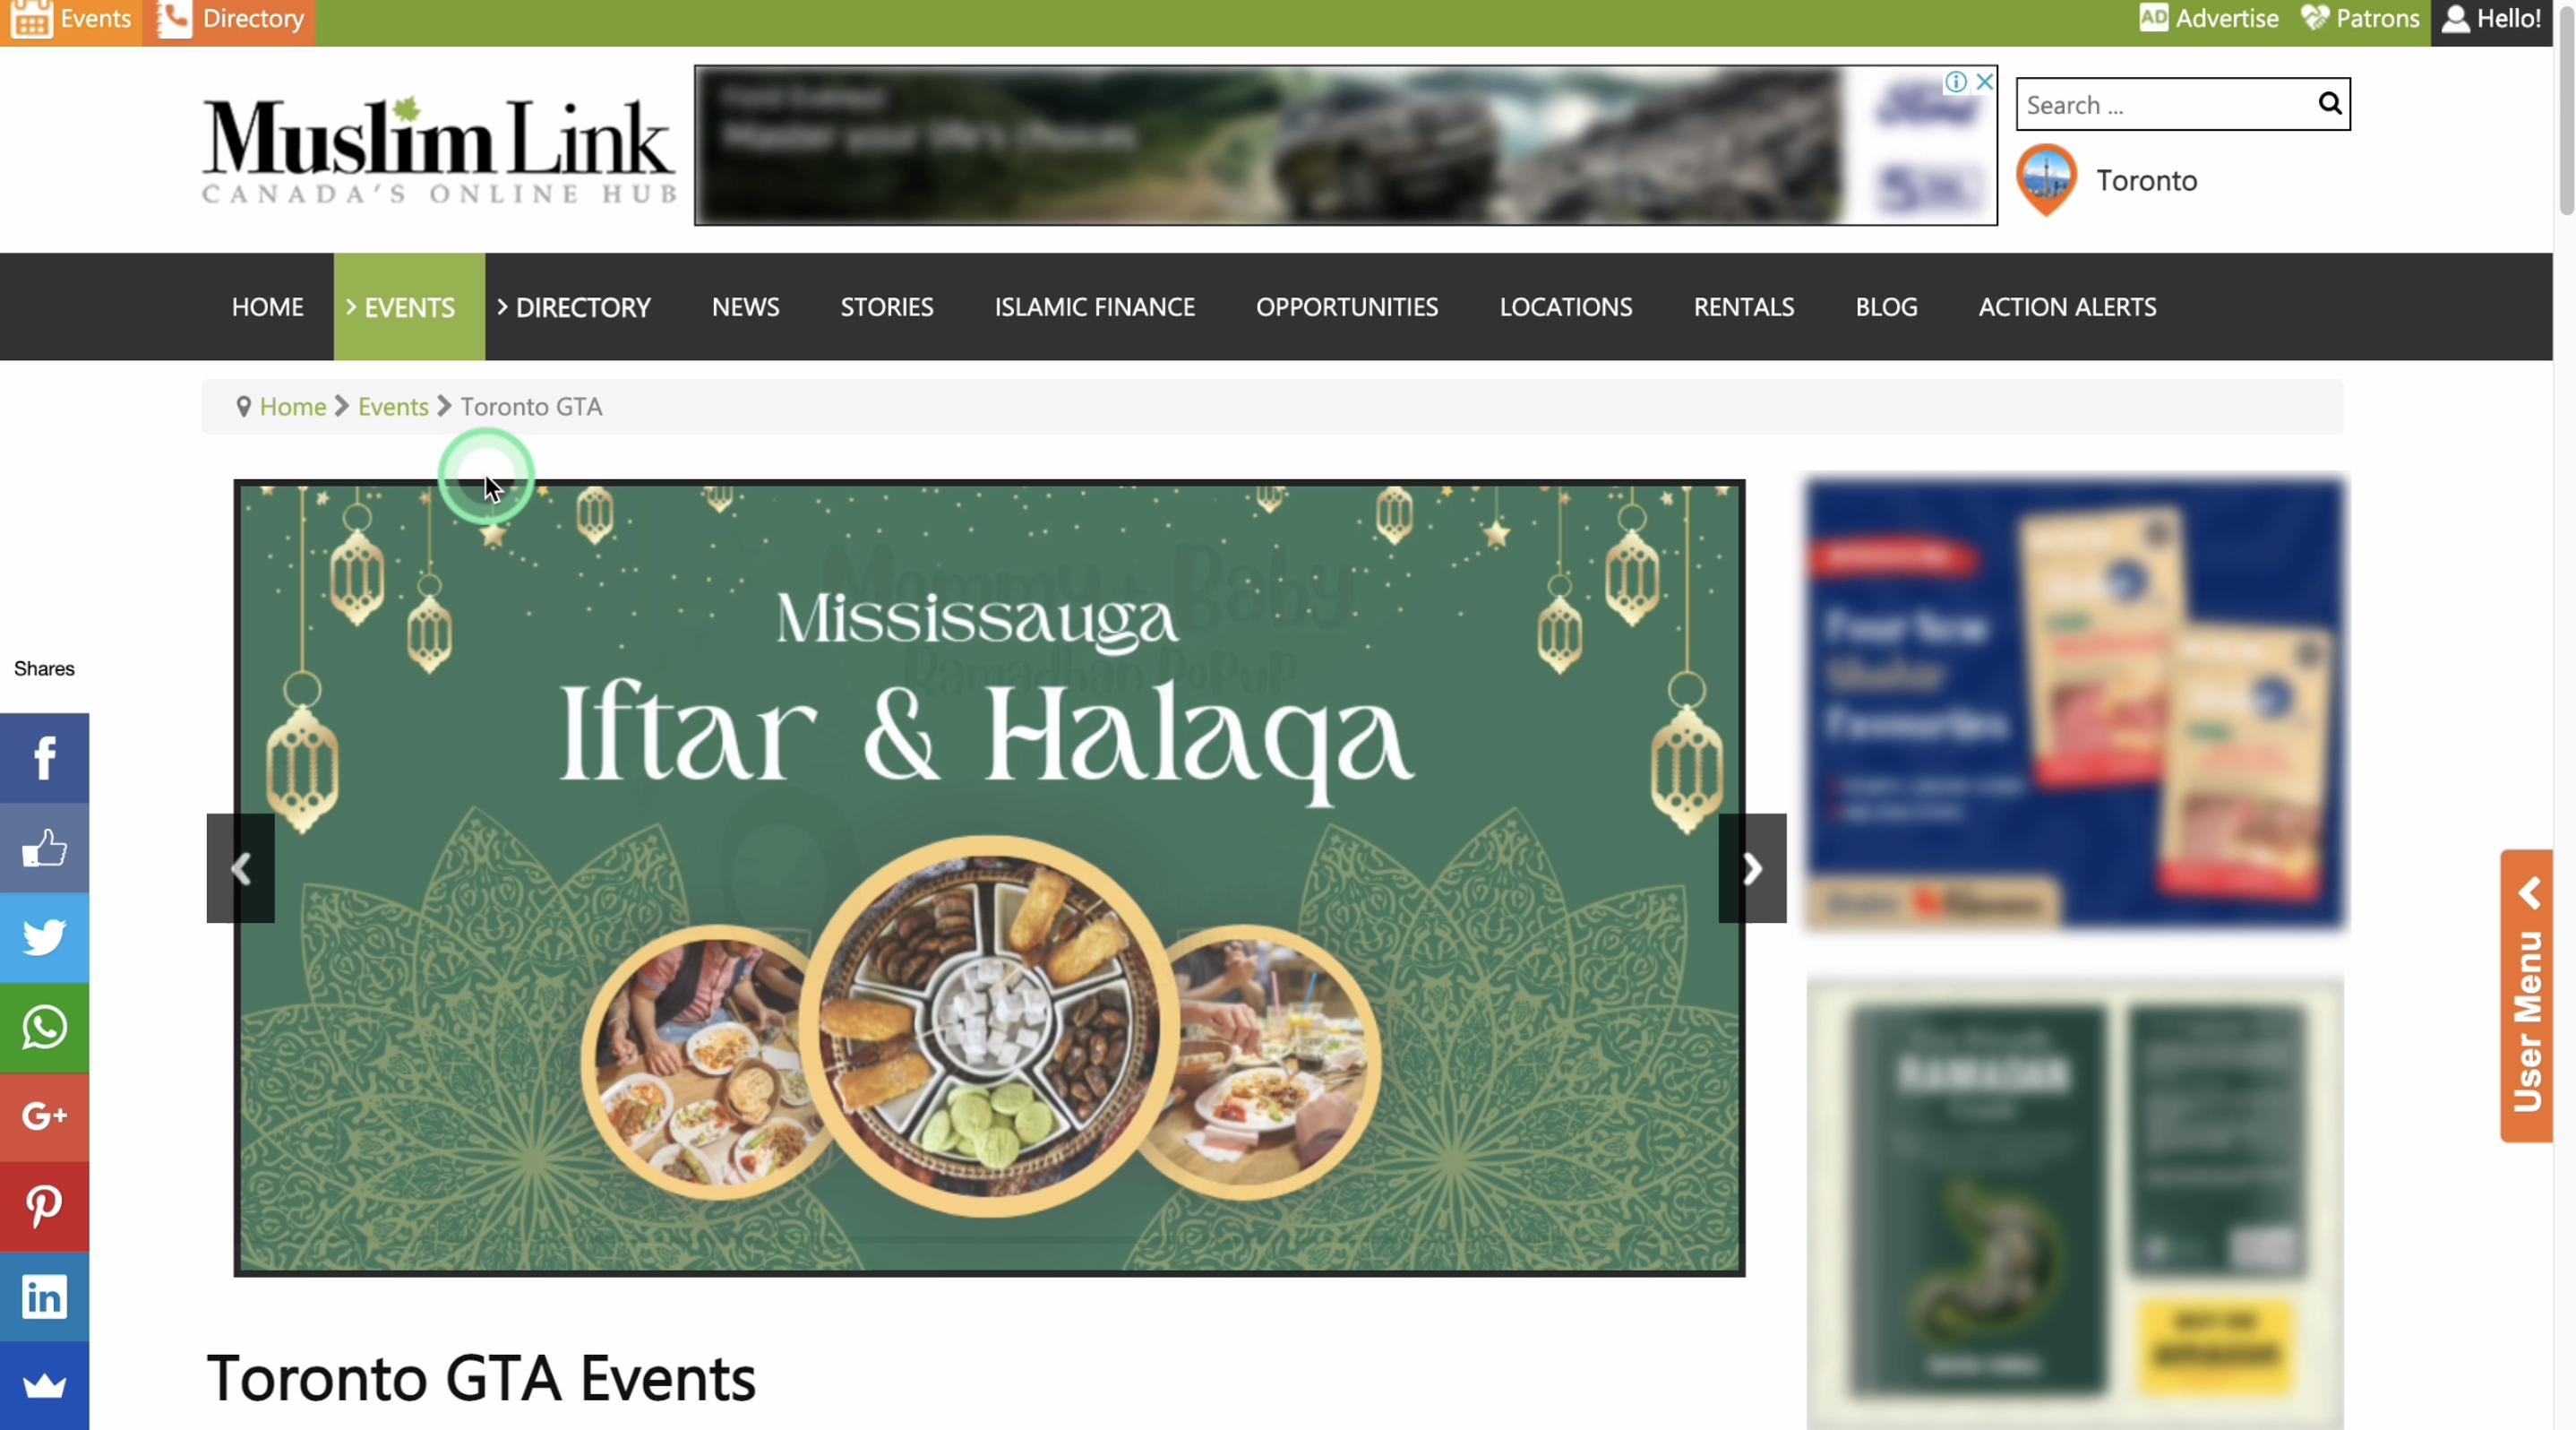
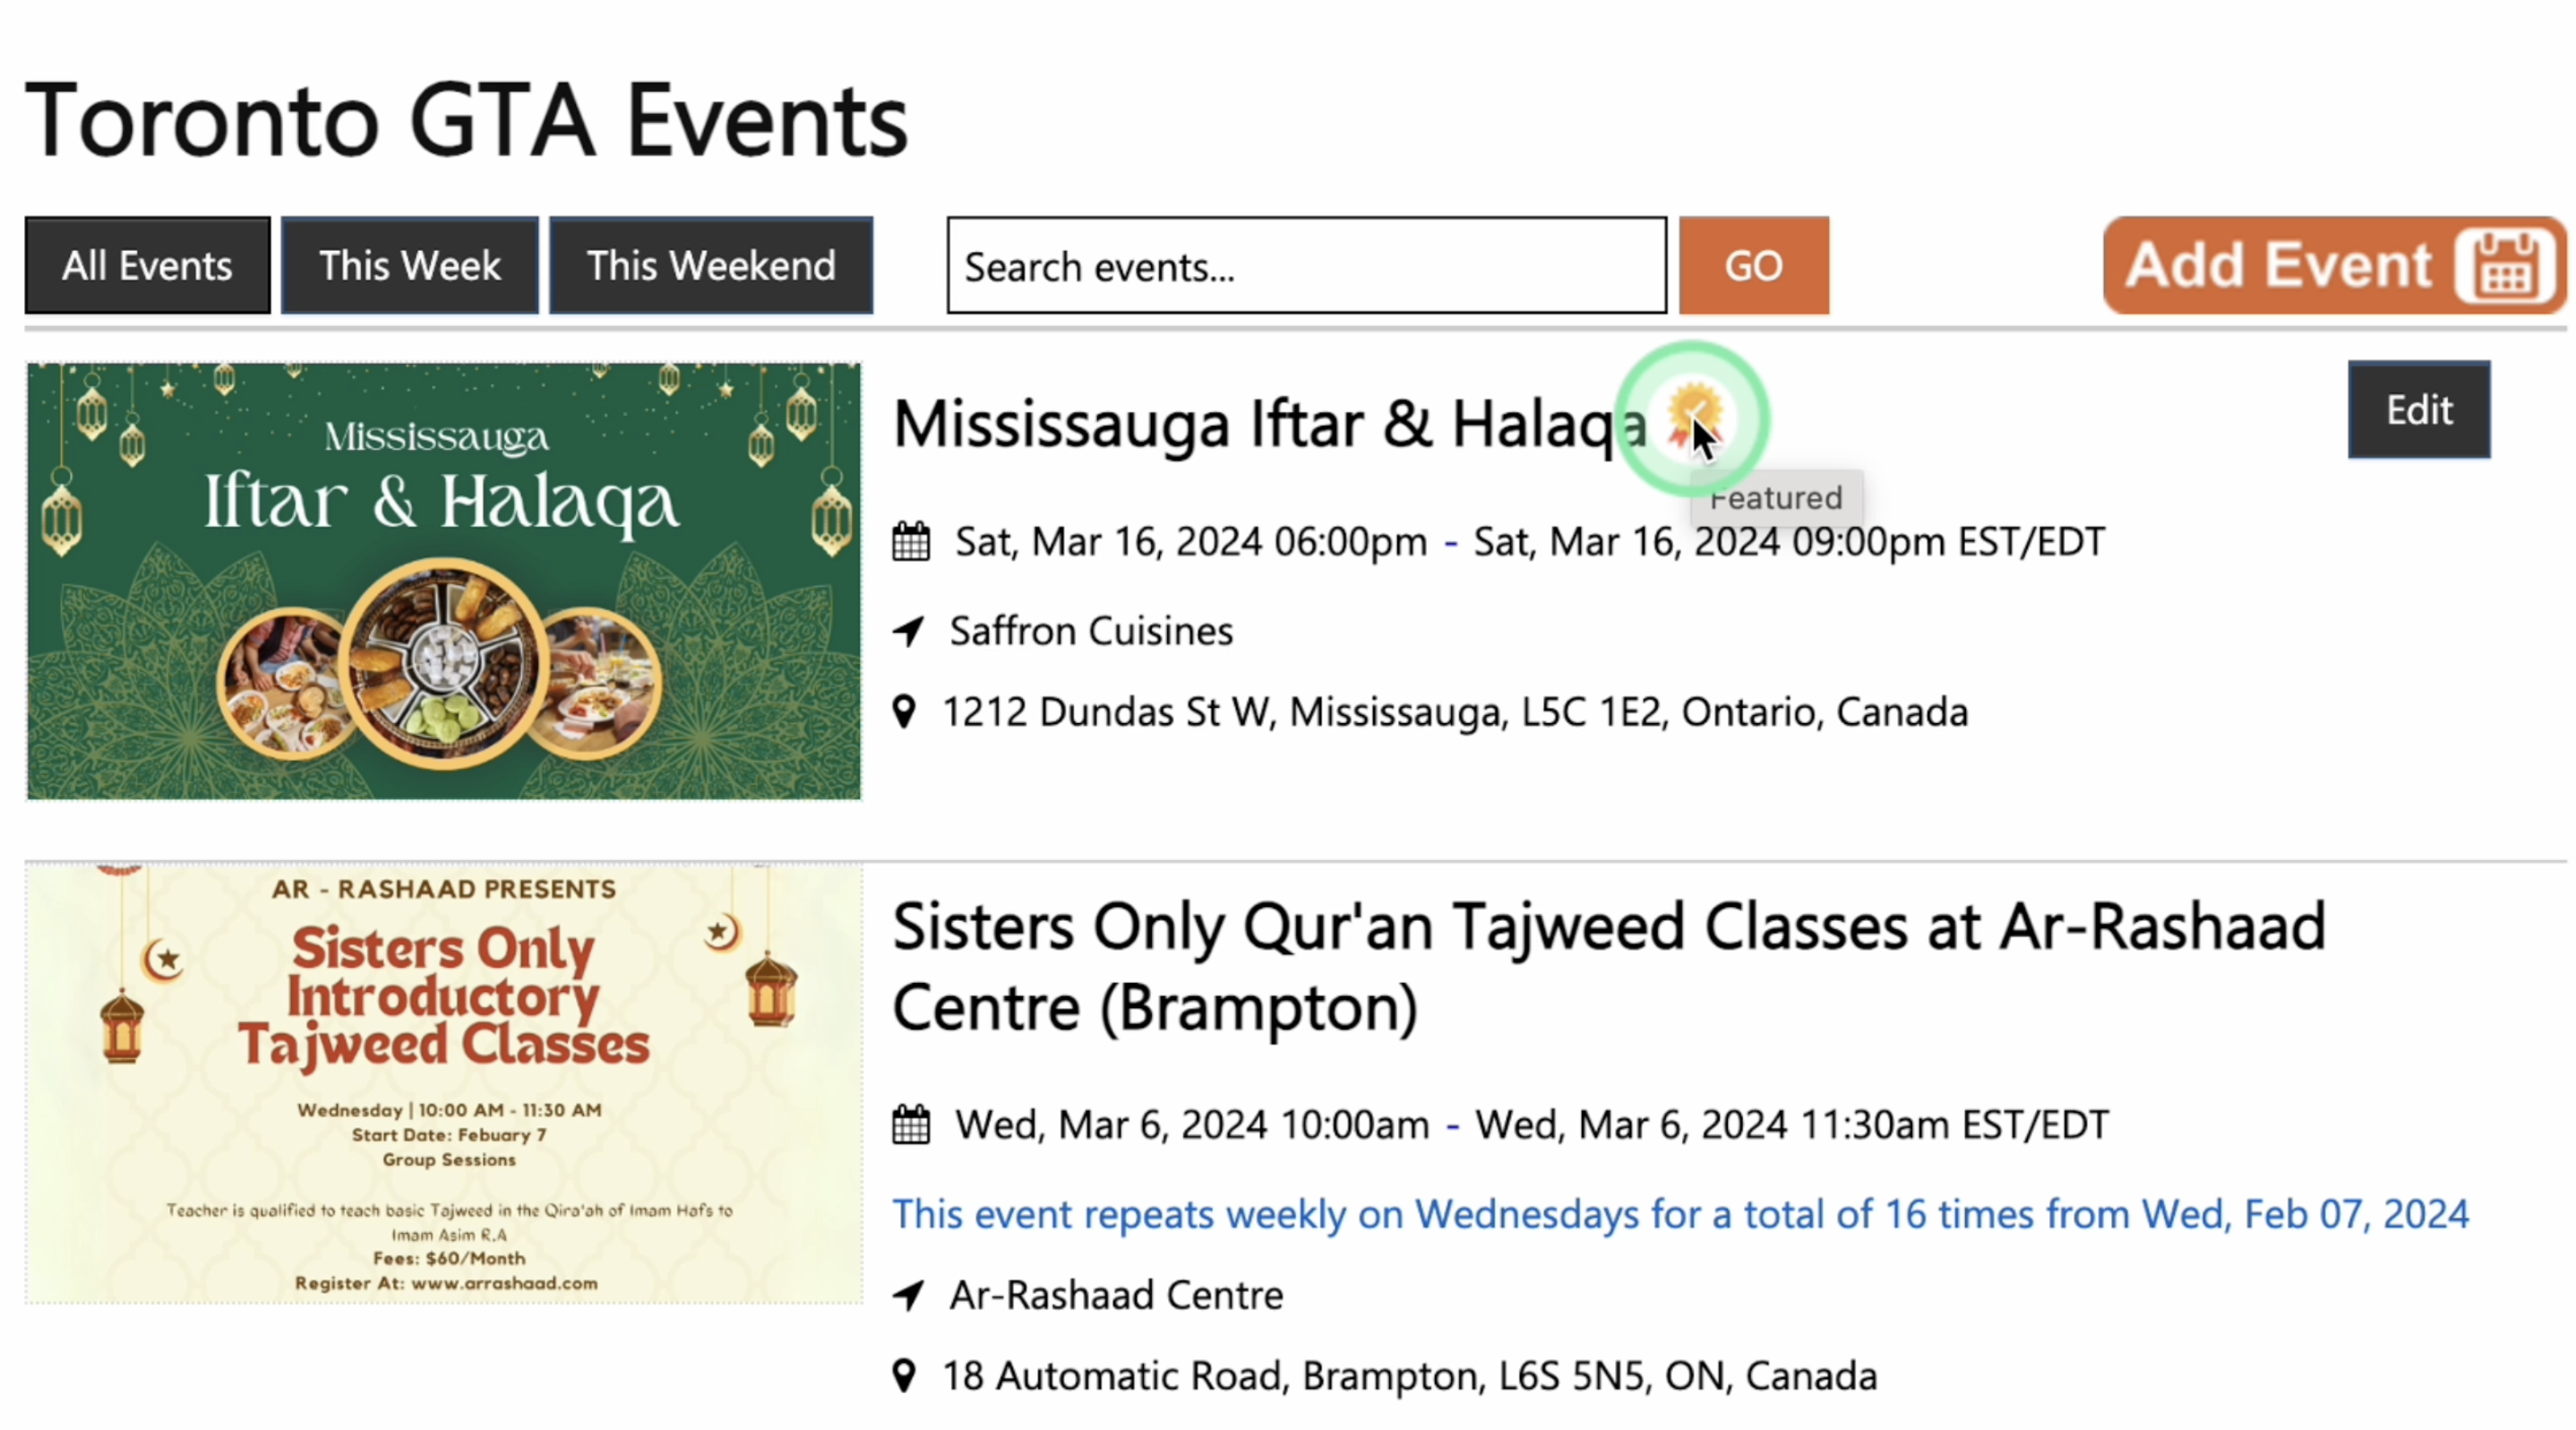
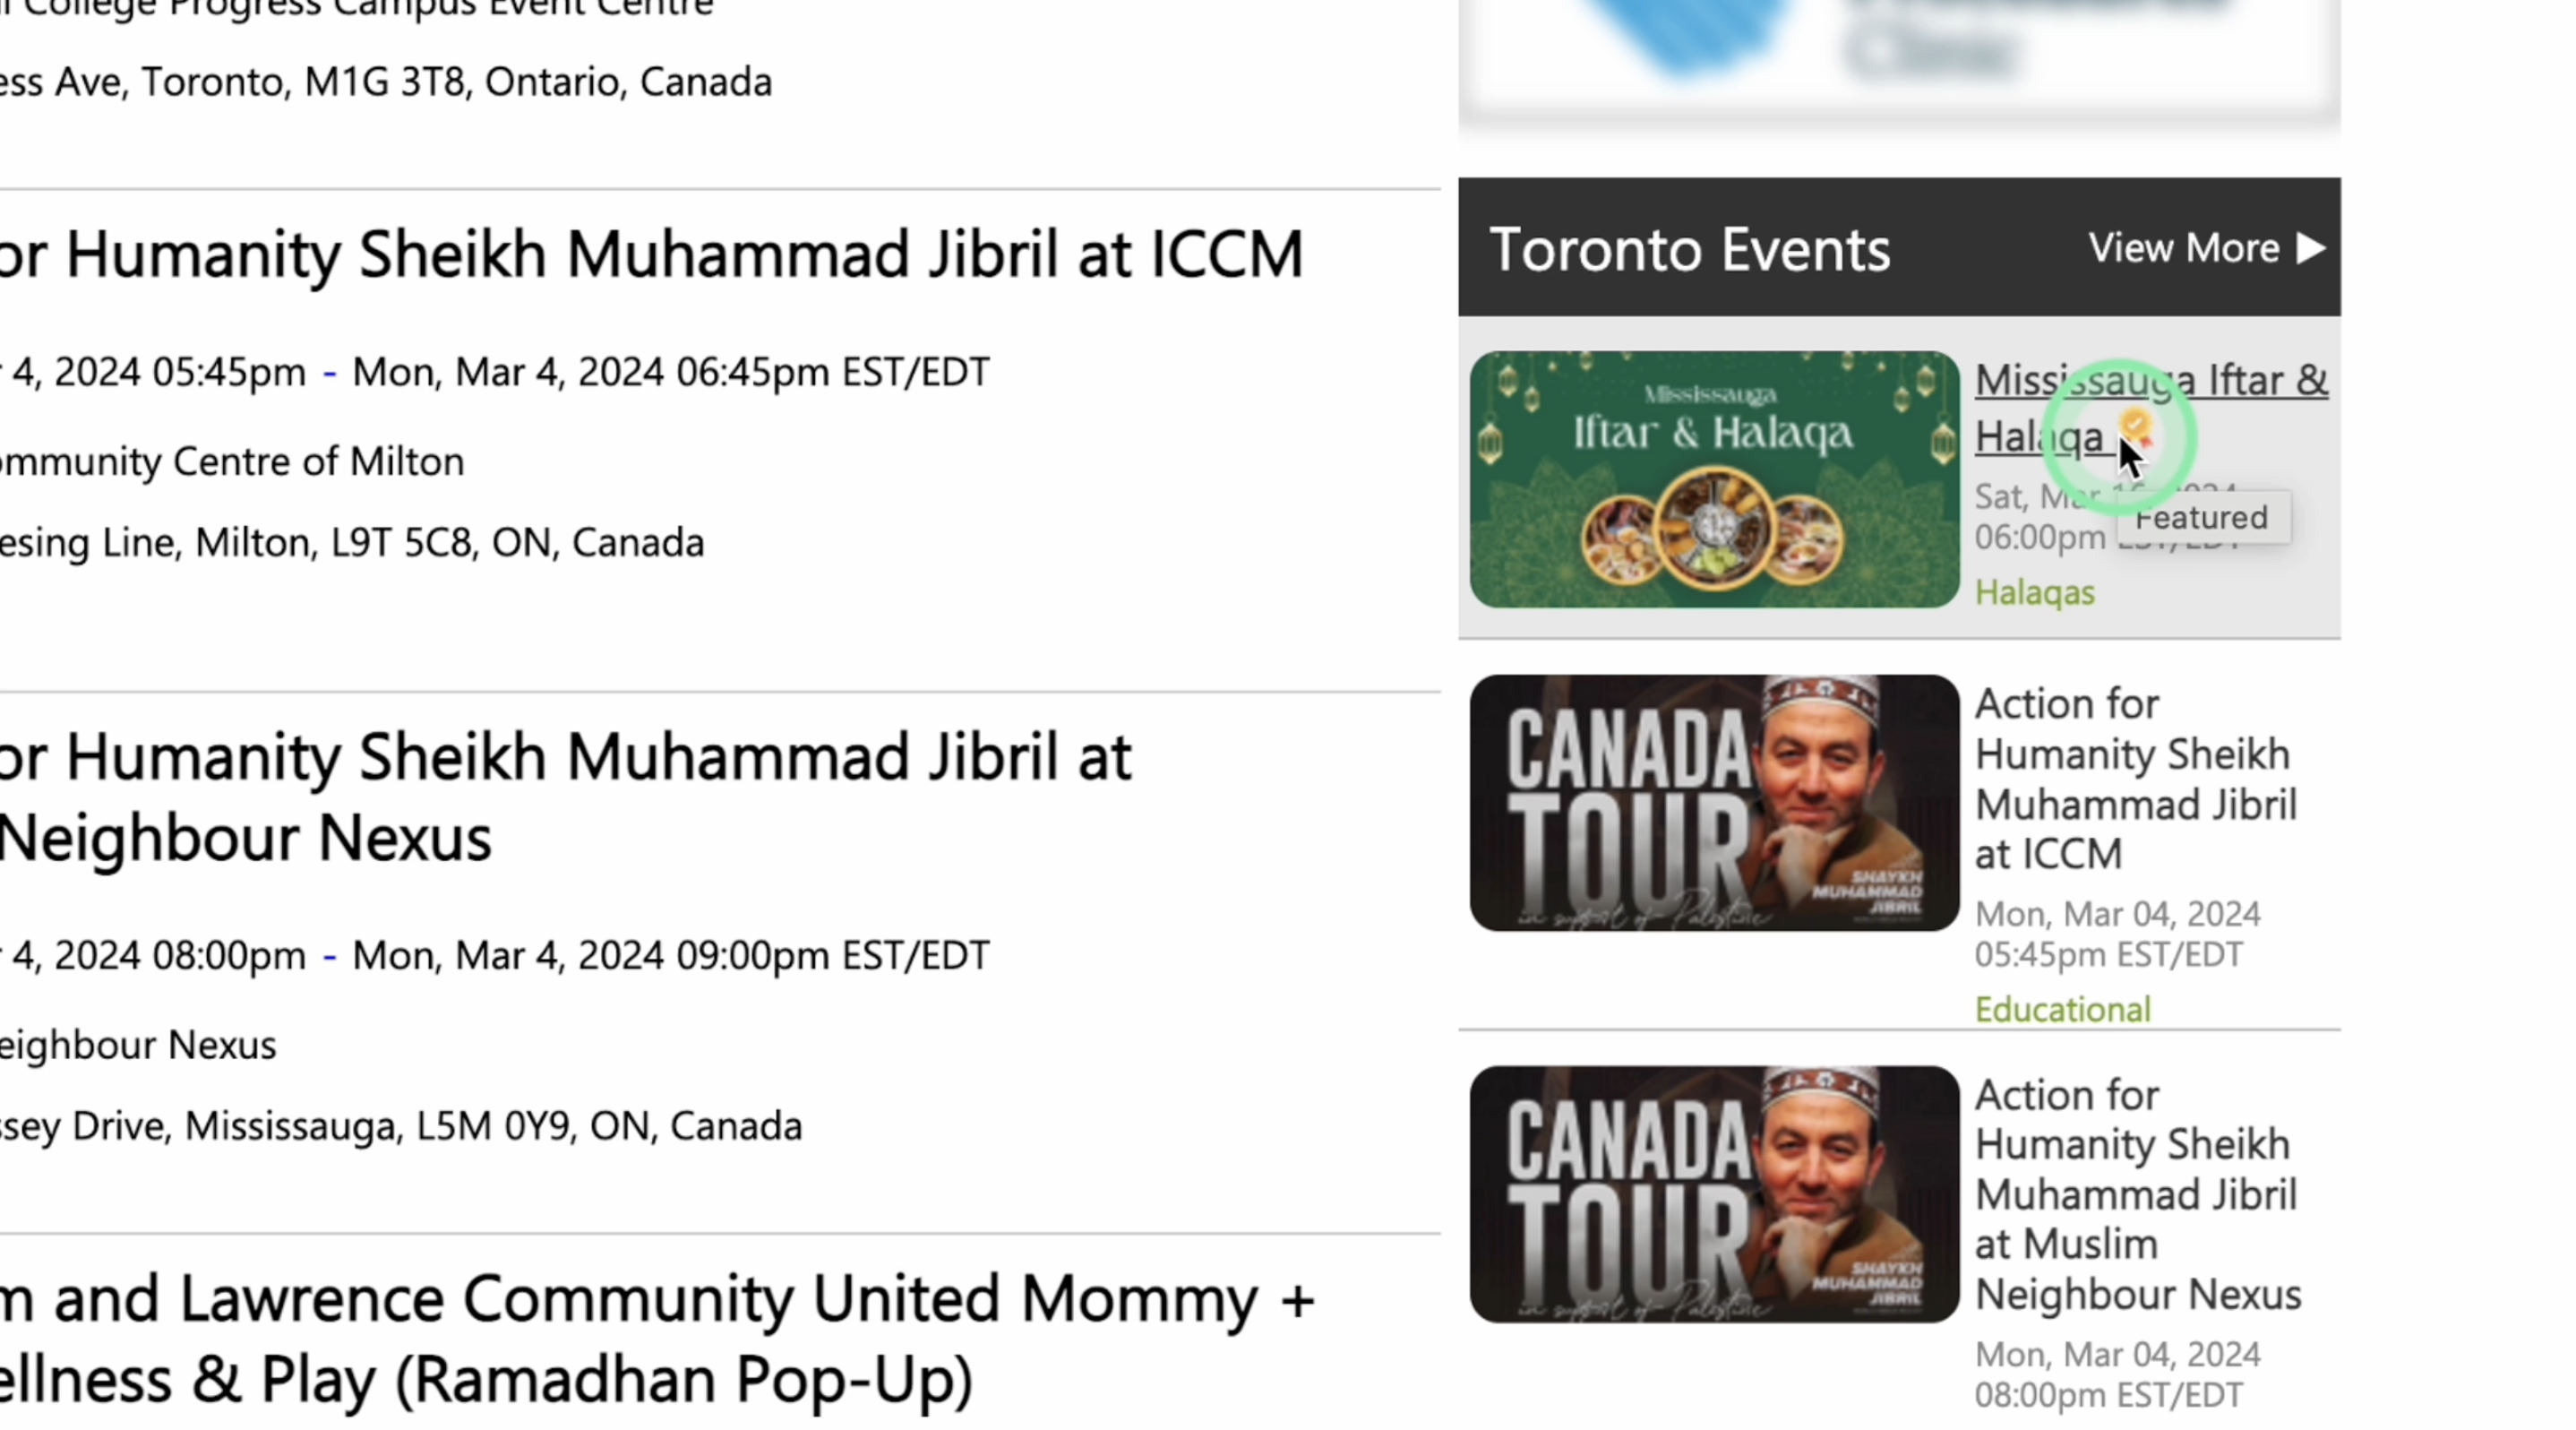
30. You have the option to feature your event here in Muslim Link. Featuring your event puts it on the city's homepage, main events banner, and at the top of the events list for the city chosen. You can choose the free option, or pay for 1 week, 2 weeks, or 4 weeks in one city or nationally, with payment upon admin approval.
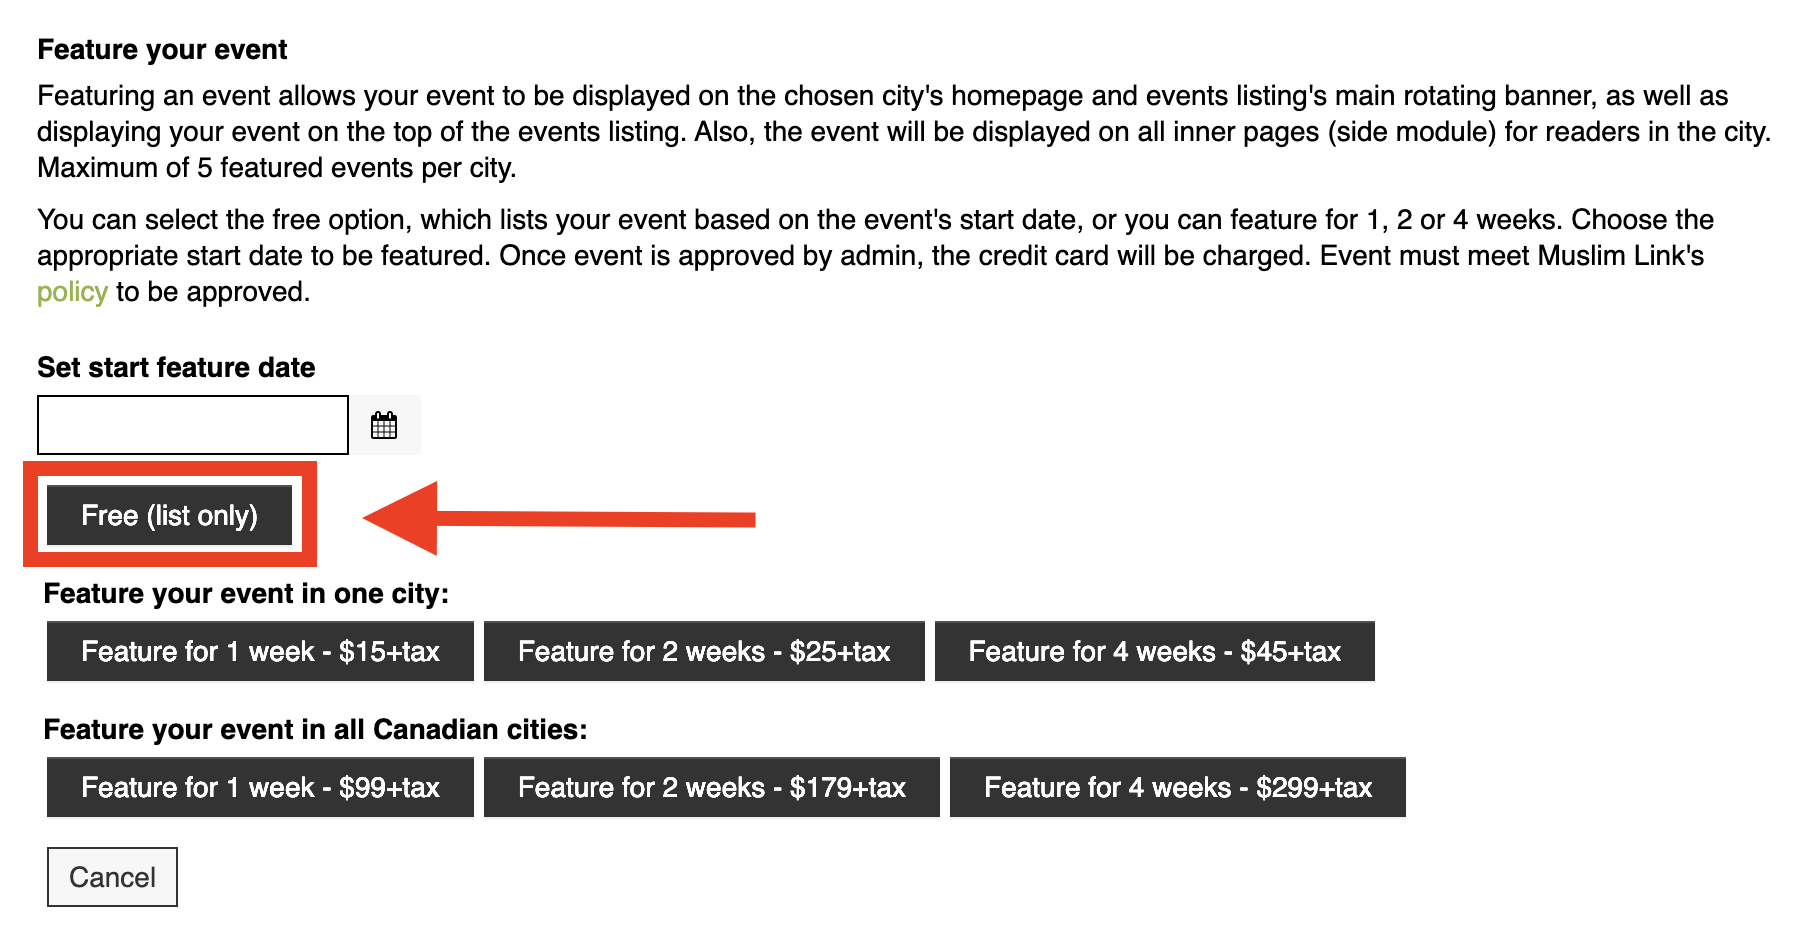
31. If you choose the free listing option, just click “Free (list only)” button. It will be immediately posted once the admin approves it.
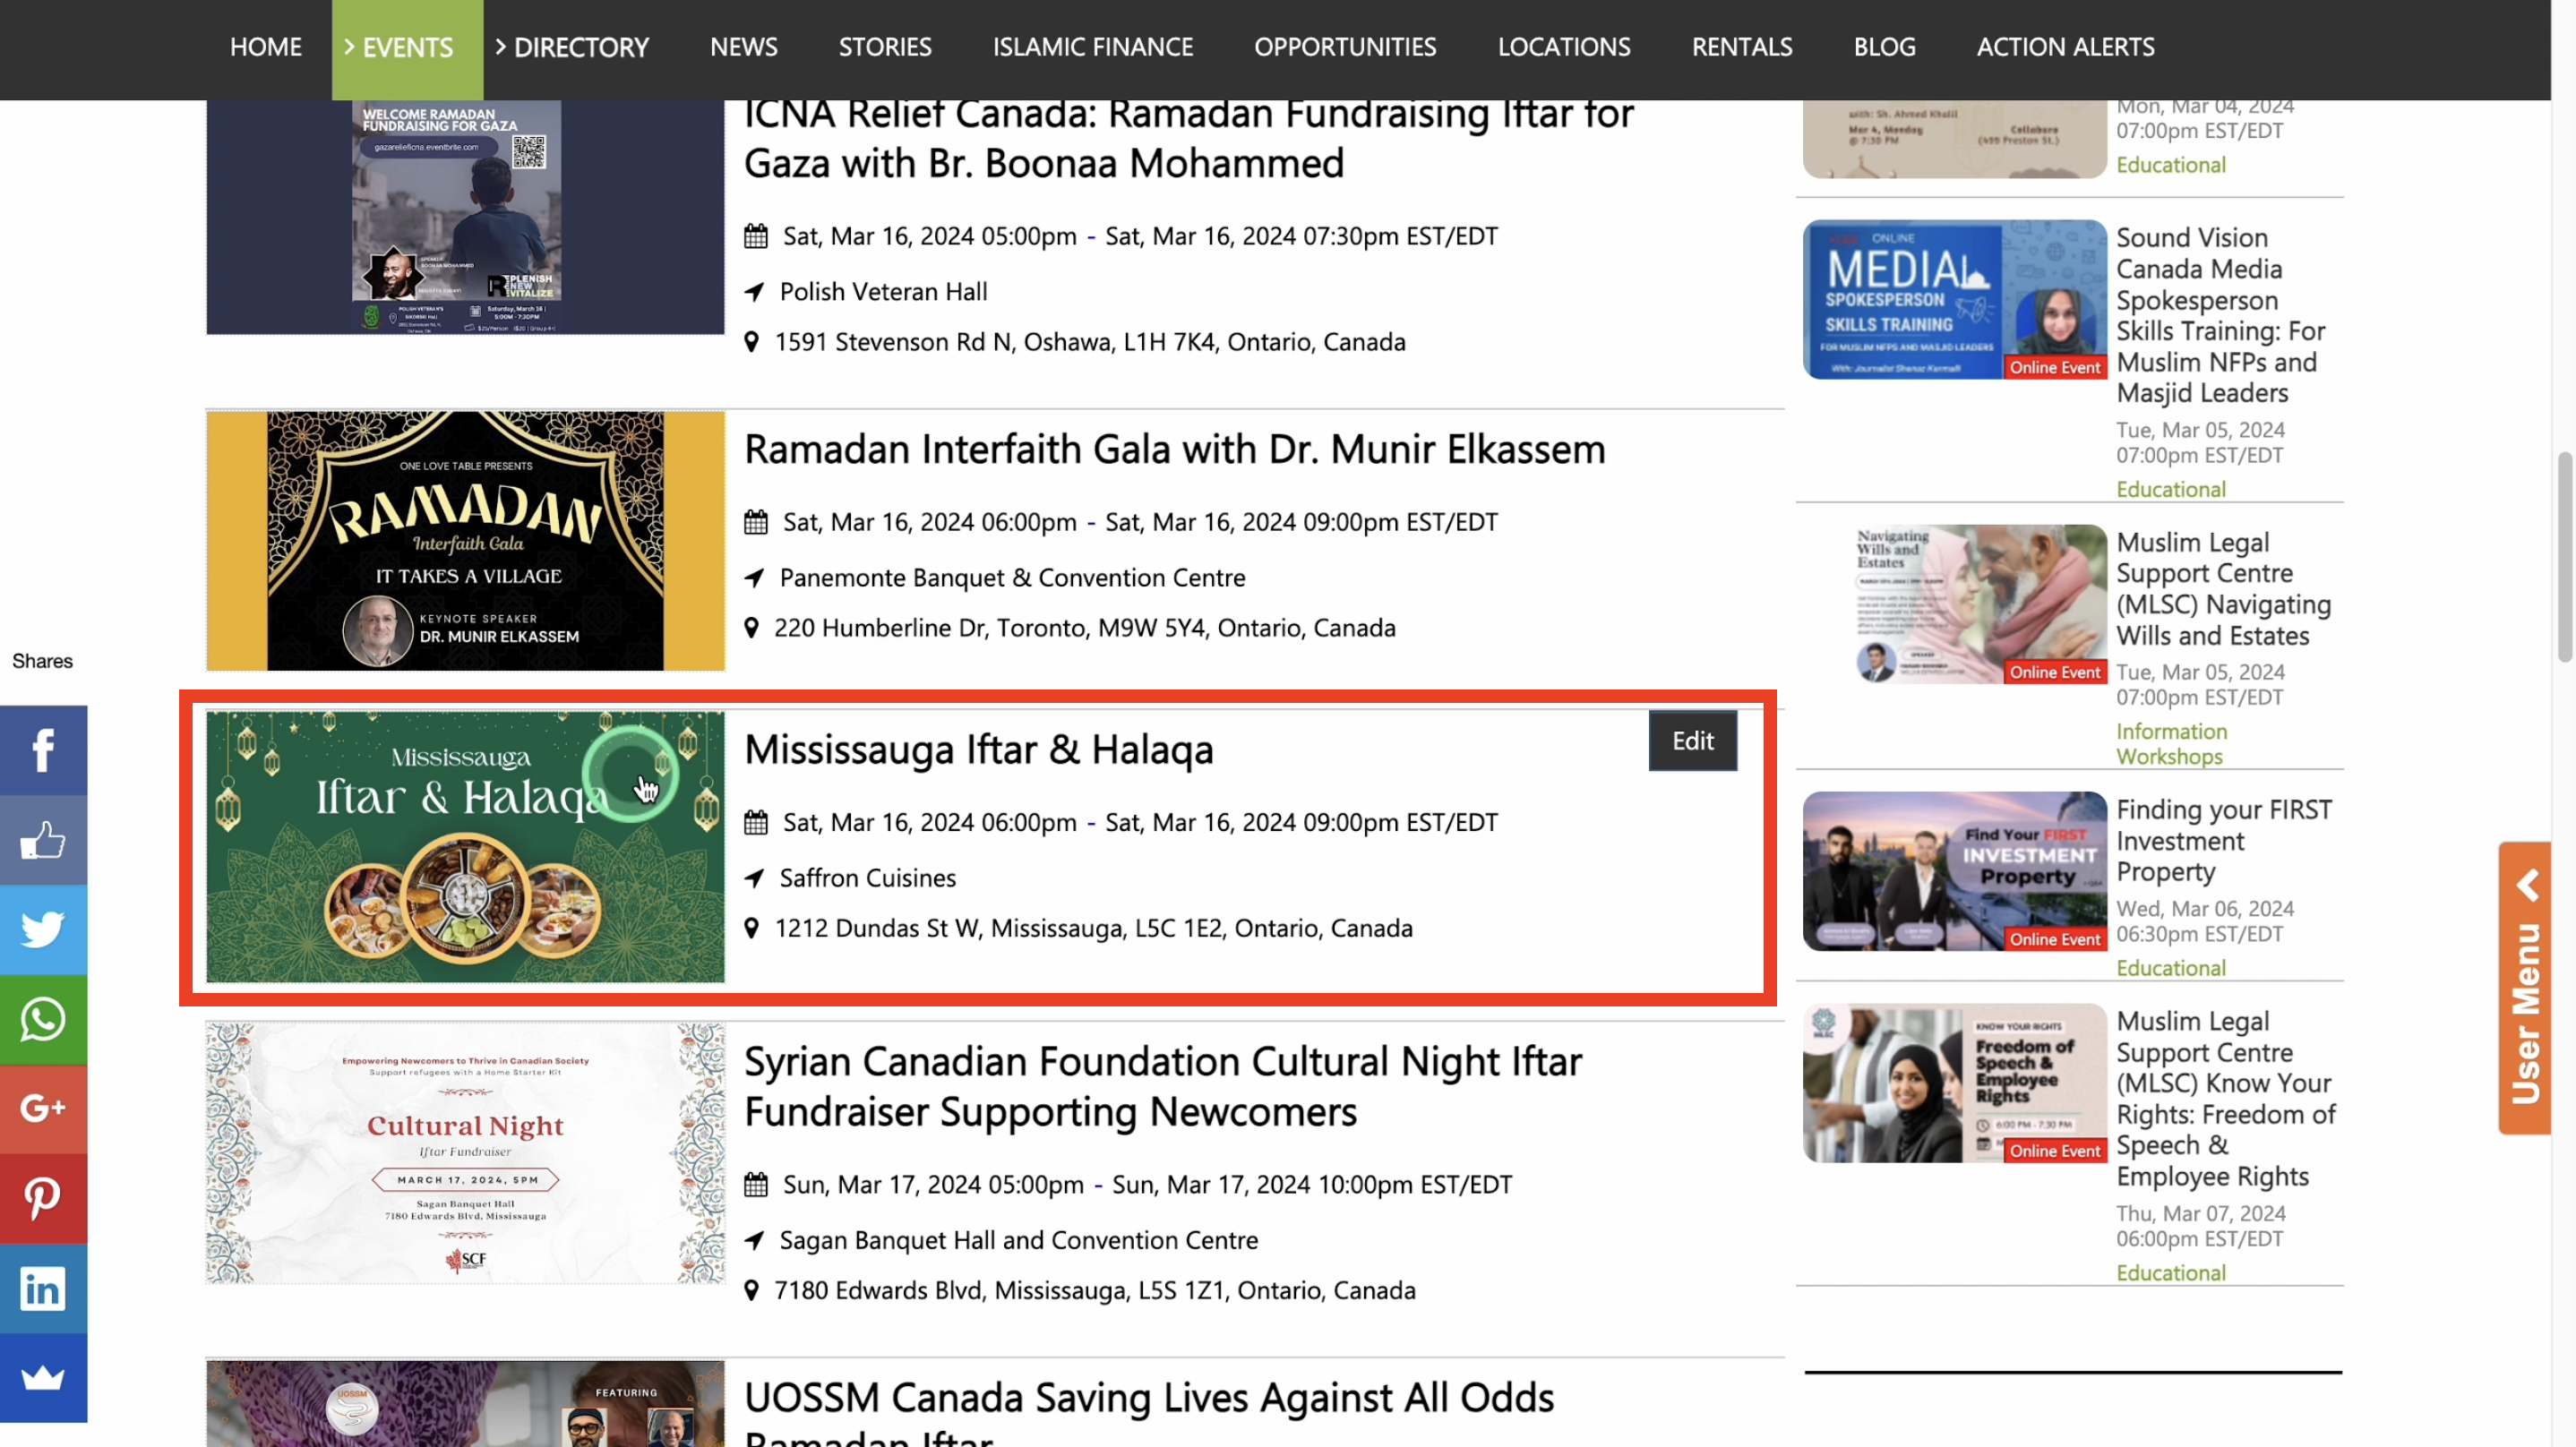
32. You will see the event on the city’s event page once approved.
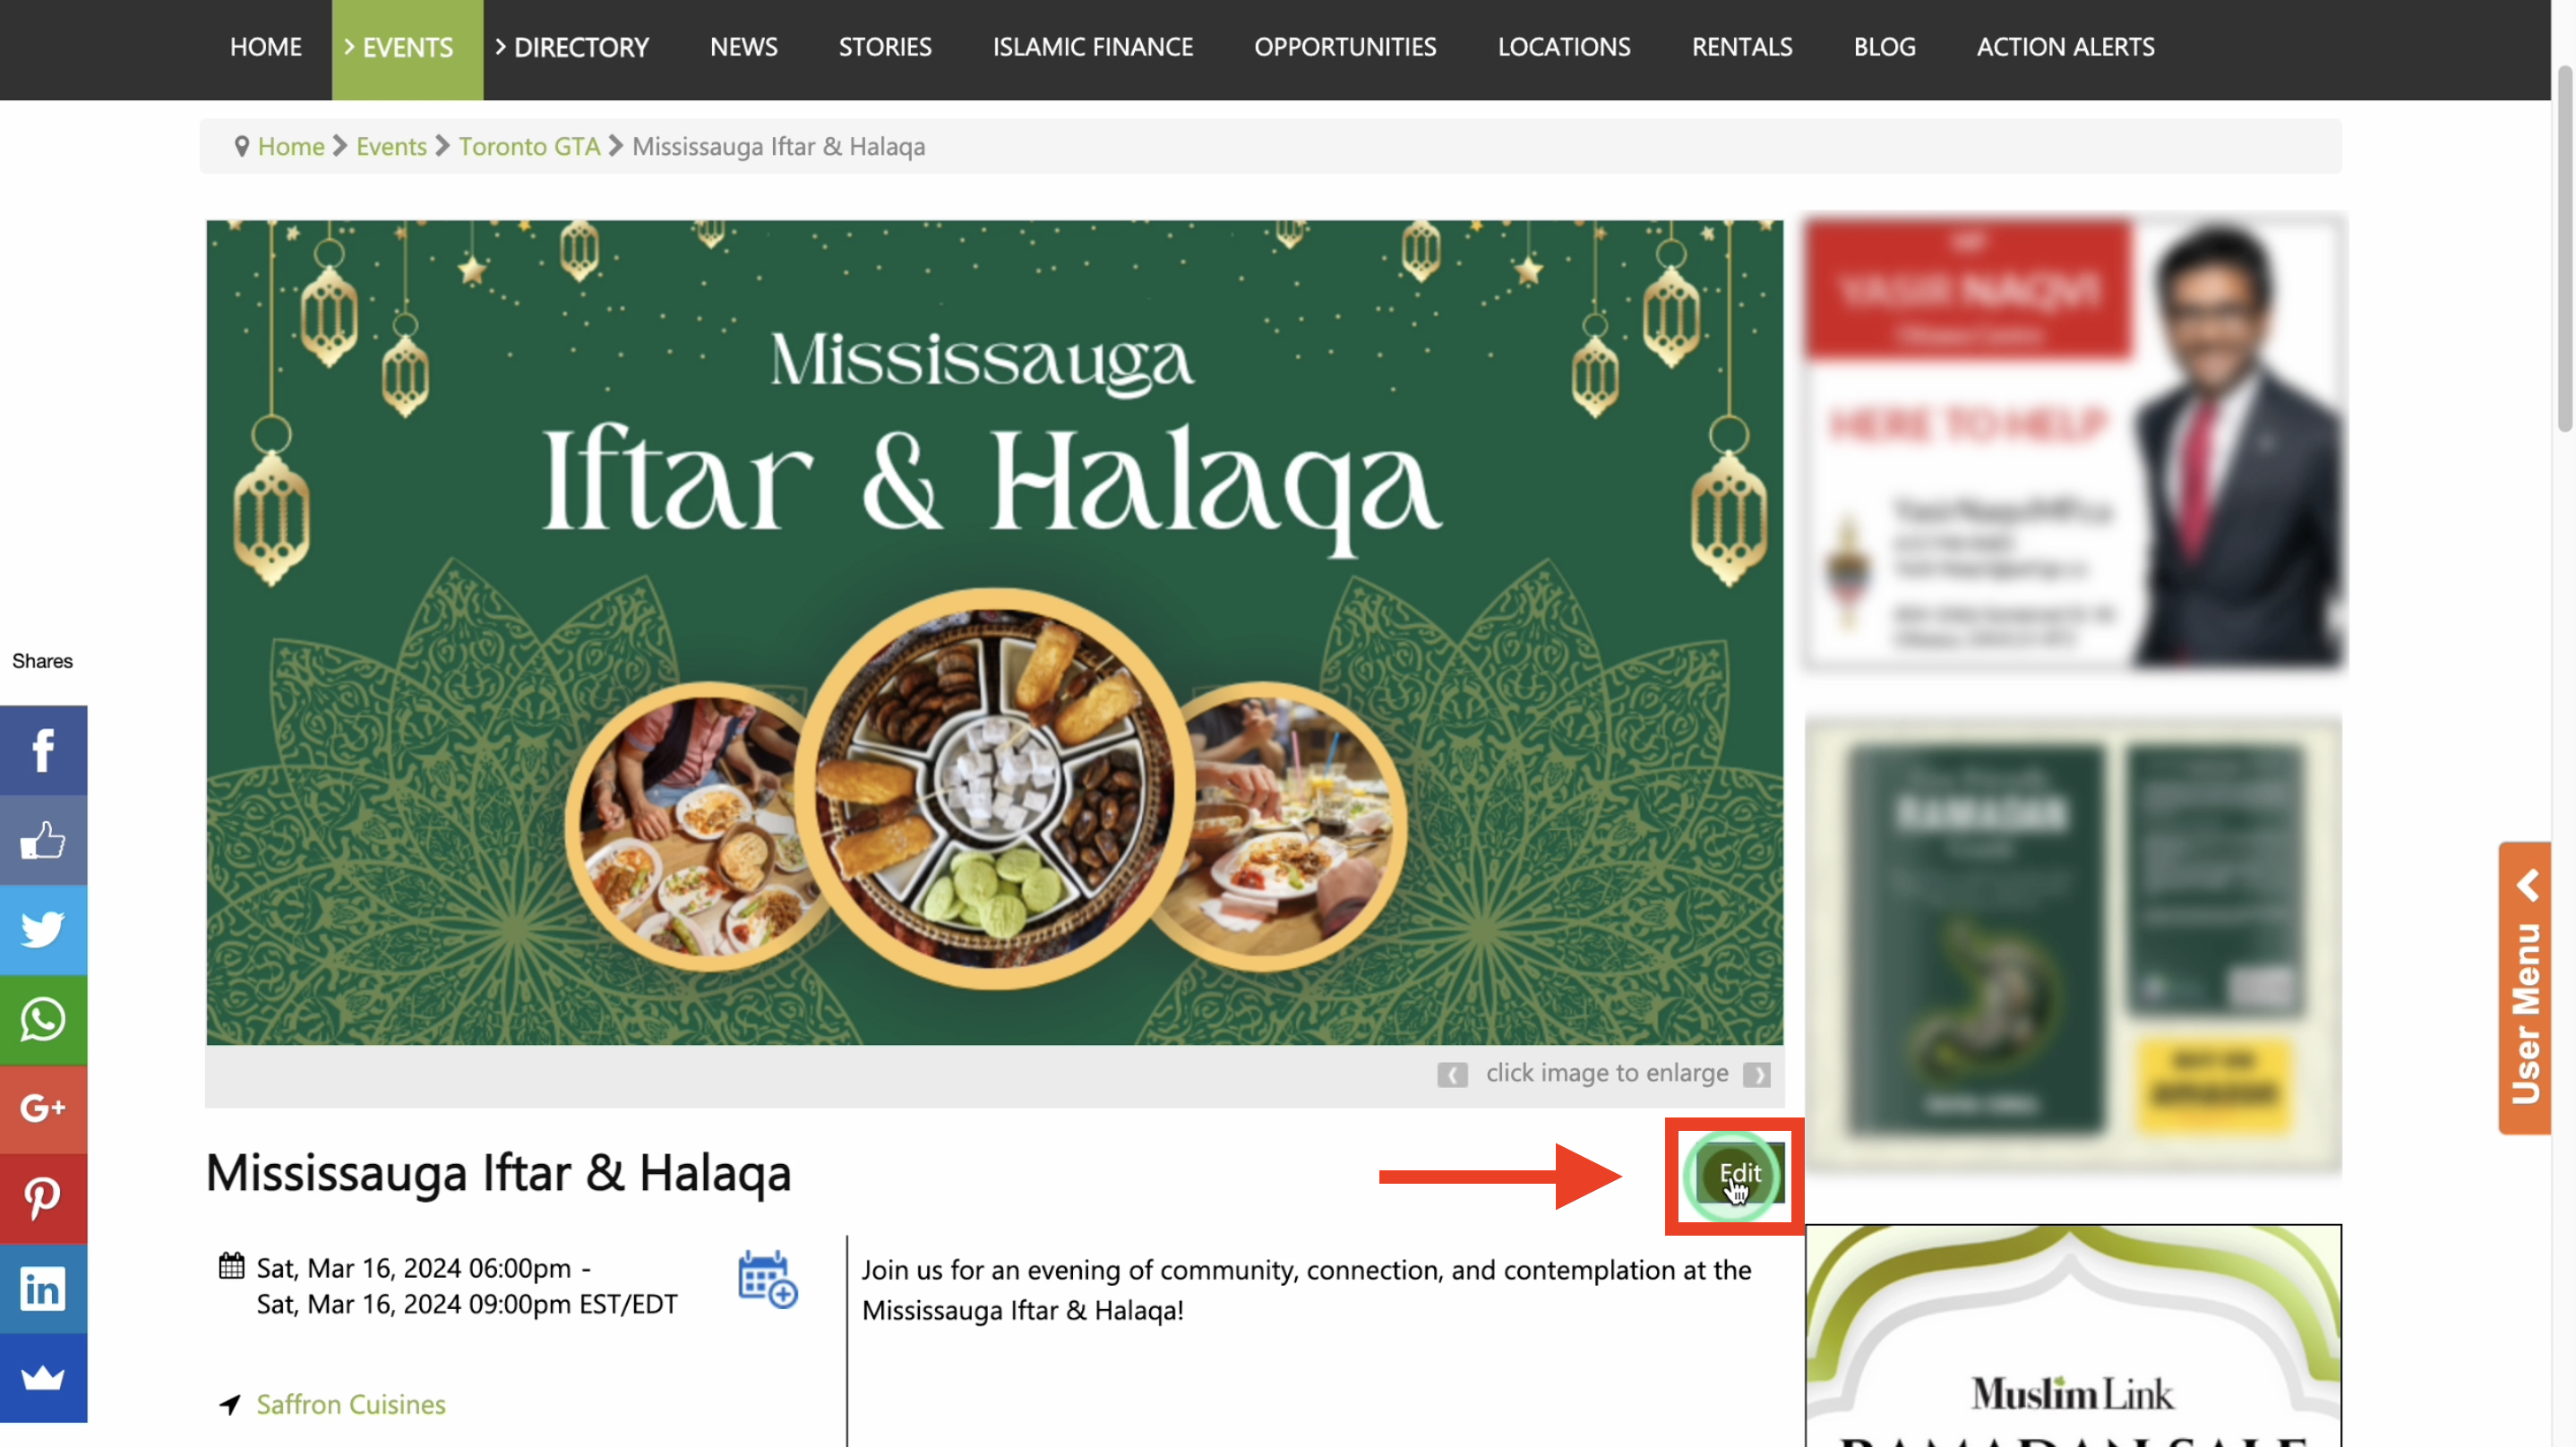
33. If you have any changes, you can edit the event by simply clicking the “Edit” button.
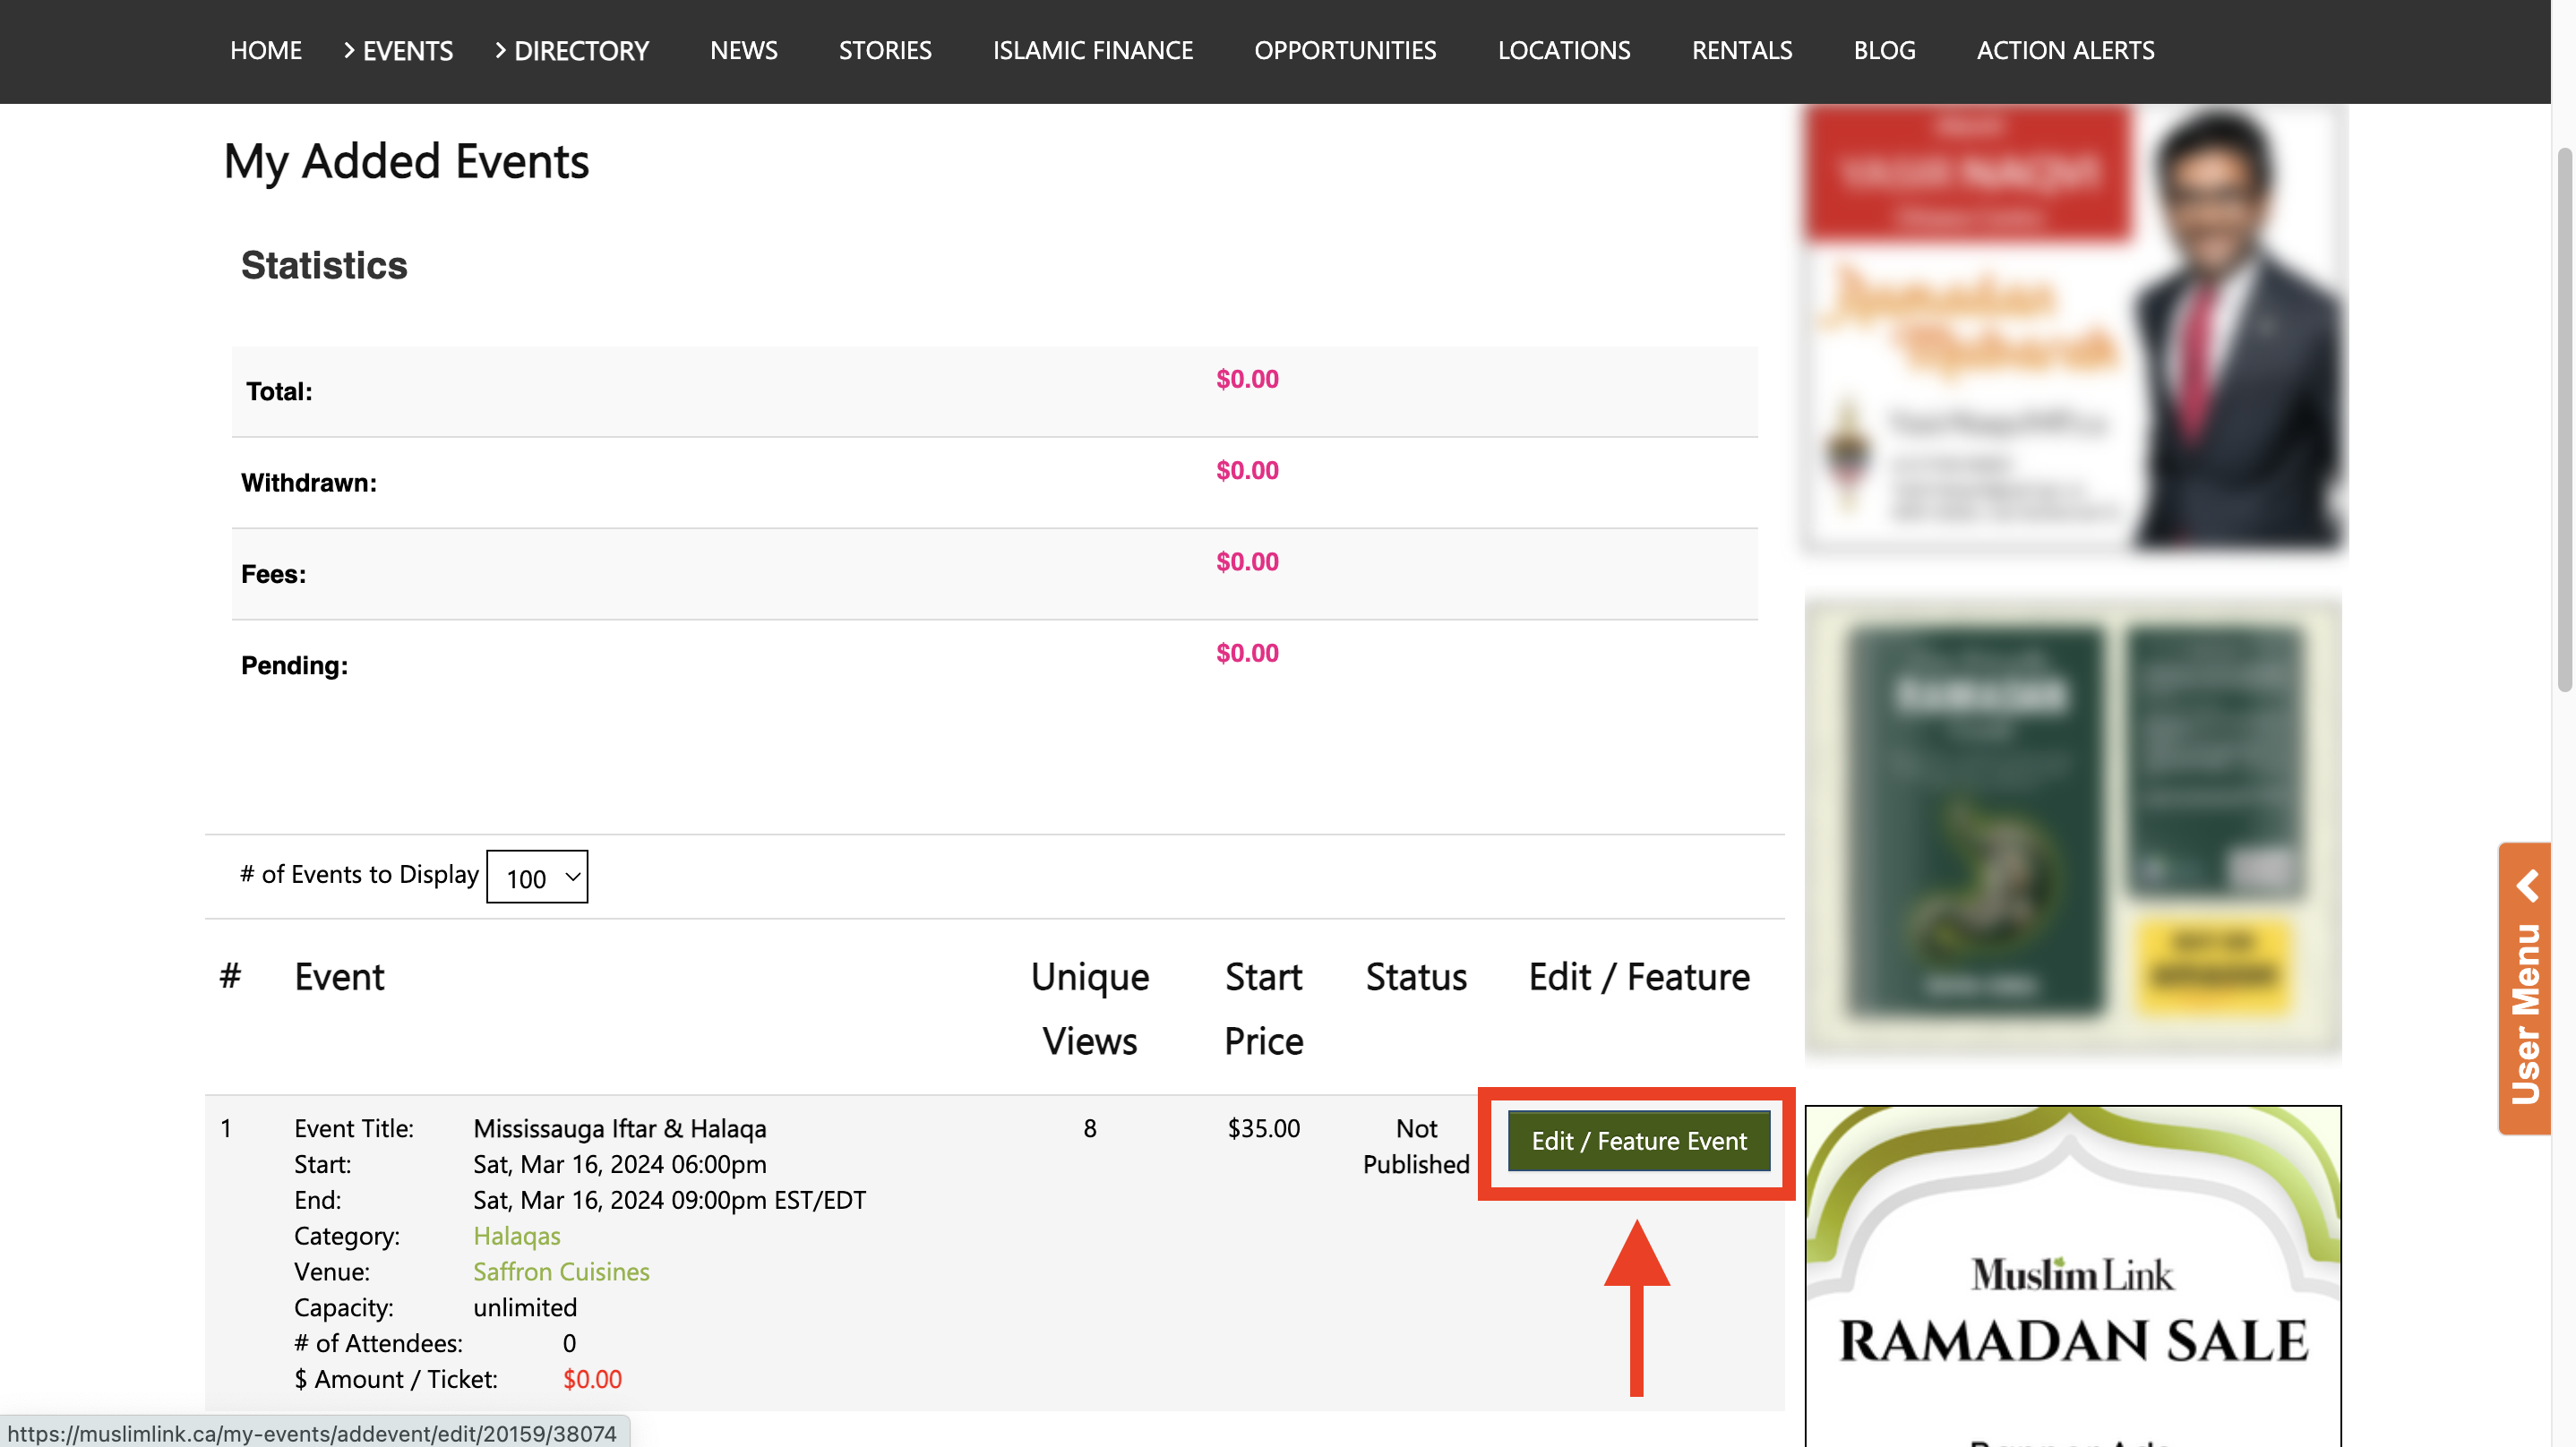
34. You can also navigate to the User Menu then click “My Added Events”.
35. Here, you can monitor the statistics of the event. You can also edit changes and choose to feature the event by clicking “Edit/Feature Event” button.
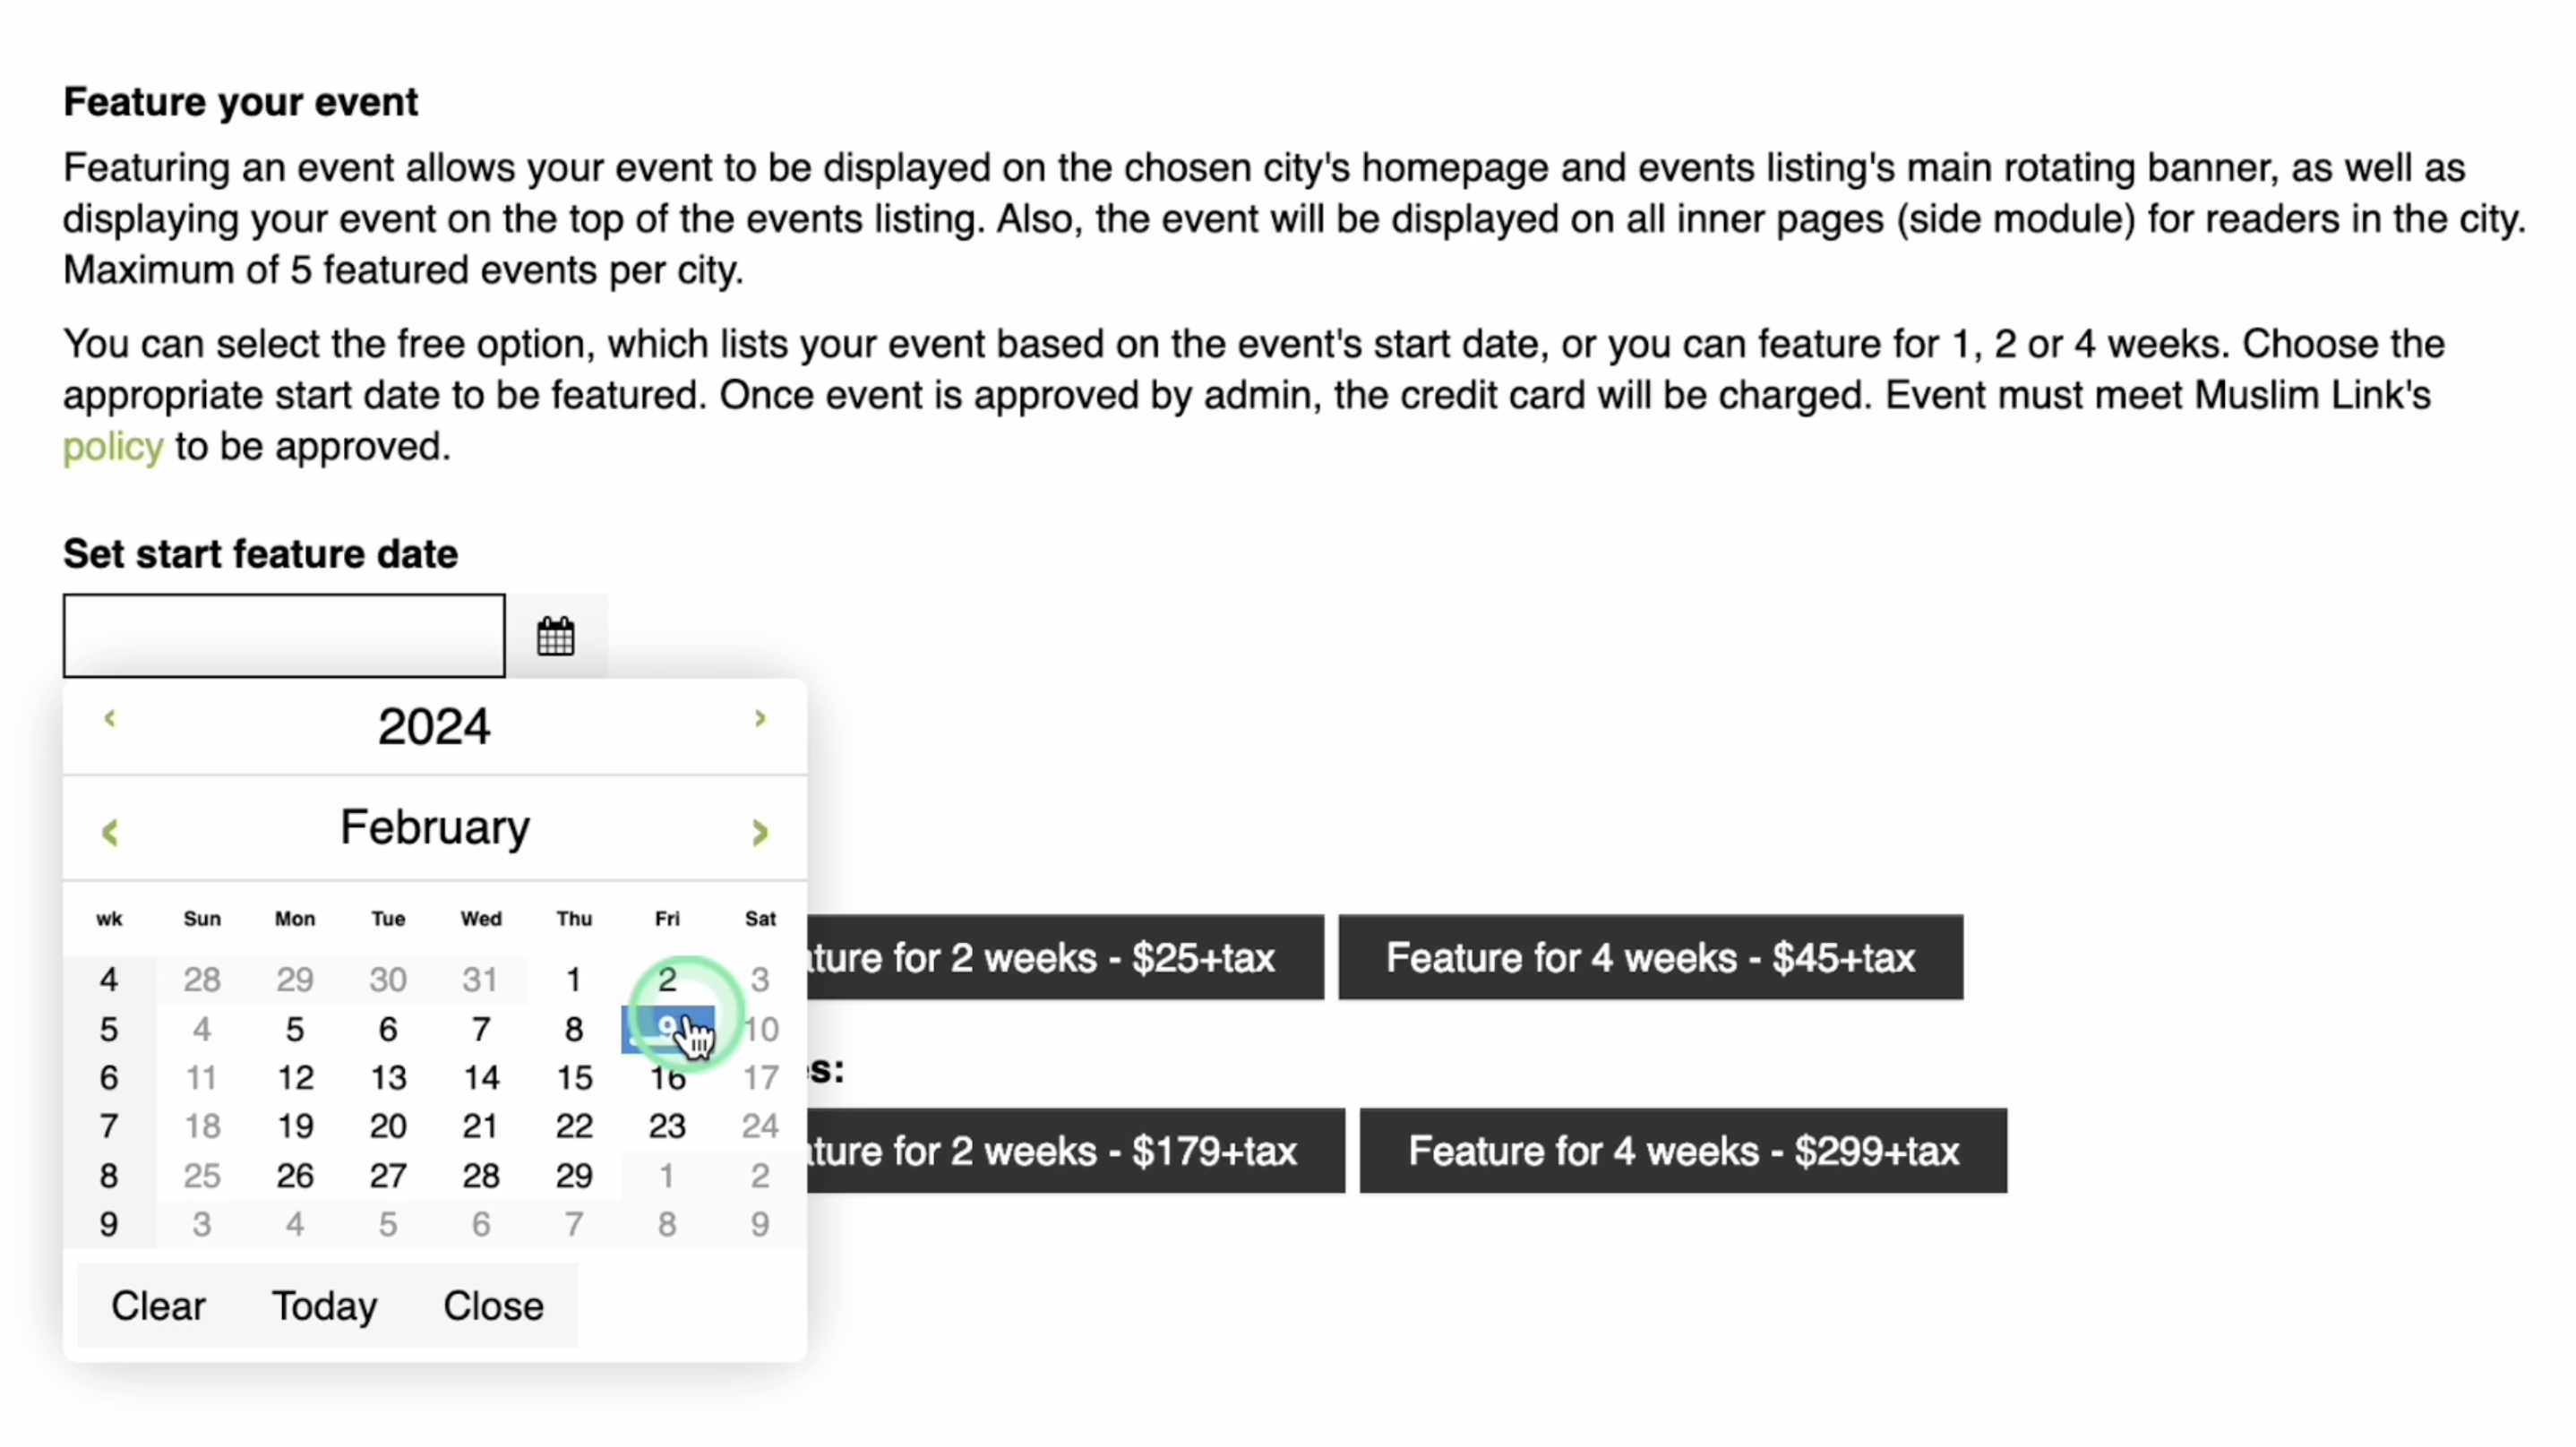
36. However, if you want to feature your event, set the start feature date.
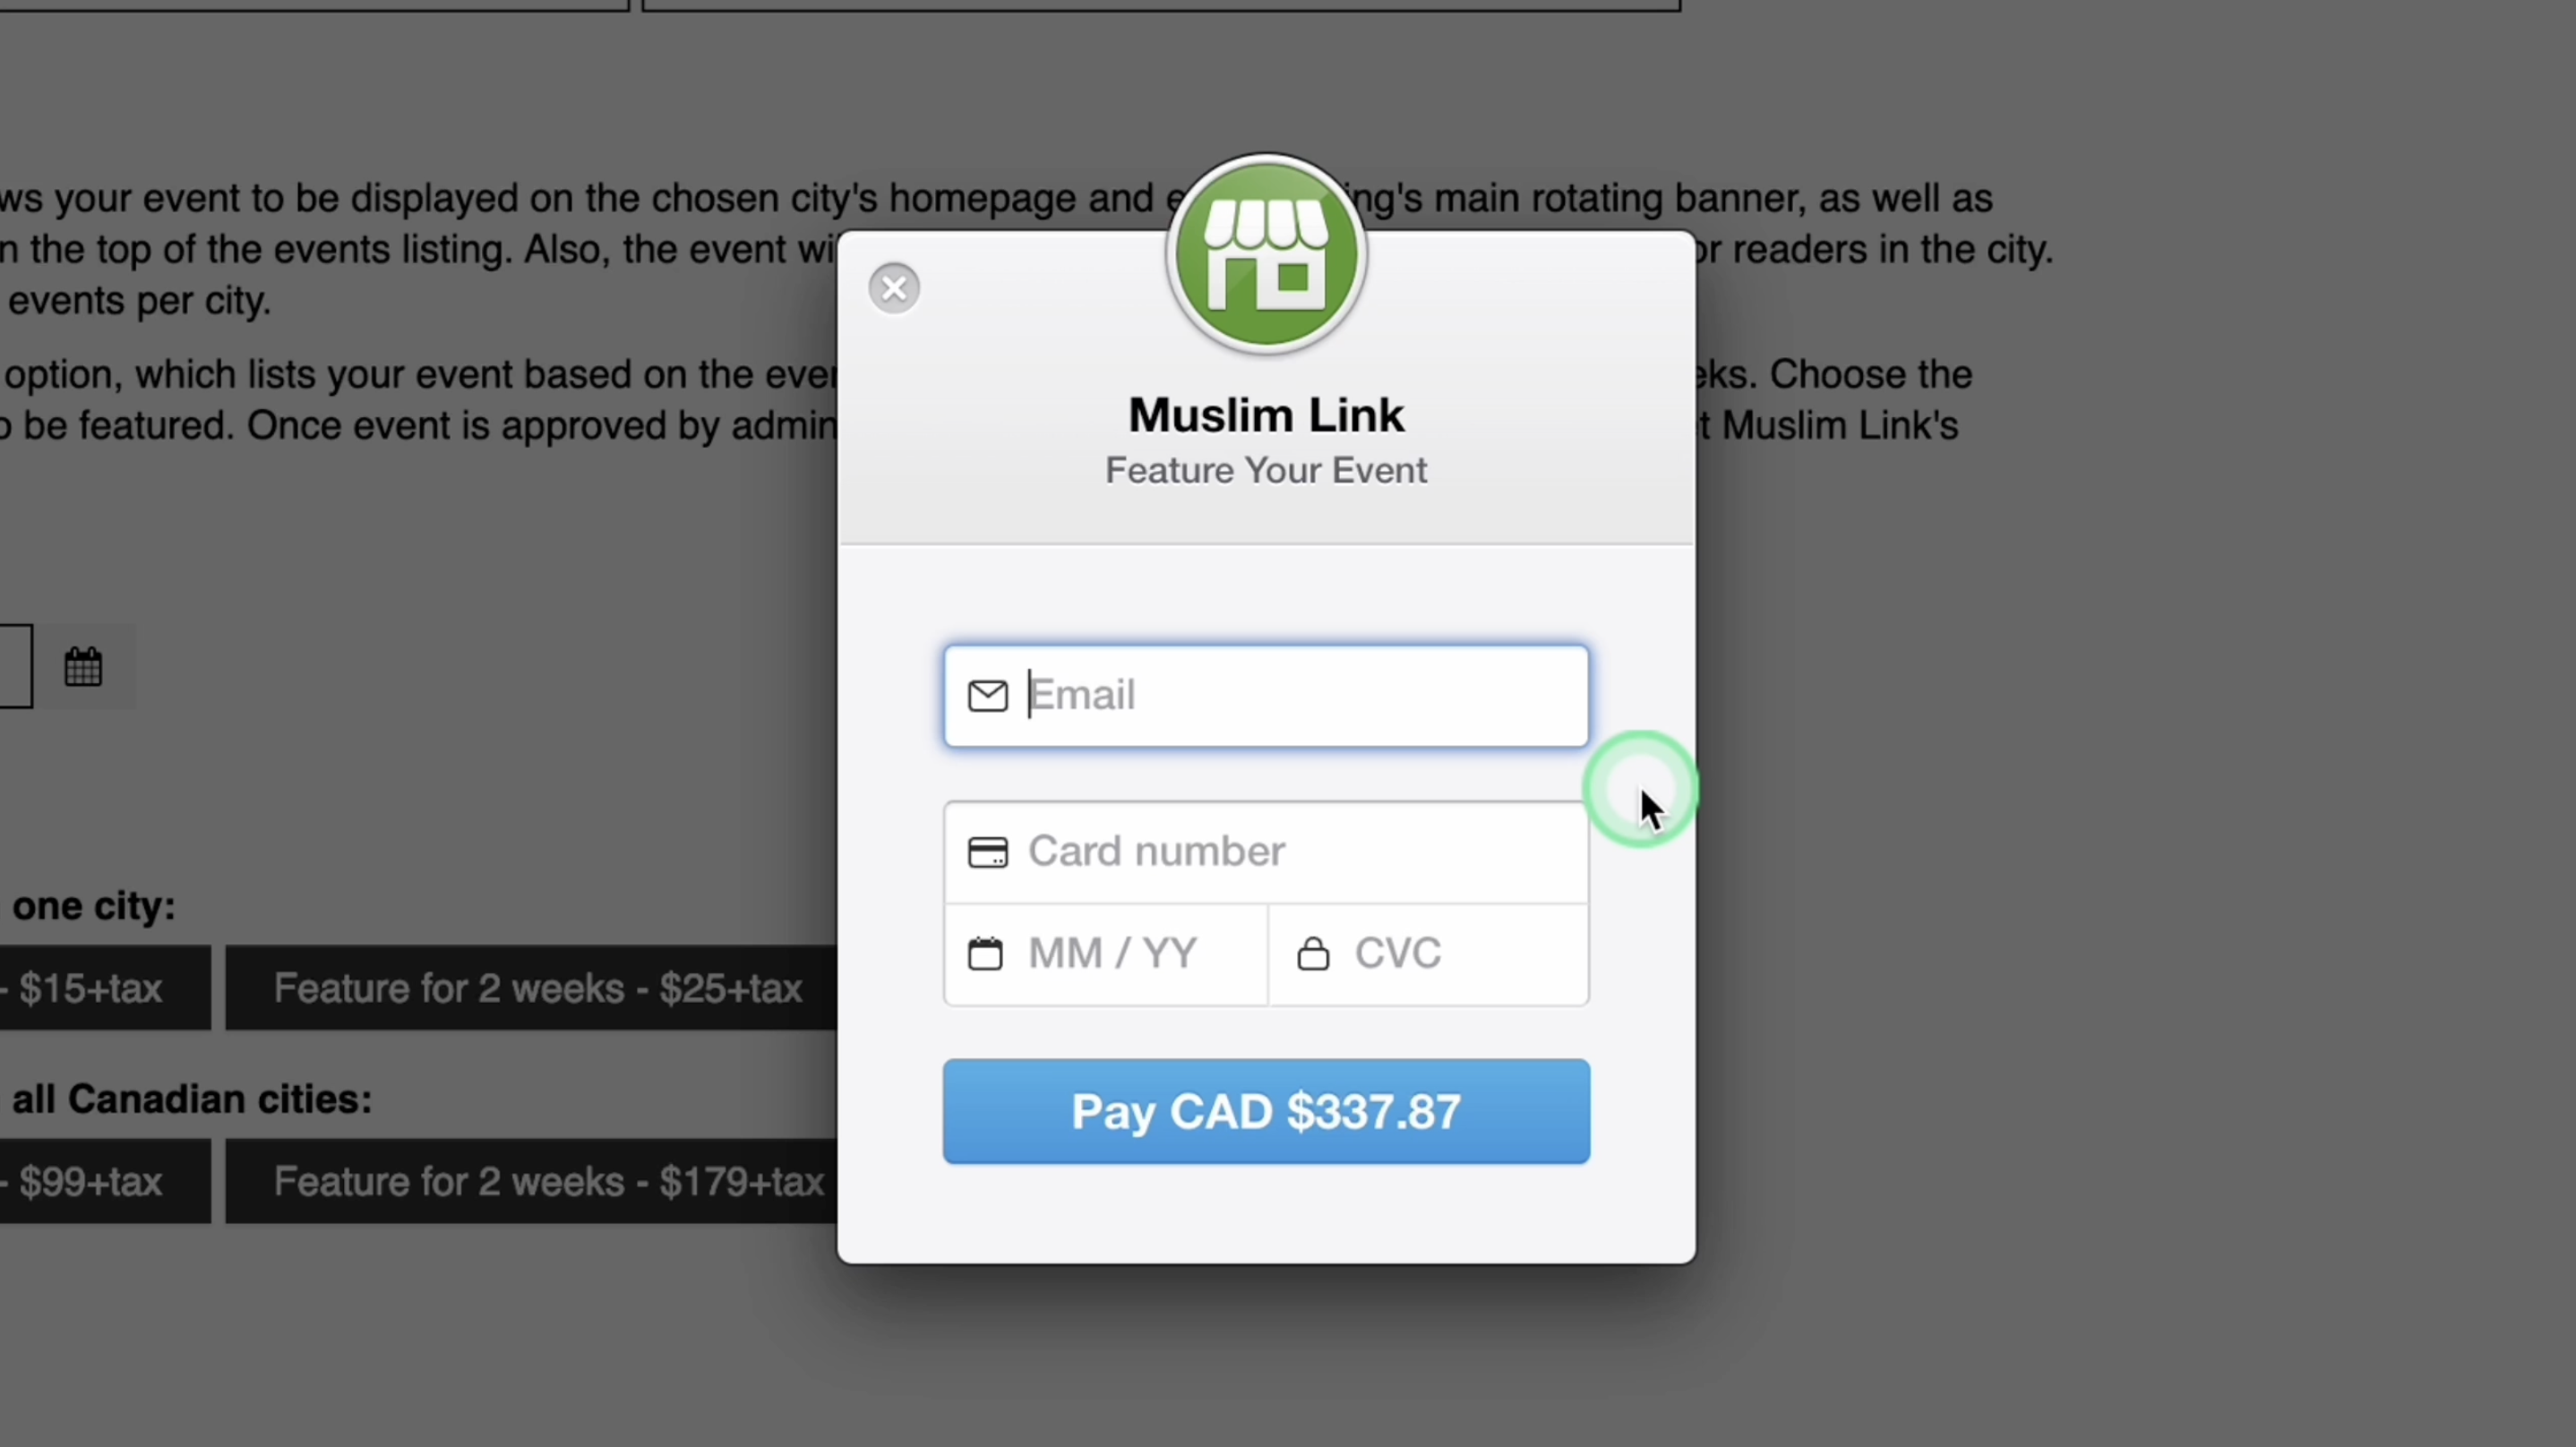
37. Then choose how many weeks you want your event to be featured. Once clicked, you will need to enter your email and payment details to complete the process. We use Stripe Payment as our encrypted payment method.
38. After completion, await admin approval. Once approved, you can now see the event featured on the city's homepage, main events banner, at the top of the events list, and side module.
39. To track the statistics of the event, simply go to the User Menu. Click “My Added Events”.


